

Before you start
- Create the web tool in APIs & MCPs. See Web tools.
- Your web page or app must connect to the agent with the Hamsa web SDK and answer the tool by its name. See Embed on your website.
Add a Web tool step
1
Add the step
On the canvas, click Add node and choose Web tool (“Execute web-based tools”).
2
Pick the web tool
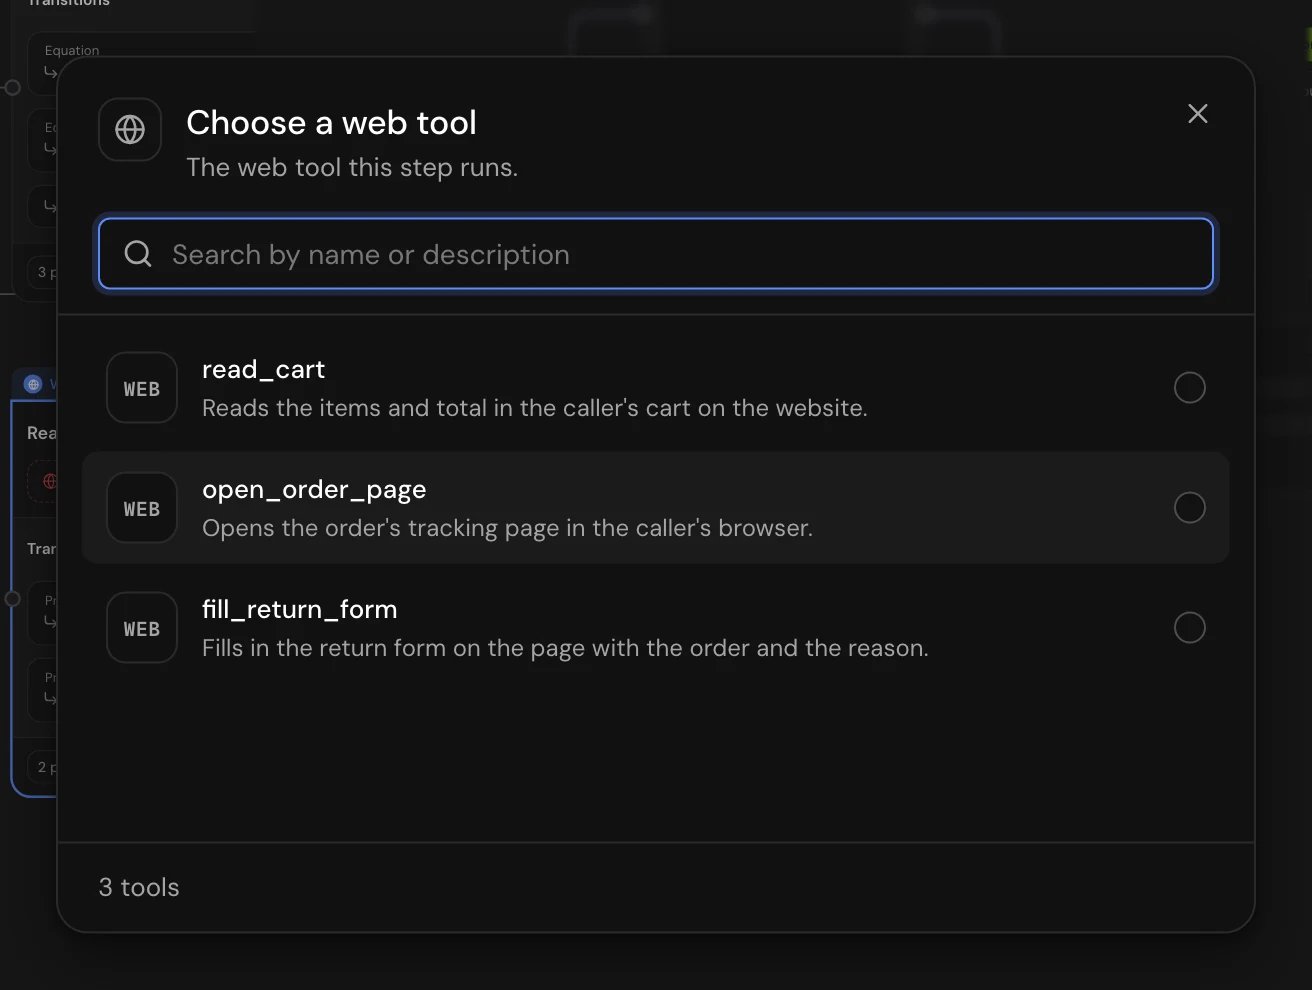
On the step’s card, click Select a web tool. In Choose a web tool (“The web tool this step runs.”), pick one. If you have none, the list shows “No web tools yet”.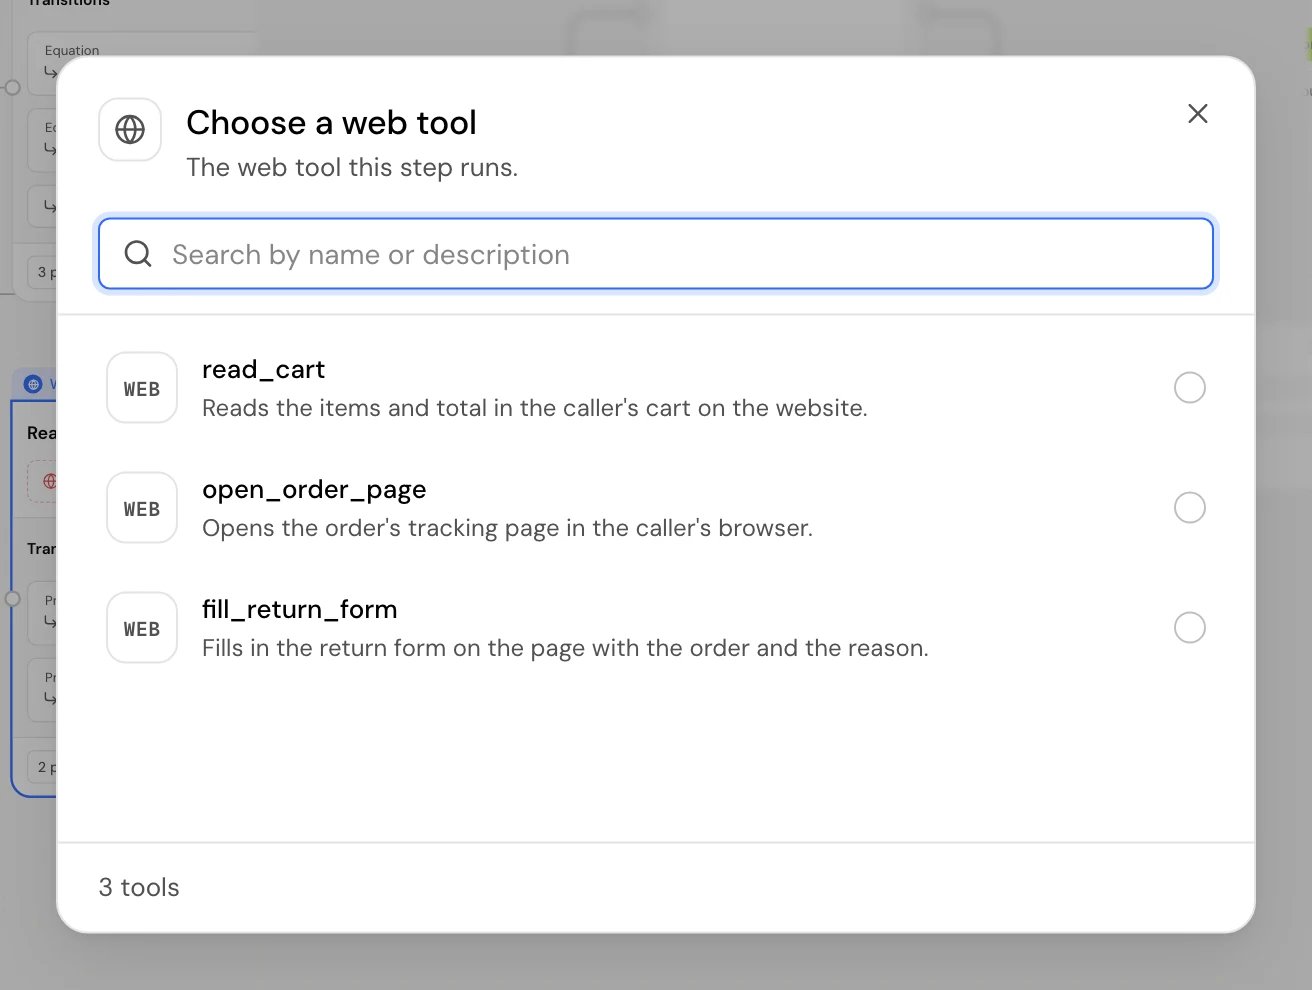
3
Set its parameters
Open Tool configuration and decide where each parameter’s value comes from.
4
Save values from the reply
Paste an Example response, then add a Tool response variable for each value you need.
5
Connect both outcomes
Connect On Success and On Failure to their next steps.
Fields and sections
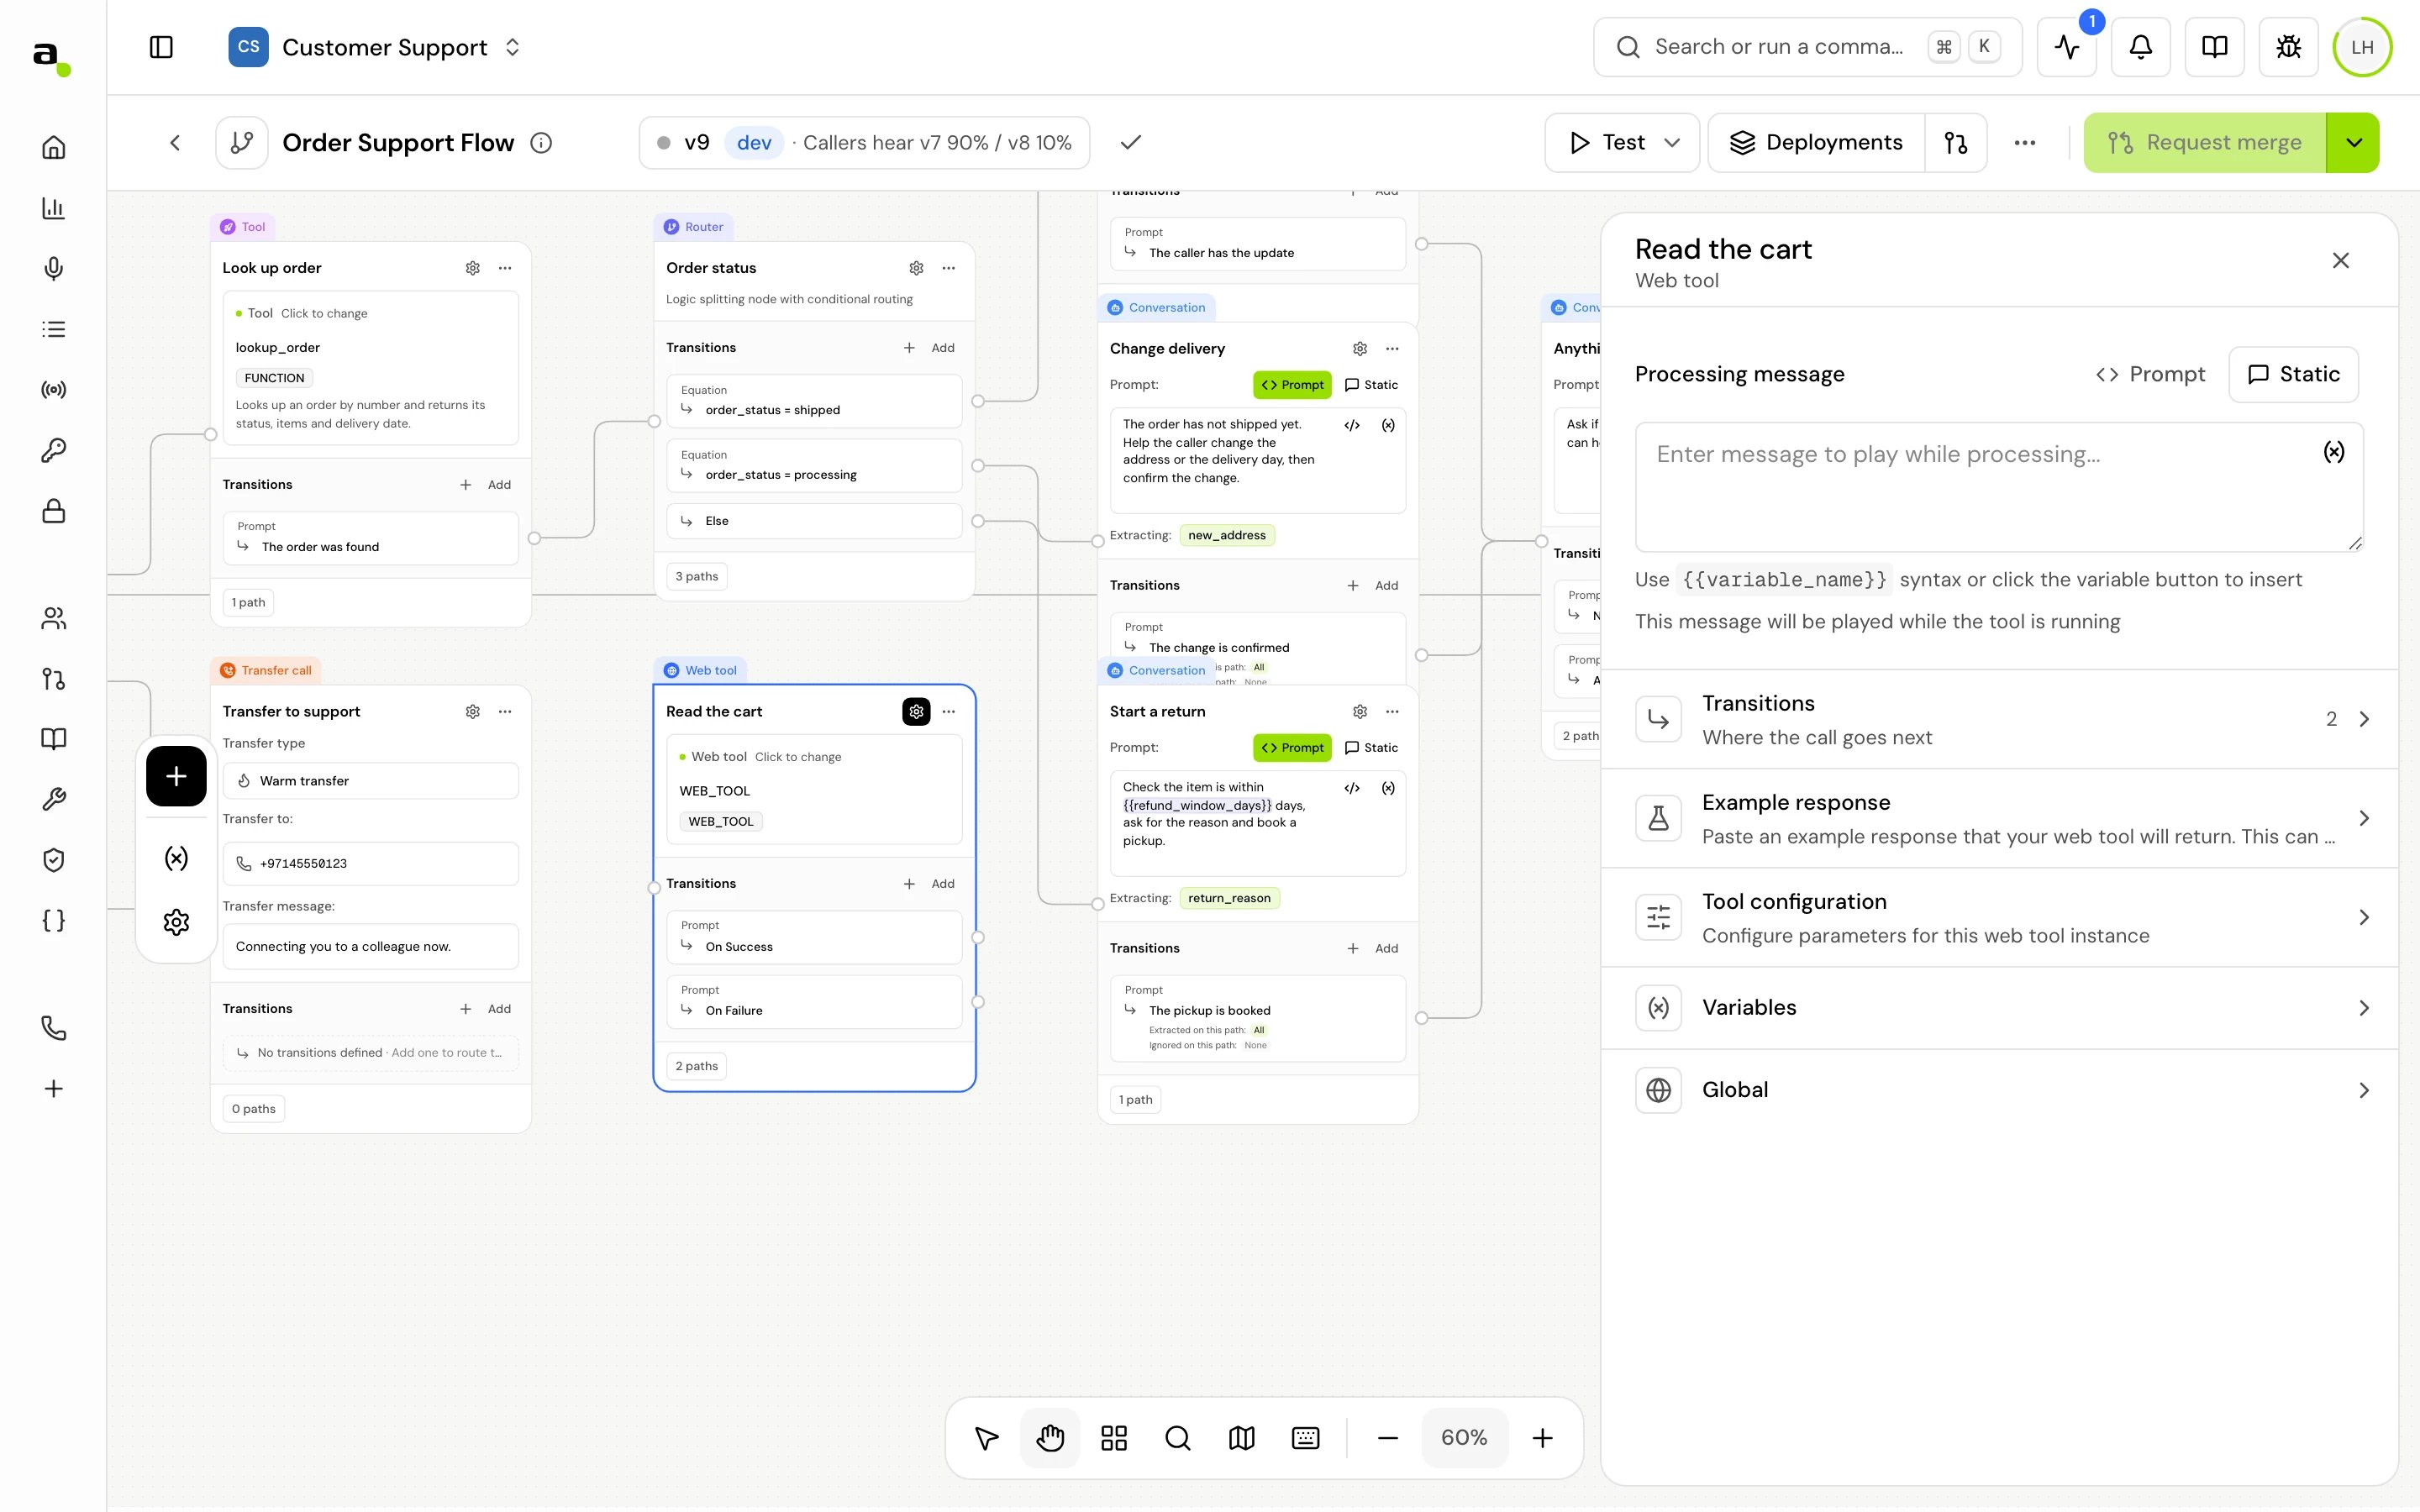
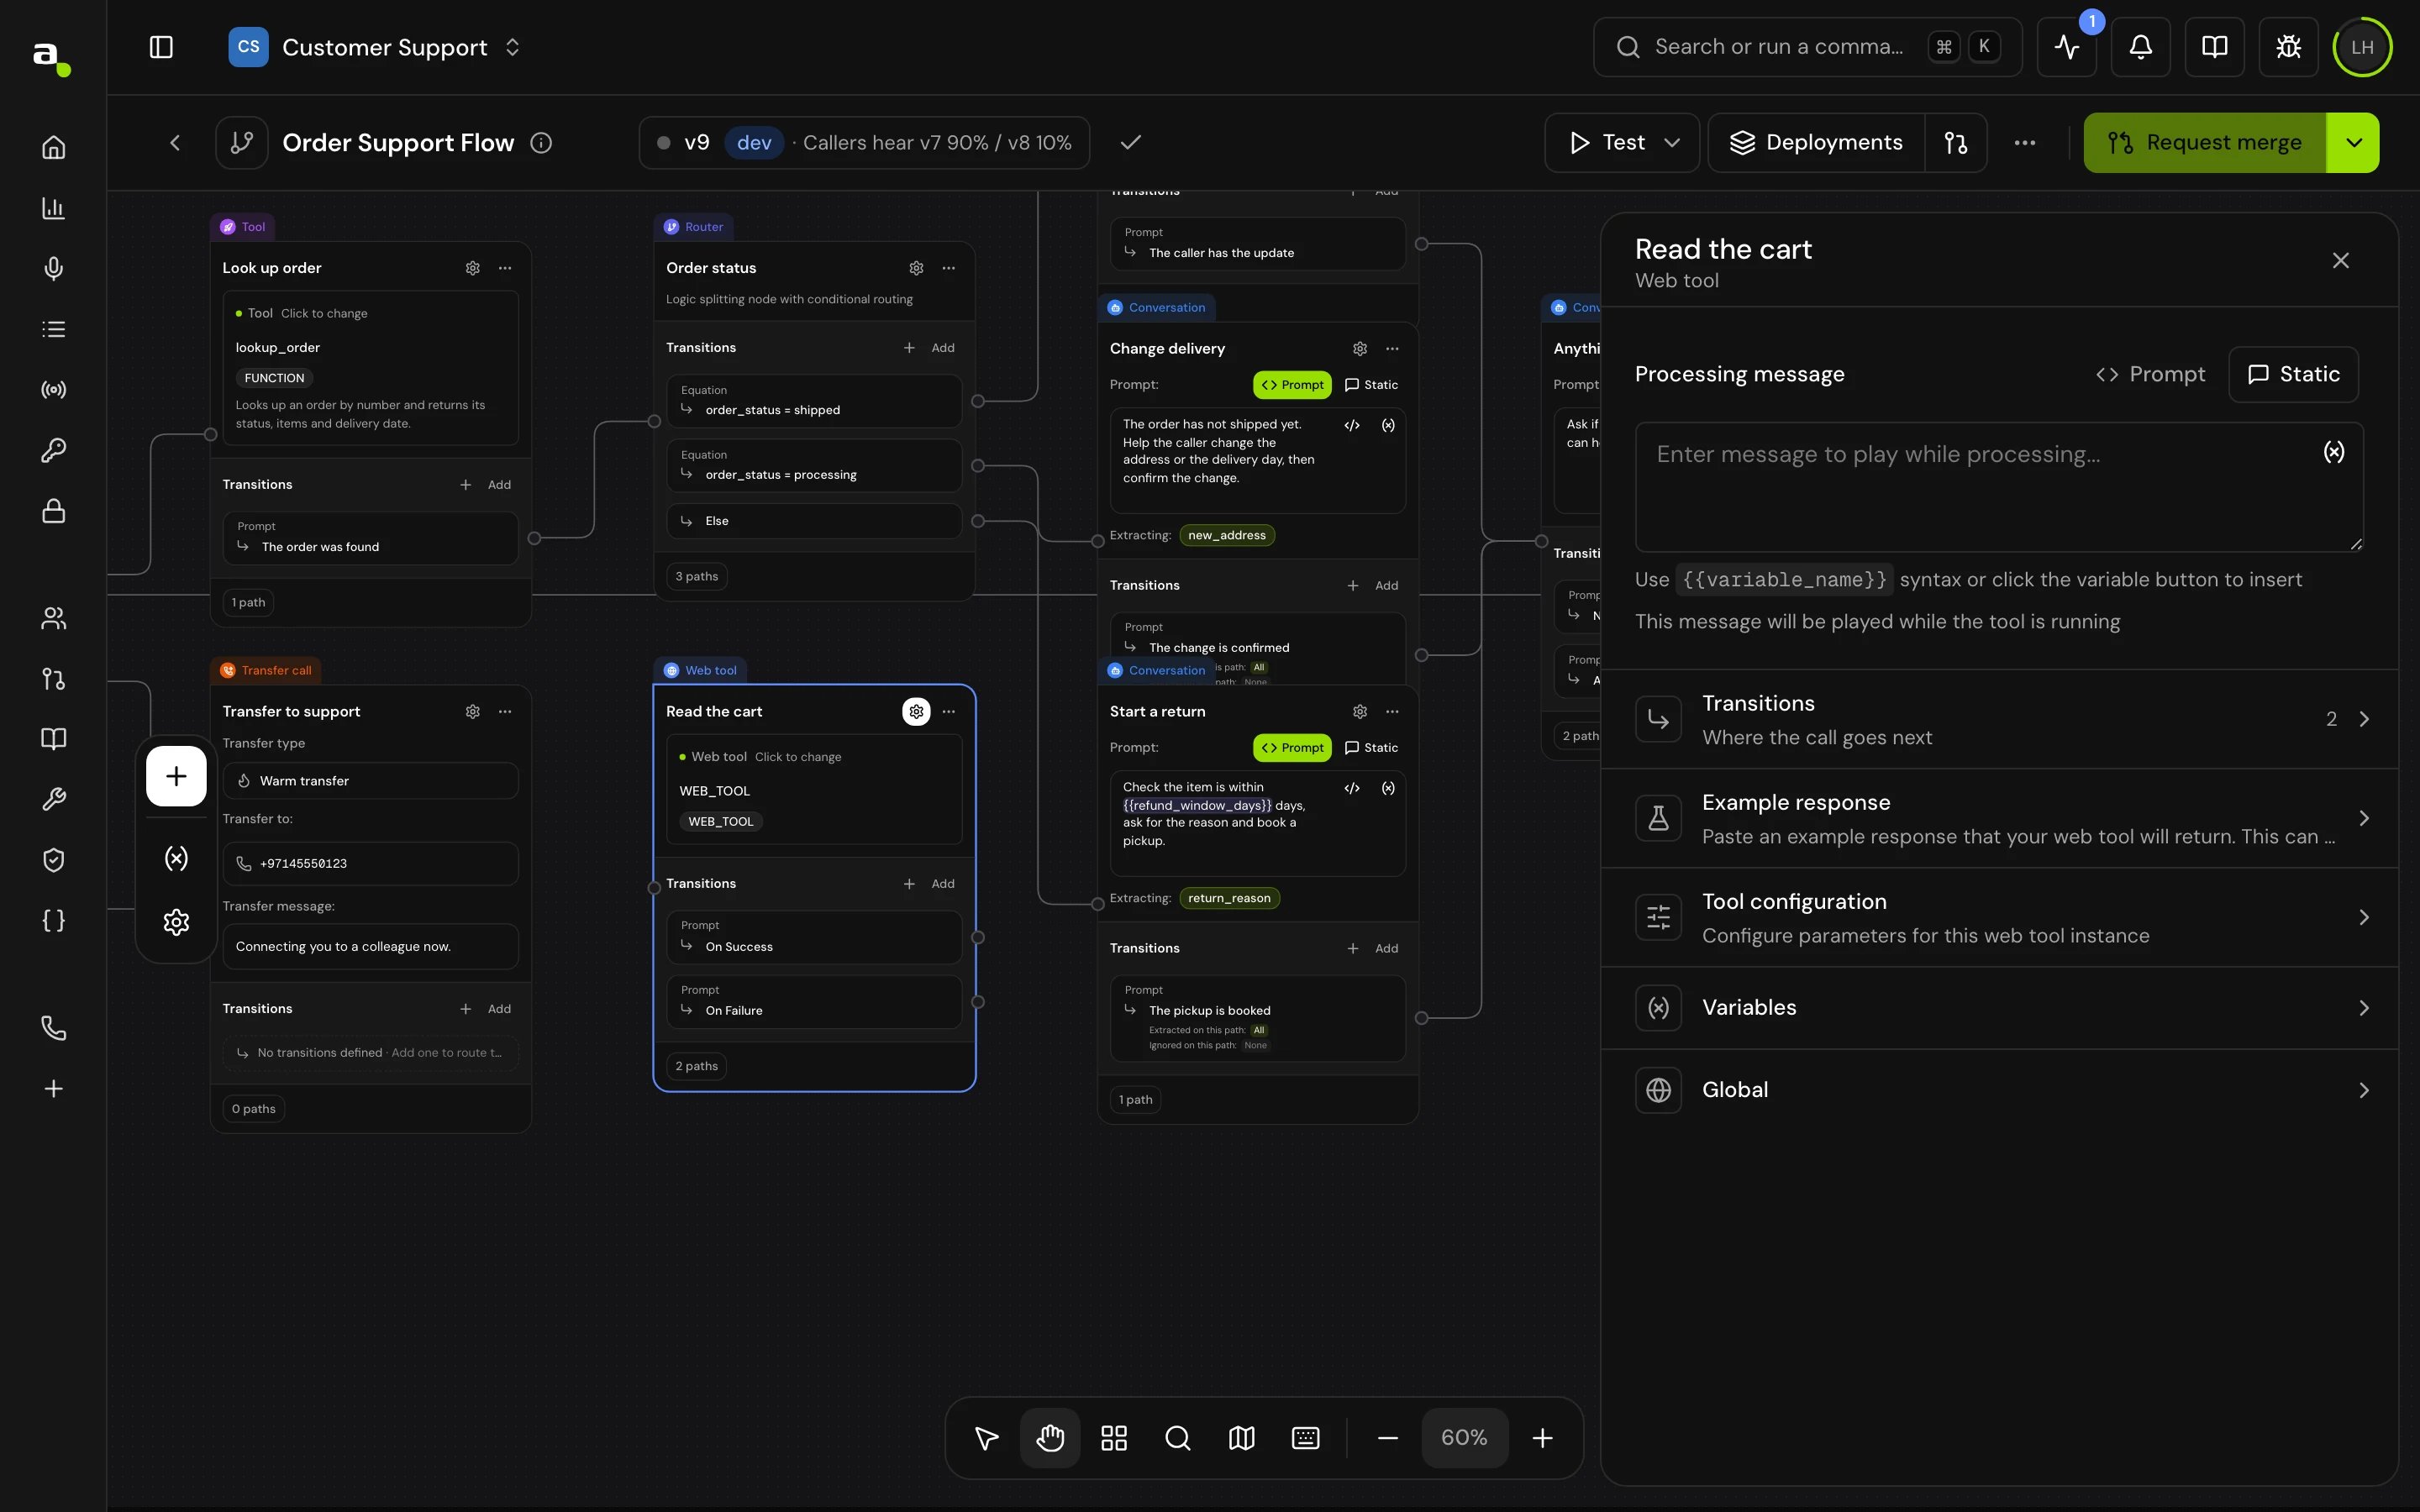
{{variable}}; the panel marks required ones Manual value required.
Paths for reply values
A web tool’s reply is used as it is. Write the JSON path with the reply’s own keys: for a reply{"cart": {"total": 120}}, the path cart.total saves 120.
Transitions
Both are created with the step and can’t be removed.
You can also add Skip if to this step: when its conditions already hold as the call arrives, the call goes straight to its target and the step doesn’t run. See Skip if.
How it works on a call
- The step’s local variables are set.
- The processing message plays to the end, if there is one.
- The request goes to the caller’s page with the tool name and parameters. The step waits up to 15 seconds for the reply.
- On a JSON reply, your response variables are saved and the call takes On Success. Otherwise it takes On Failure.
Related
Web tools
Create the tools your web page answers.
Embed on your website
Connect your page to the agent.
Tool step
Call an API from your servers instead.
Transitions
How the call moves between steps.