

Before you start
- A Hamsa account. Every account comes with a Default project and free credits to try Hamsa. Calls use credits, and a call can only start while your balance is above zero.
- The Owner or Admin role in the project, to publish. A User can do every step up to publishing, then asks an Owner or Admin to merge their draft (see Merge requests).
- A computer with a microphone, and a browser that is allowed to use it.
- For the phone part: a phone number from Twilio or a SIP provider.
1. Create the agent
1
Open the Agents list
In the sidebar, click Agents list.
2
Create a single prompt agent
Click Create agent and choose Create prompt agent.

3
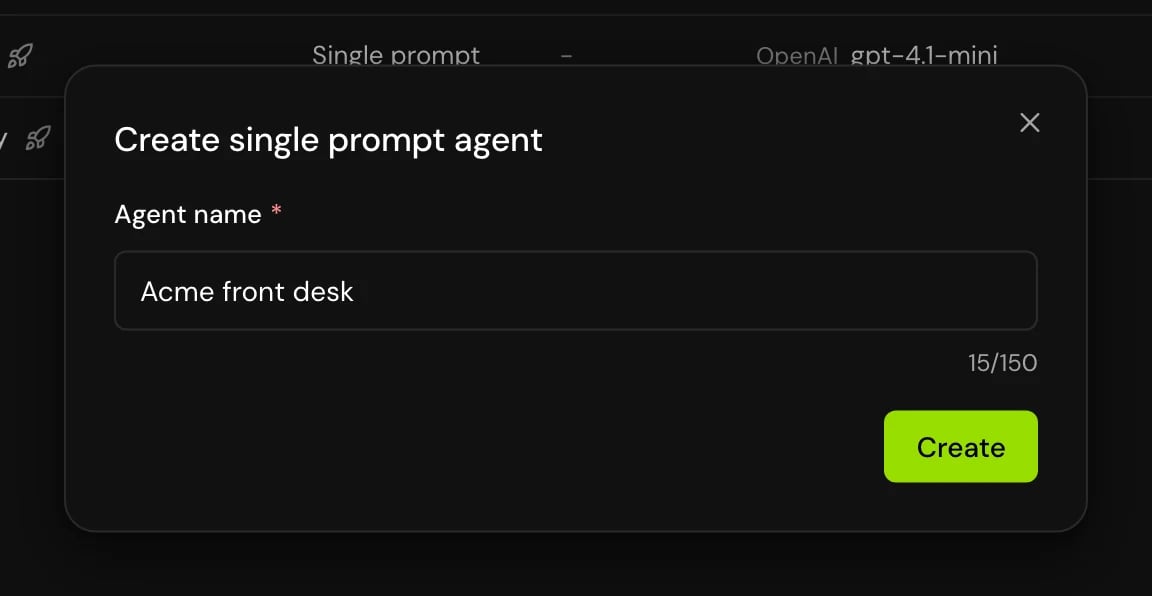
Name it
Enter an Agent name, for example “Acme front desk”, and click Create. The single prompt editor opens.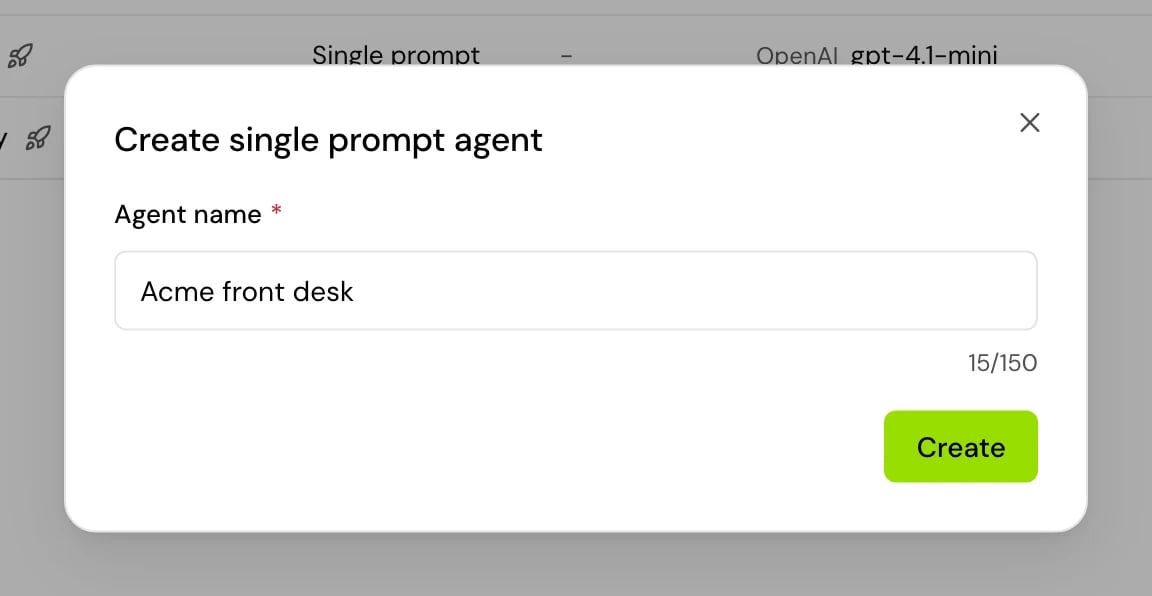
2. Write the greeting and the prompt
1
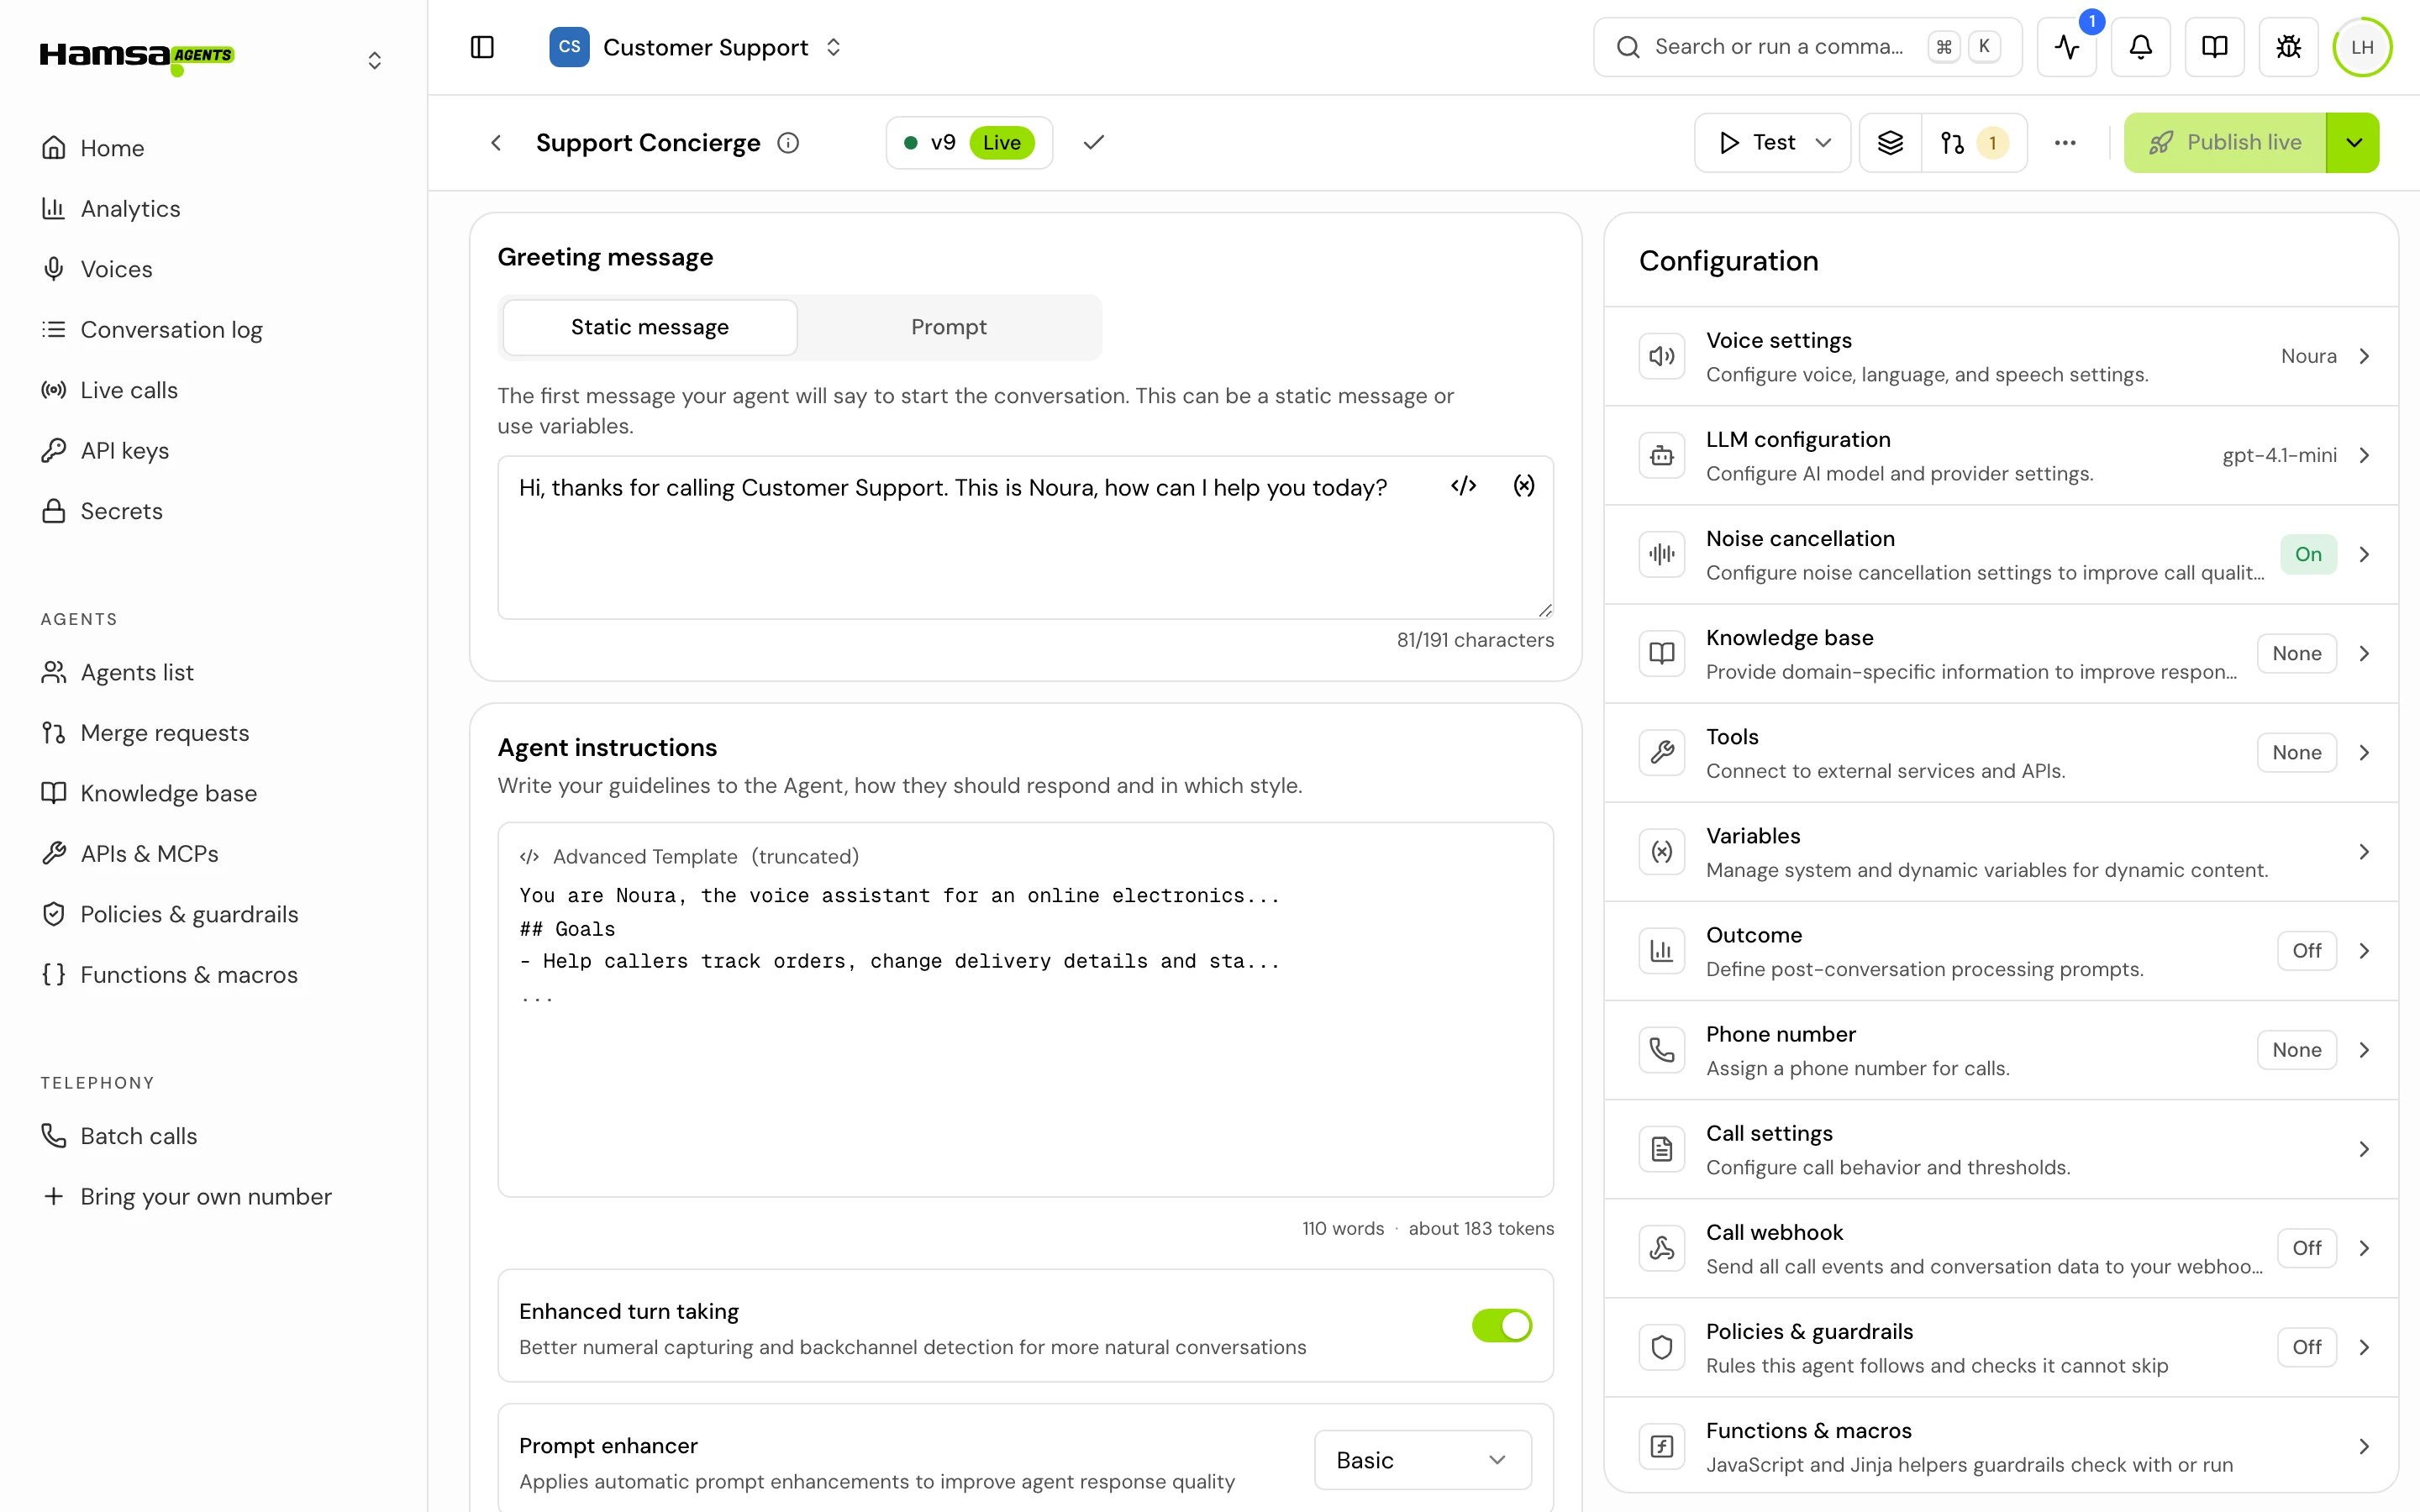
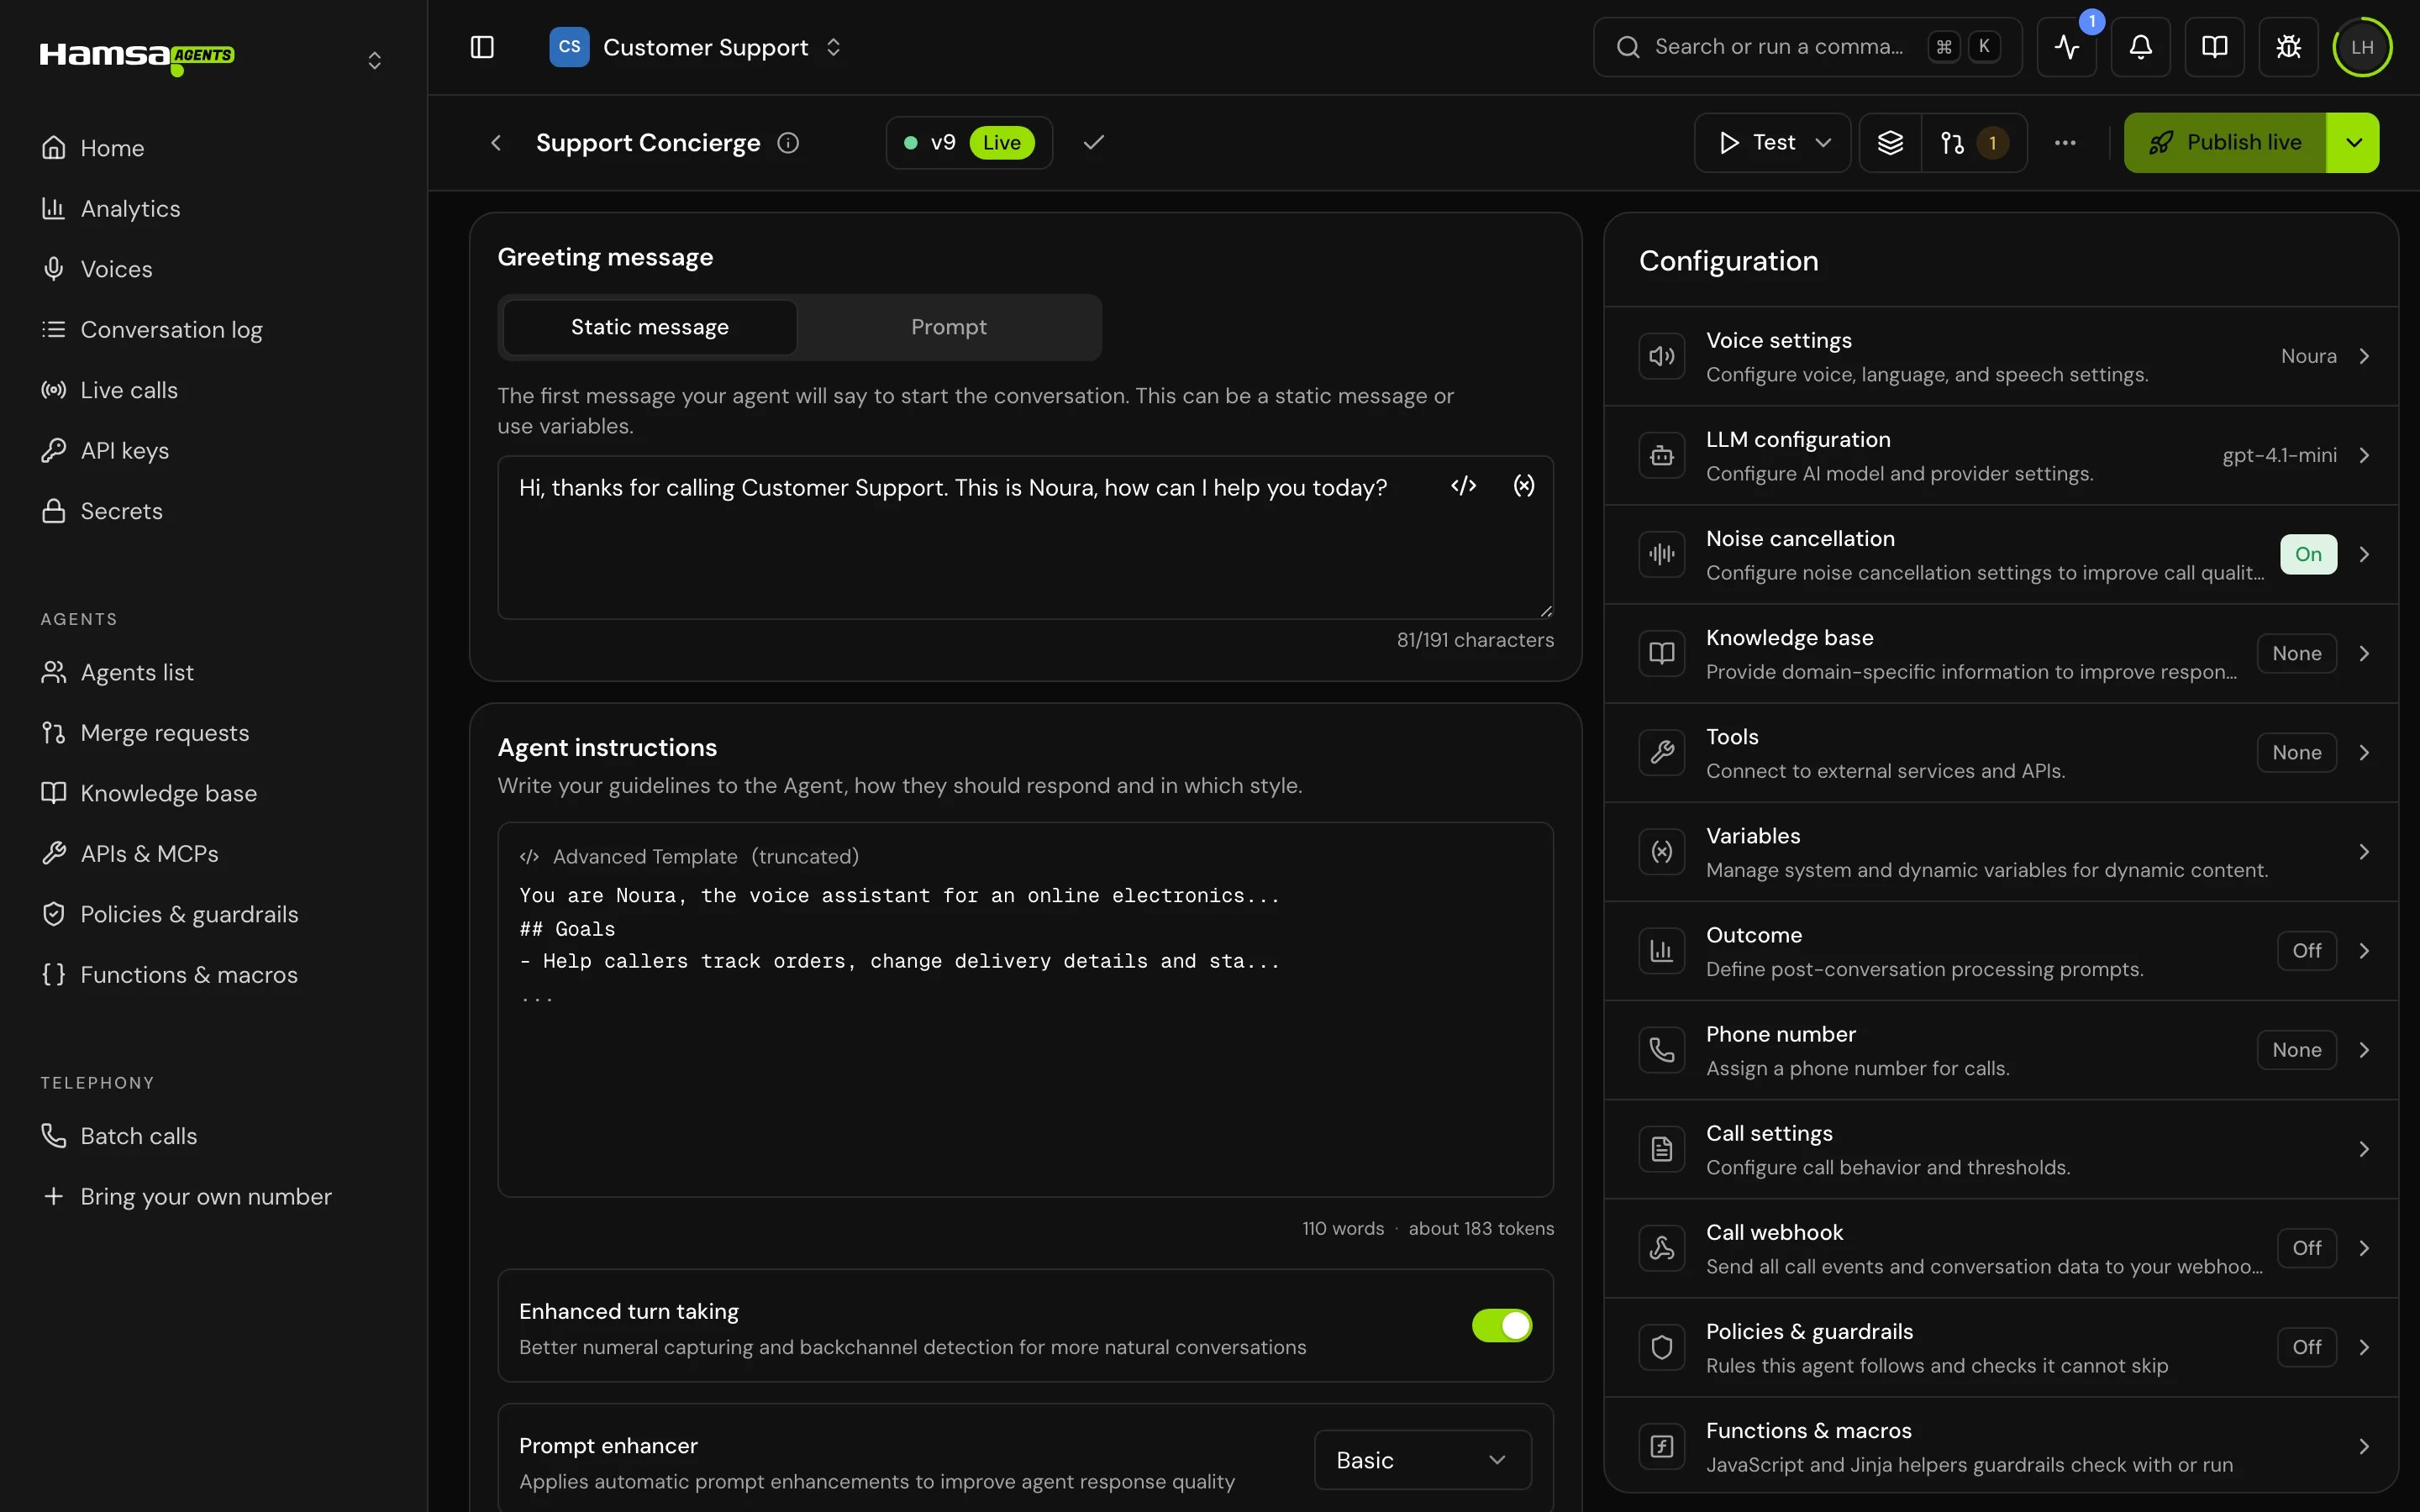
Write the greeting
On the Greeting message card, keep the Static message tab and replace the text with your first line, for example “Hello, this is Sara from Acme Dental. How can I help you today?” The greeting can be up to 191 characters.
2
Write the instructions
In Agent instructions, replace the starting text with a short prompt. Say who the agent is, what it does, the rules it follows and the facts it needs:
3
Leave the prompt enhancer on Basic
Under the instructions, Prompt enhancer is set to Basic. It adds Hamsa’s speaking rules and tells the model to speak the voice’s dialect, so you don’t need to write those yourself.

3. Pick a voice
The voice decides how the agent sounds and which language and dialect it speaks. New agents start with Carla, an Arabic voice.1
Open the voice picker
In Configuration, open Voice settings and click Change on the voice row. Select agent voice opens.
2
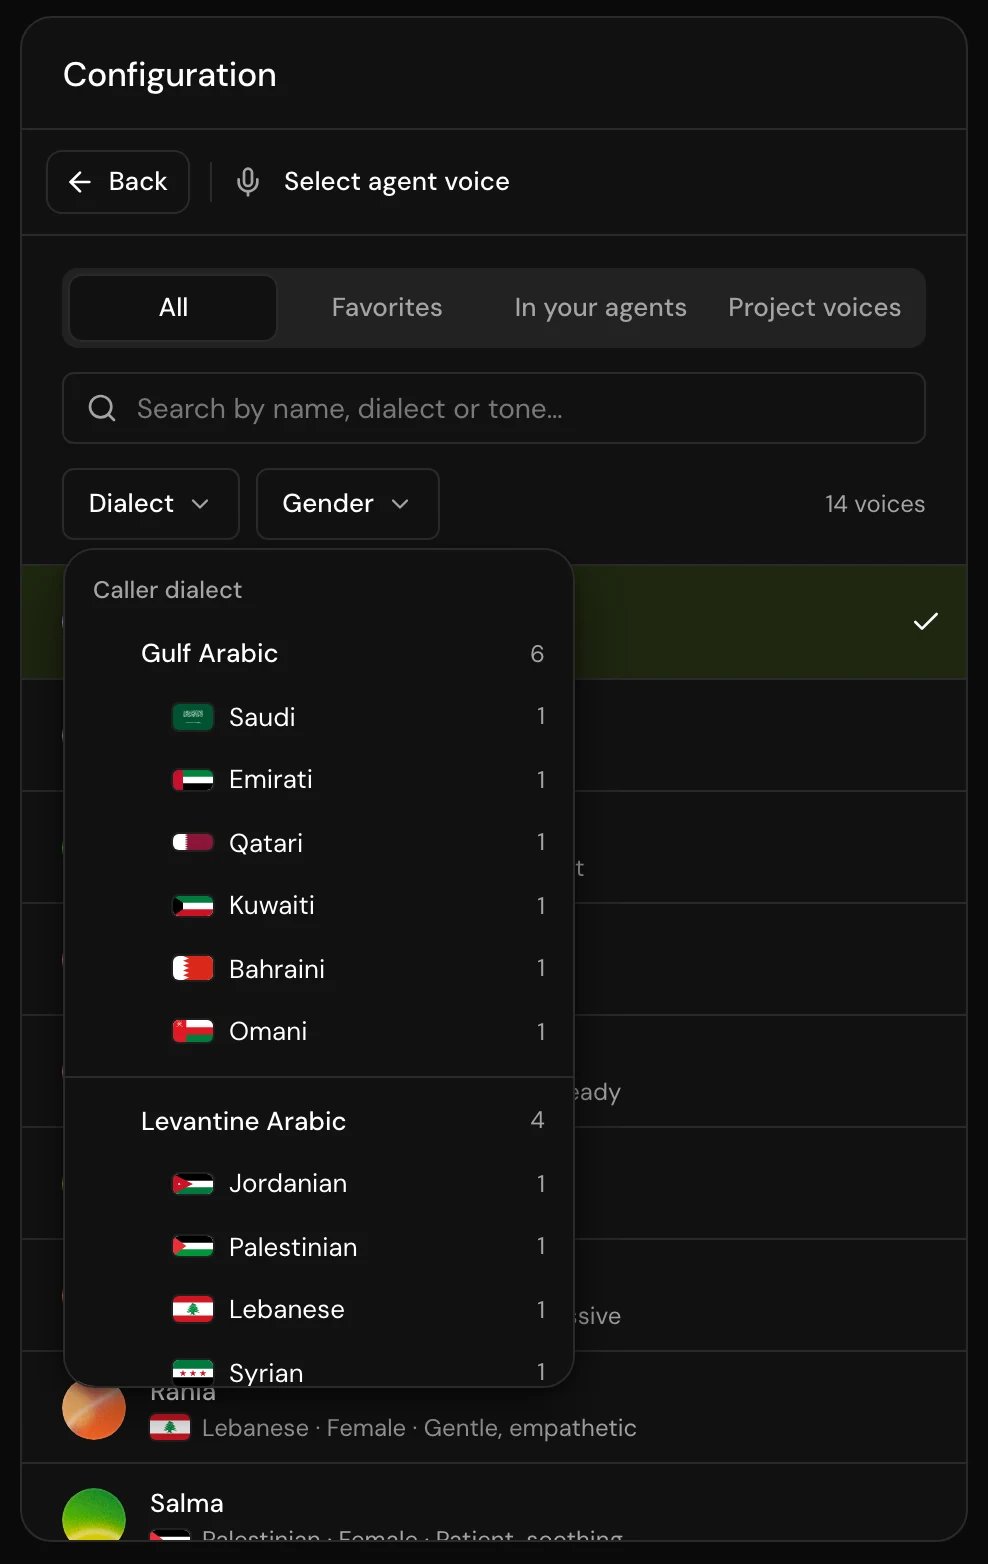
Find a voice in your callers' dialect
Filter by Dialect and Gender, and press play on a row to hear it.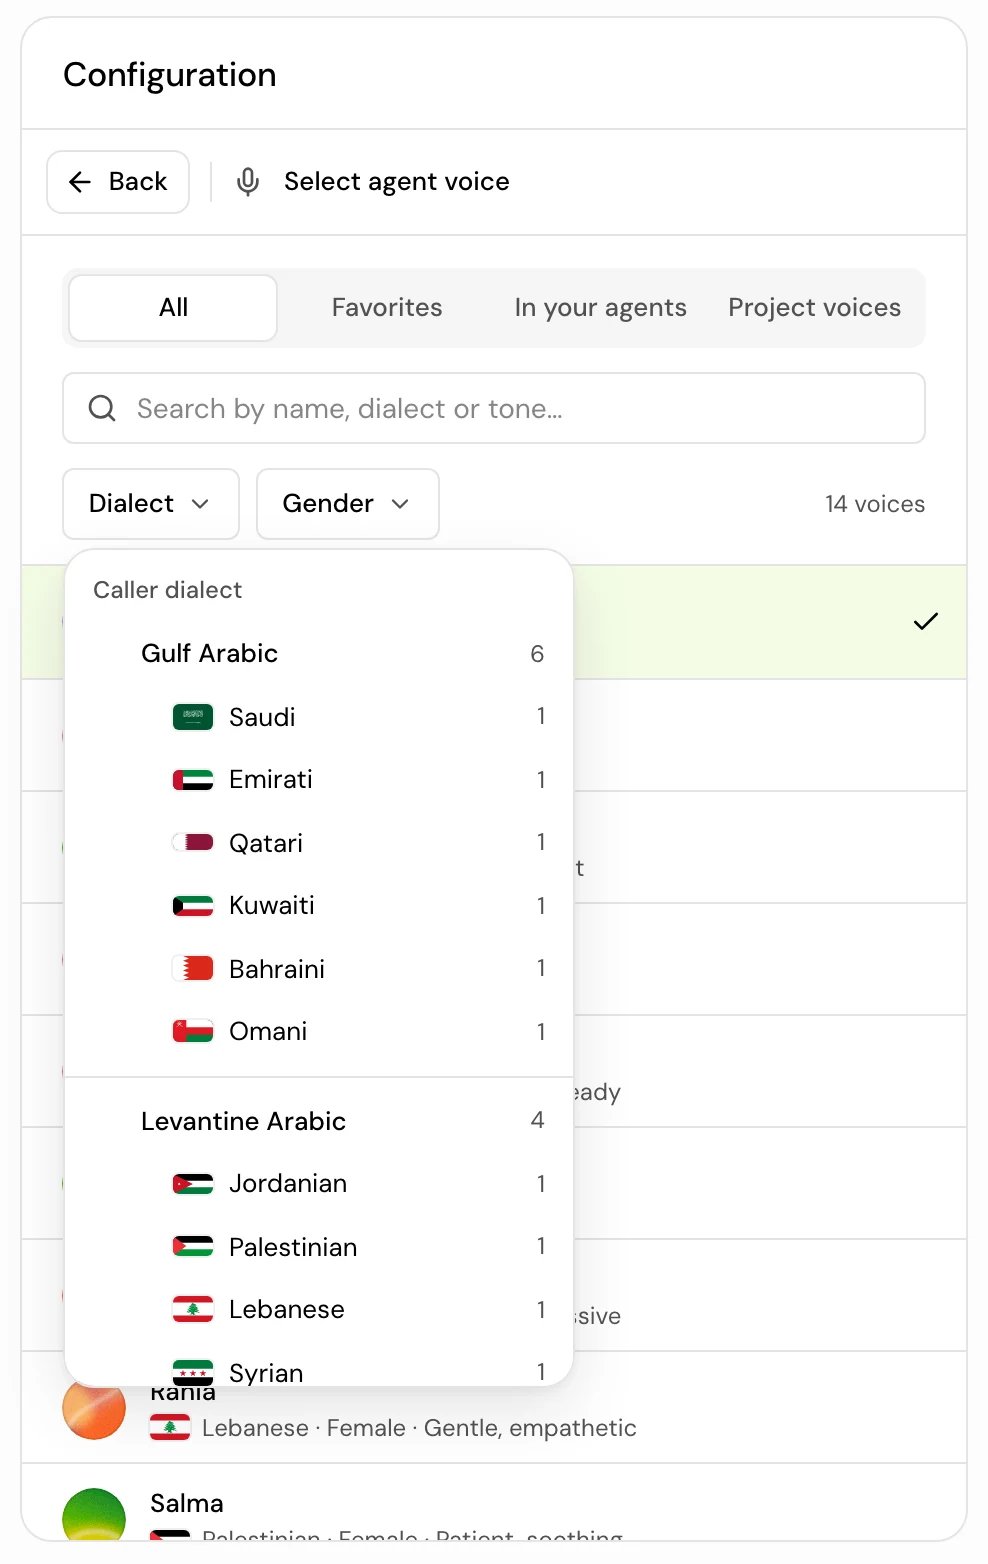
3
Pick it
Click the voice. The picker closes and the agent now speaks that voice’s language and dialect.
4. Check two call settings
Open Call settings in Configuration: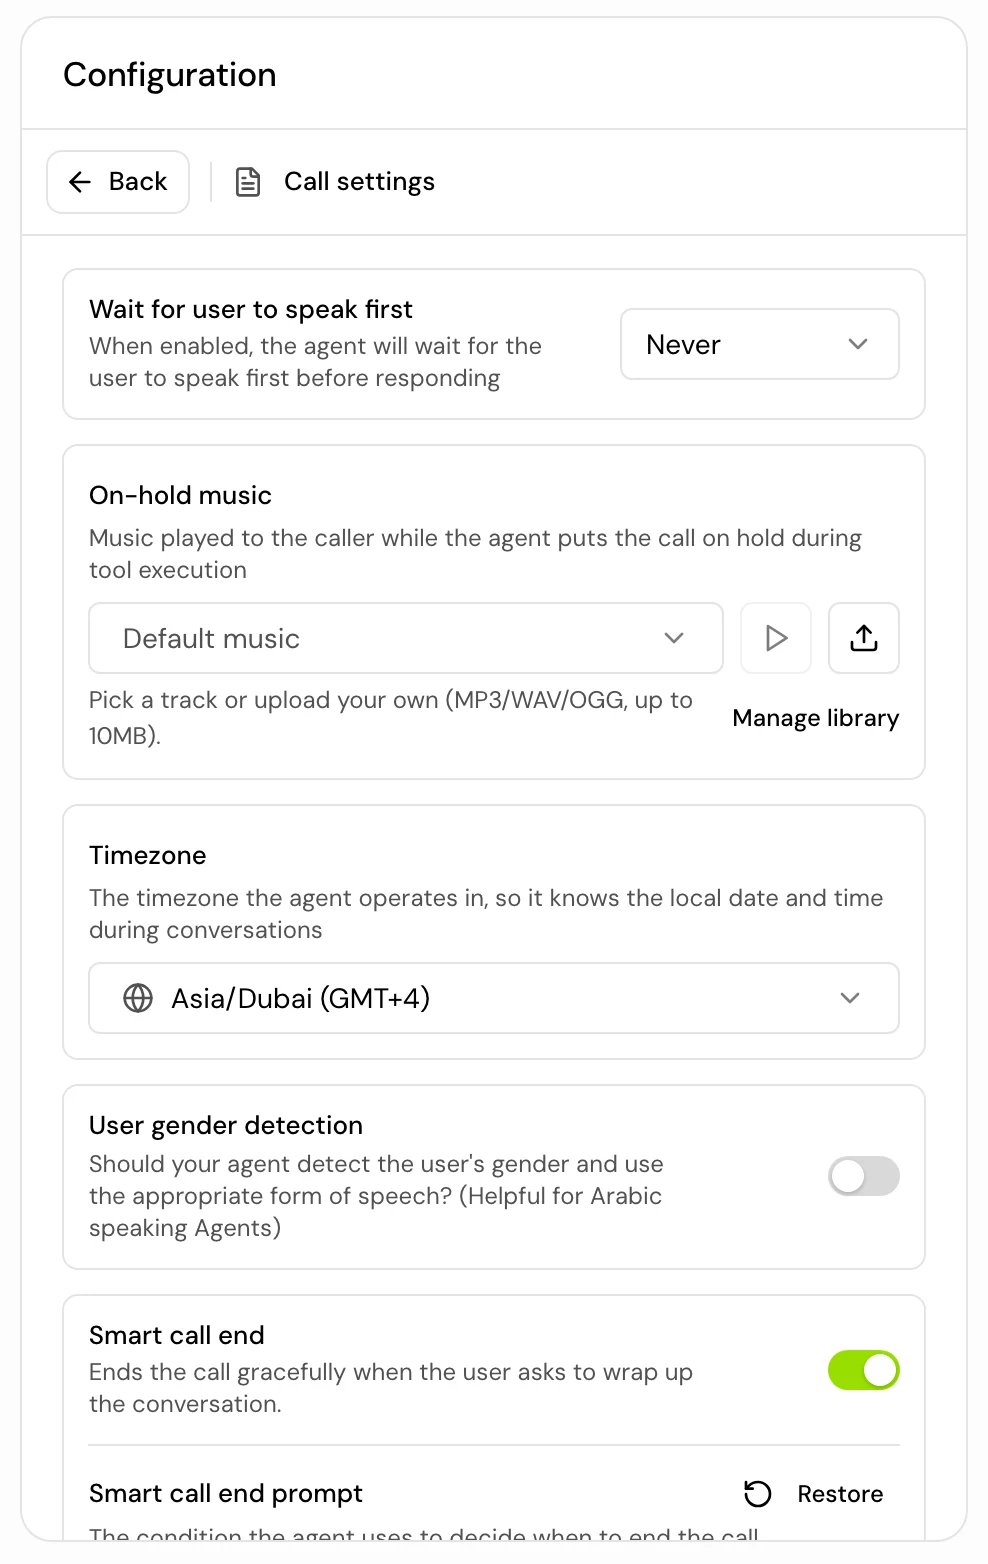
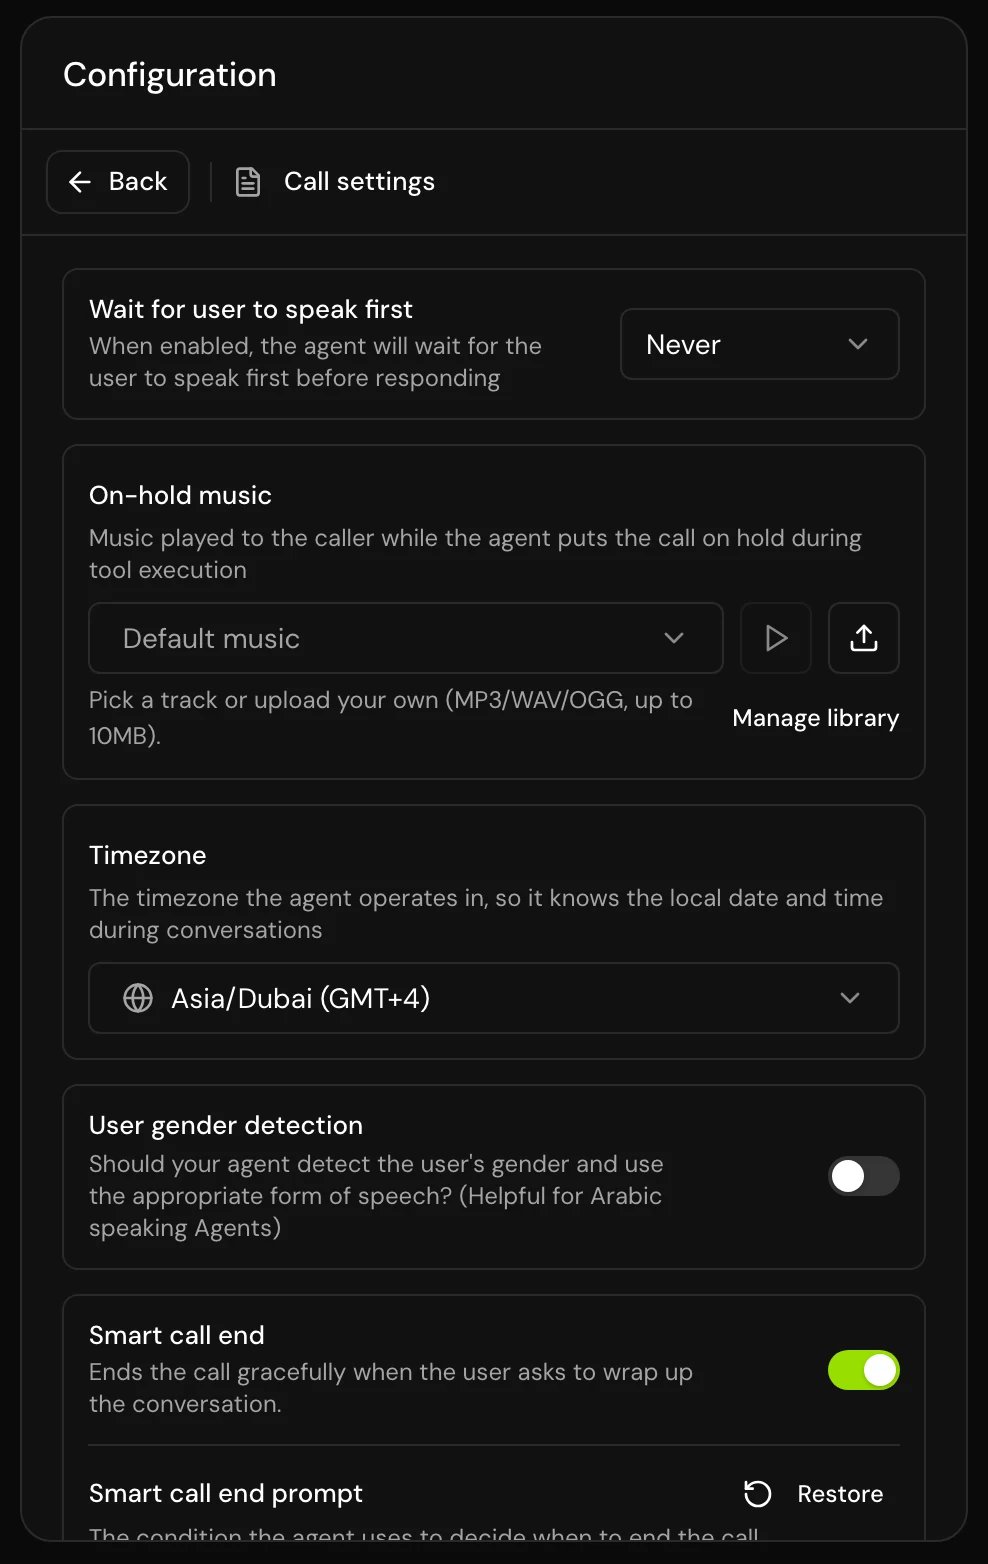
- Smart call end: turn it on so the agent can say goodbye and hang up when the conversation is done. With it off, a single prompt agent never hangs up on its own.
- Timezone: pick your business’s time zone, so the agent gets dates and times right.
5. Test it in the browser
1
Start a browser call
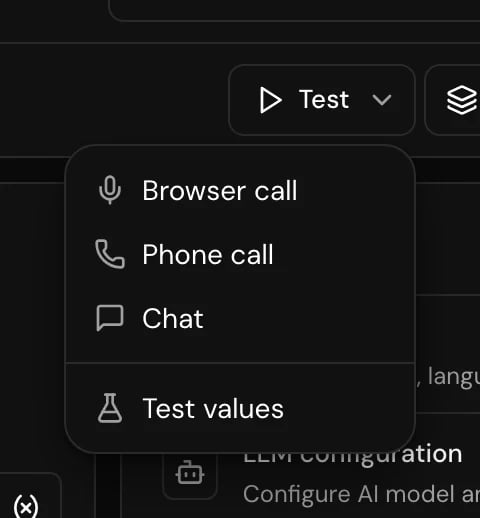
In the editor header, click Test and choose Browser call. If the browser asks for the microphone, allow it. The Test button is disabled while changes are still saving.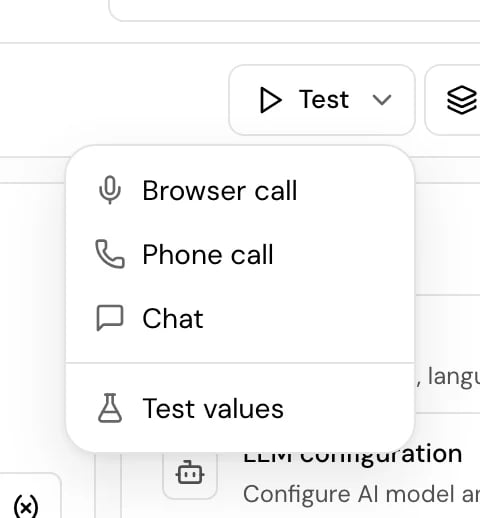
2
Talk to the agent
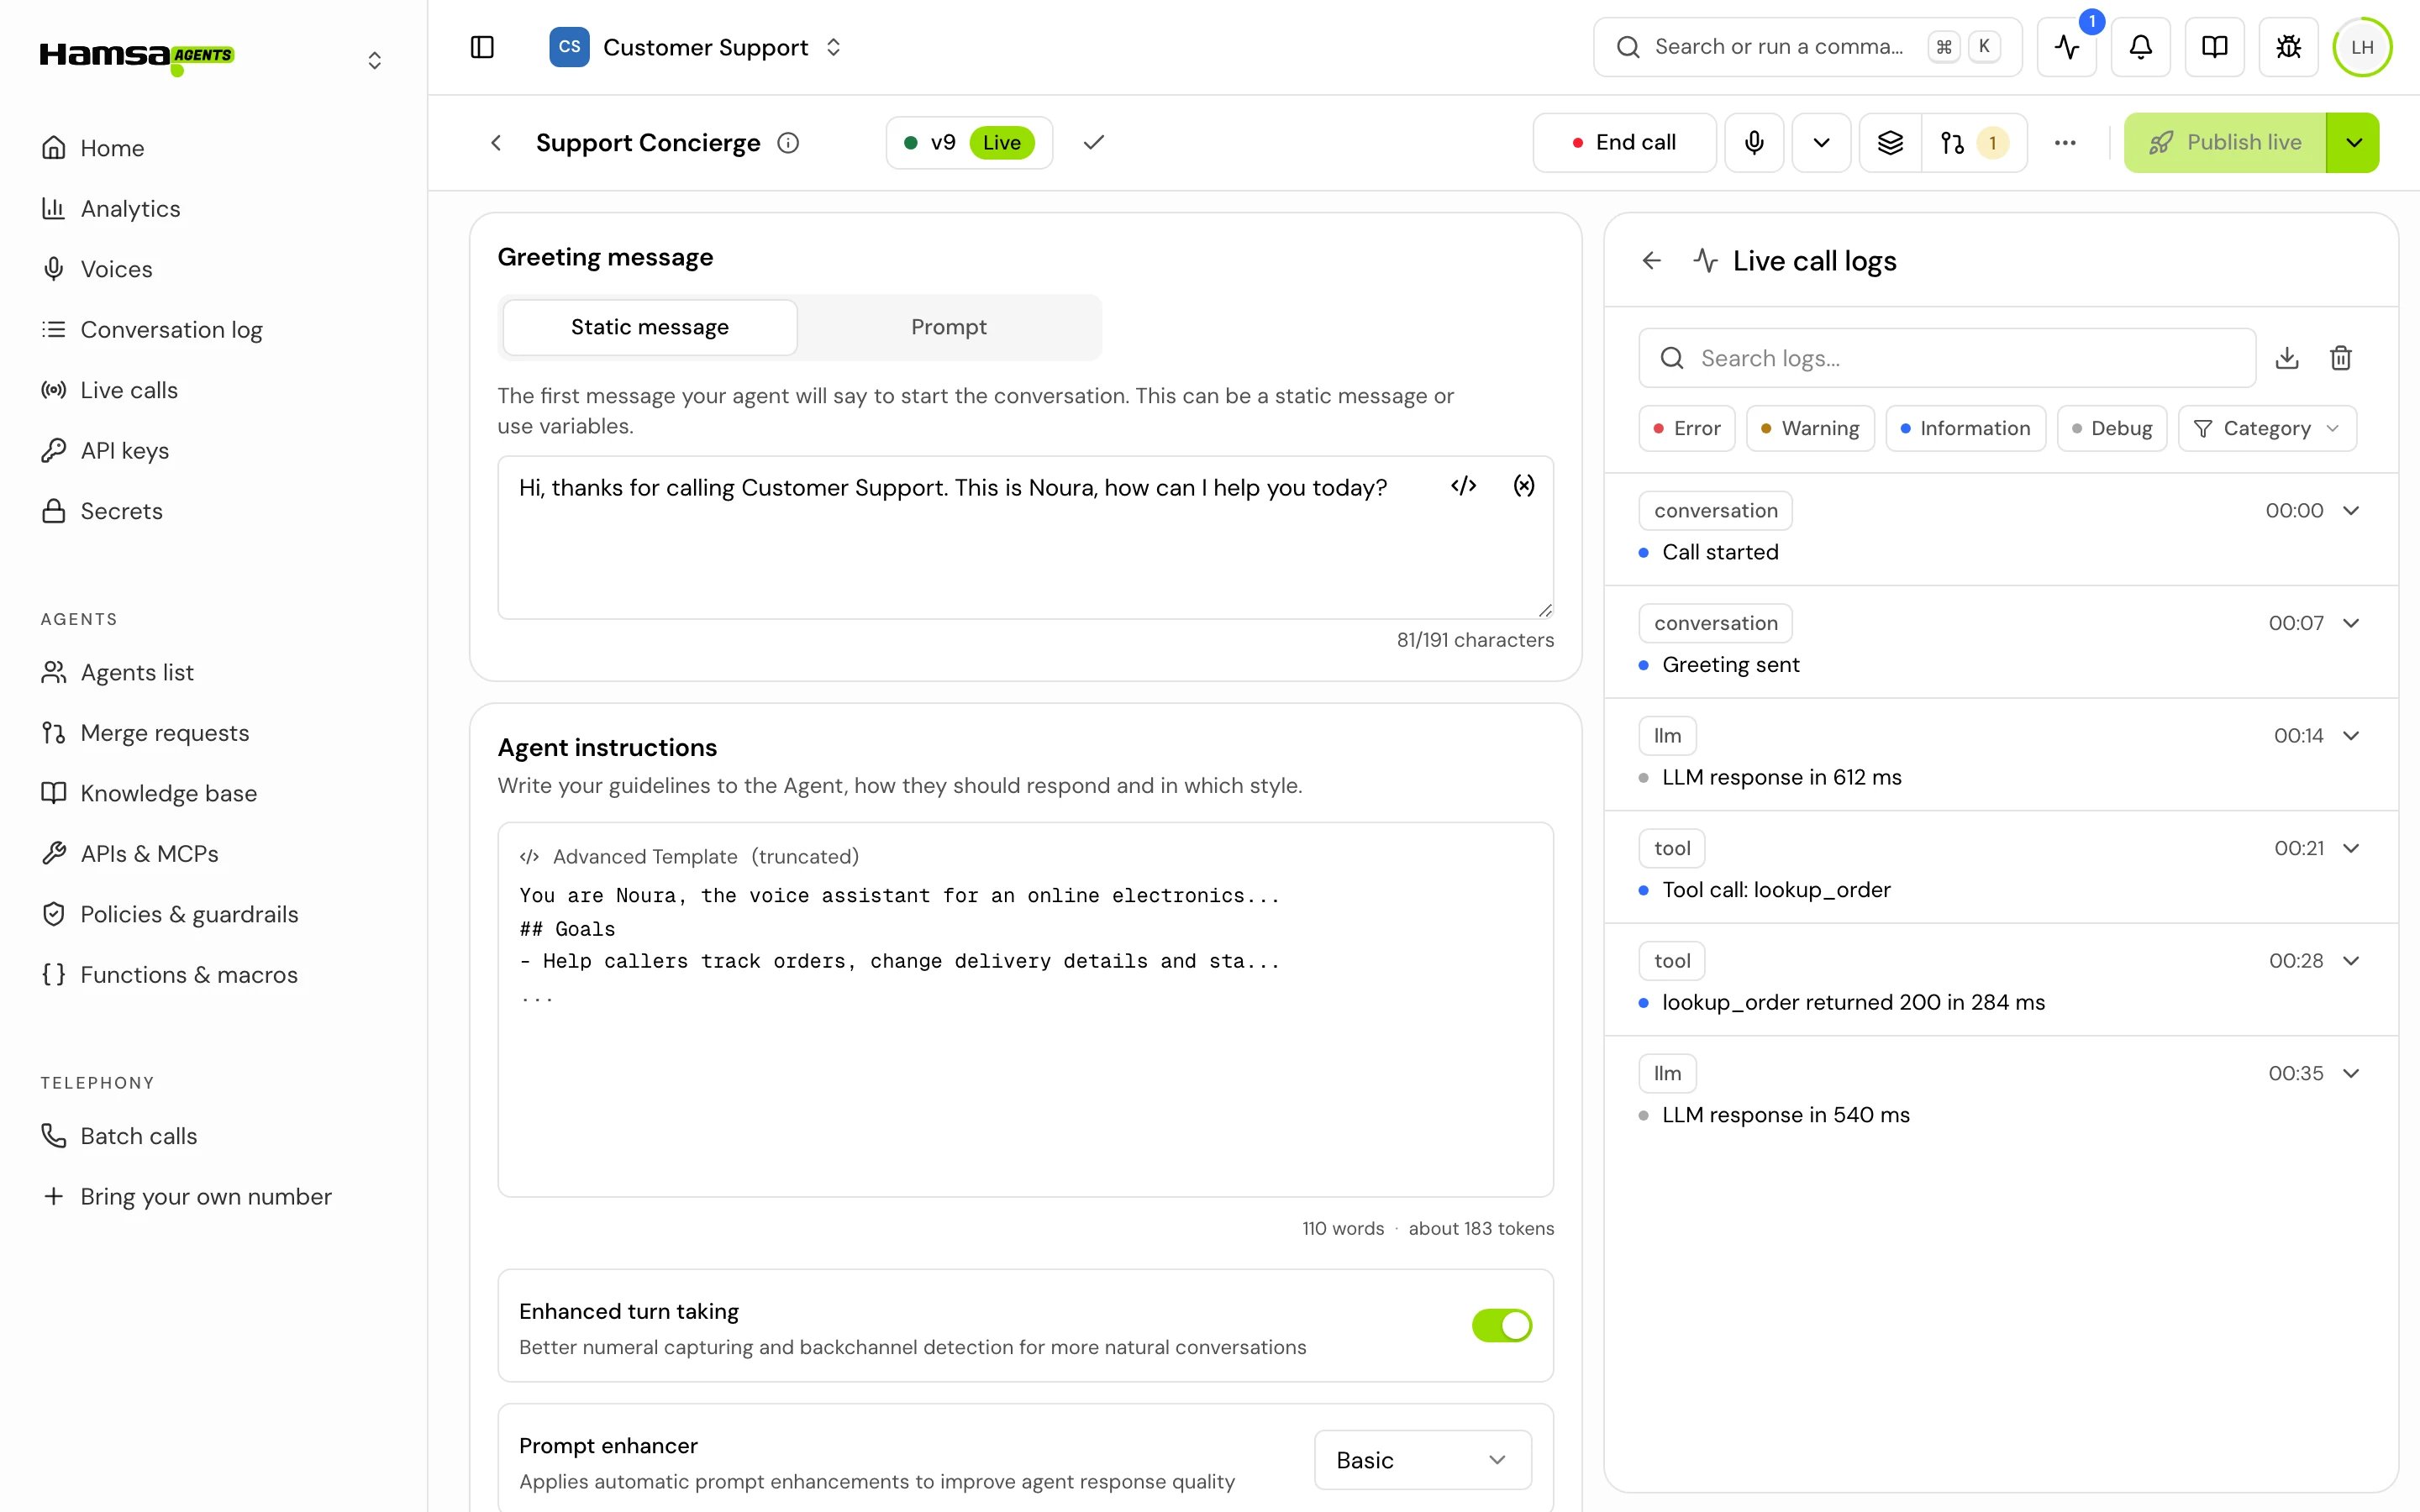
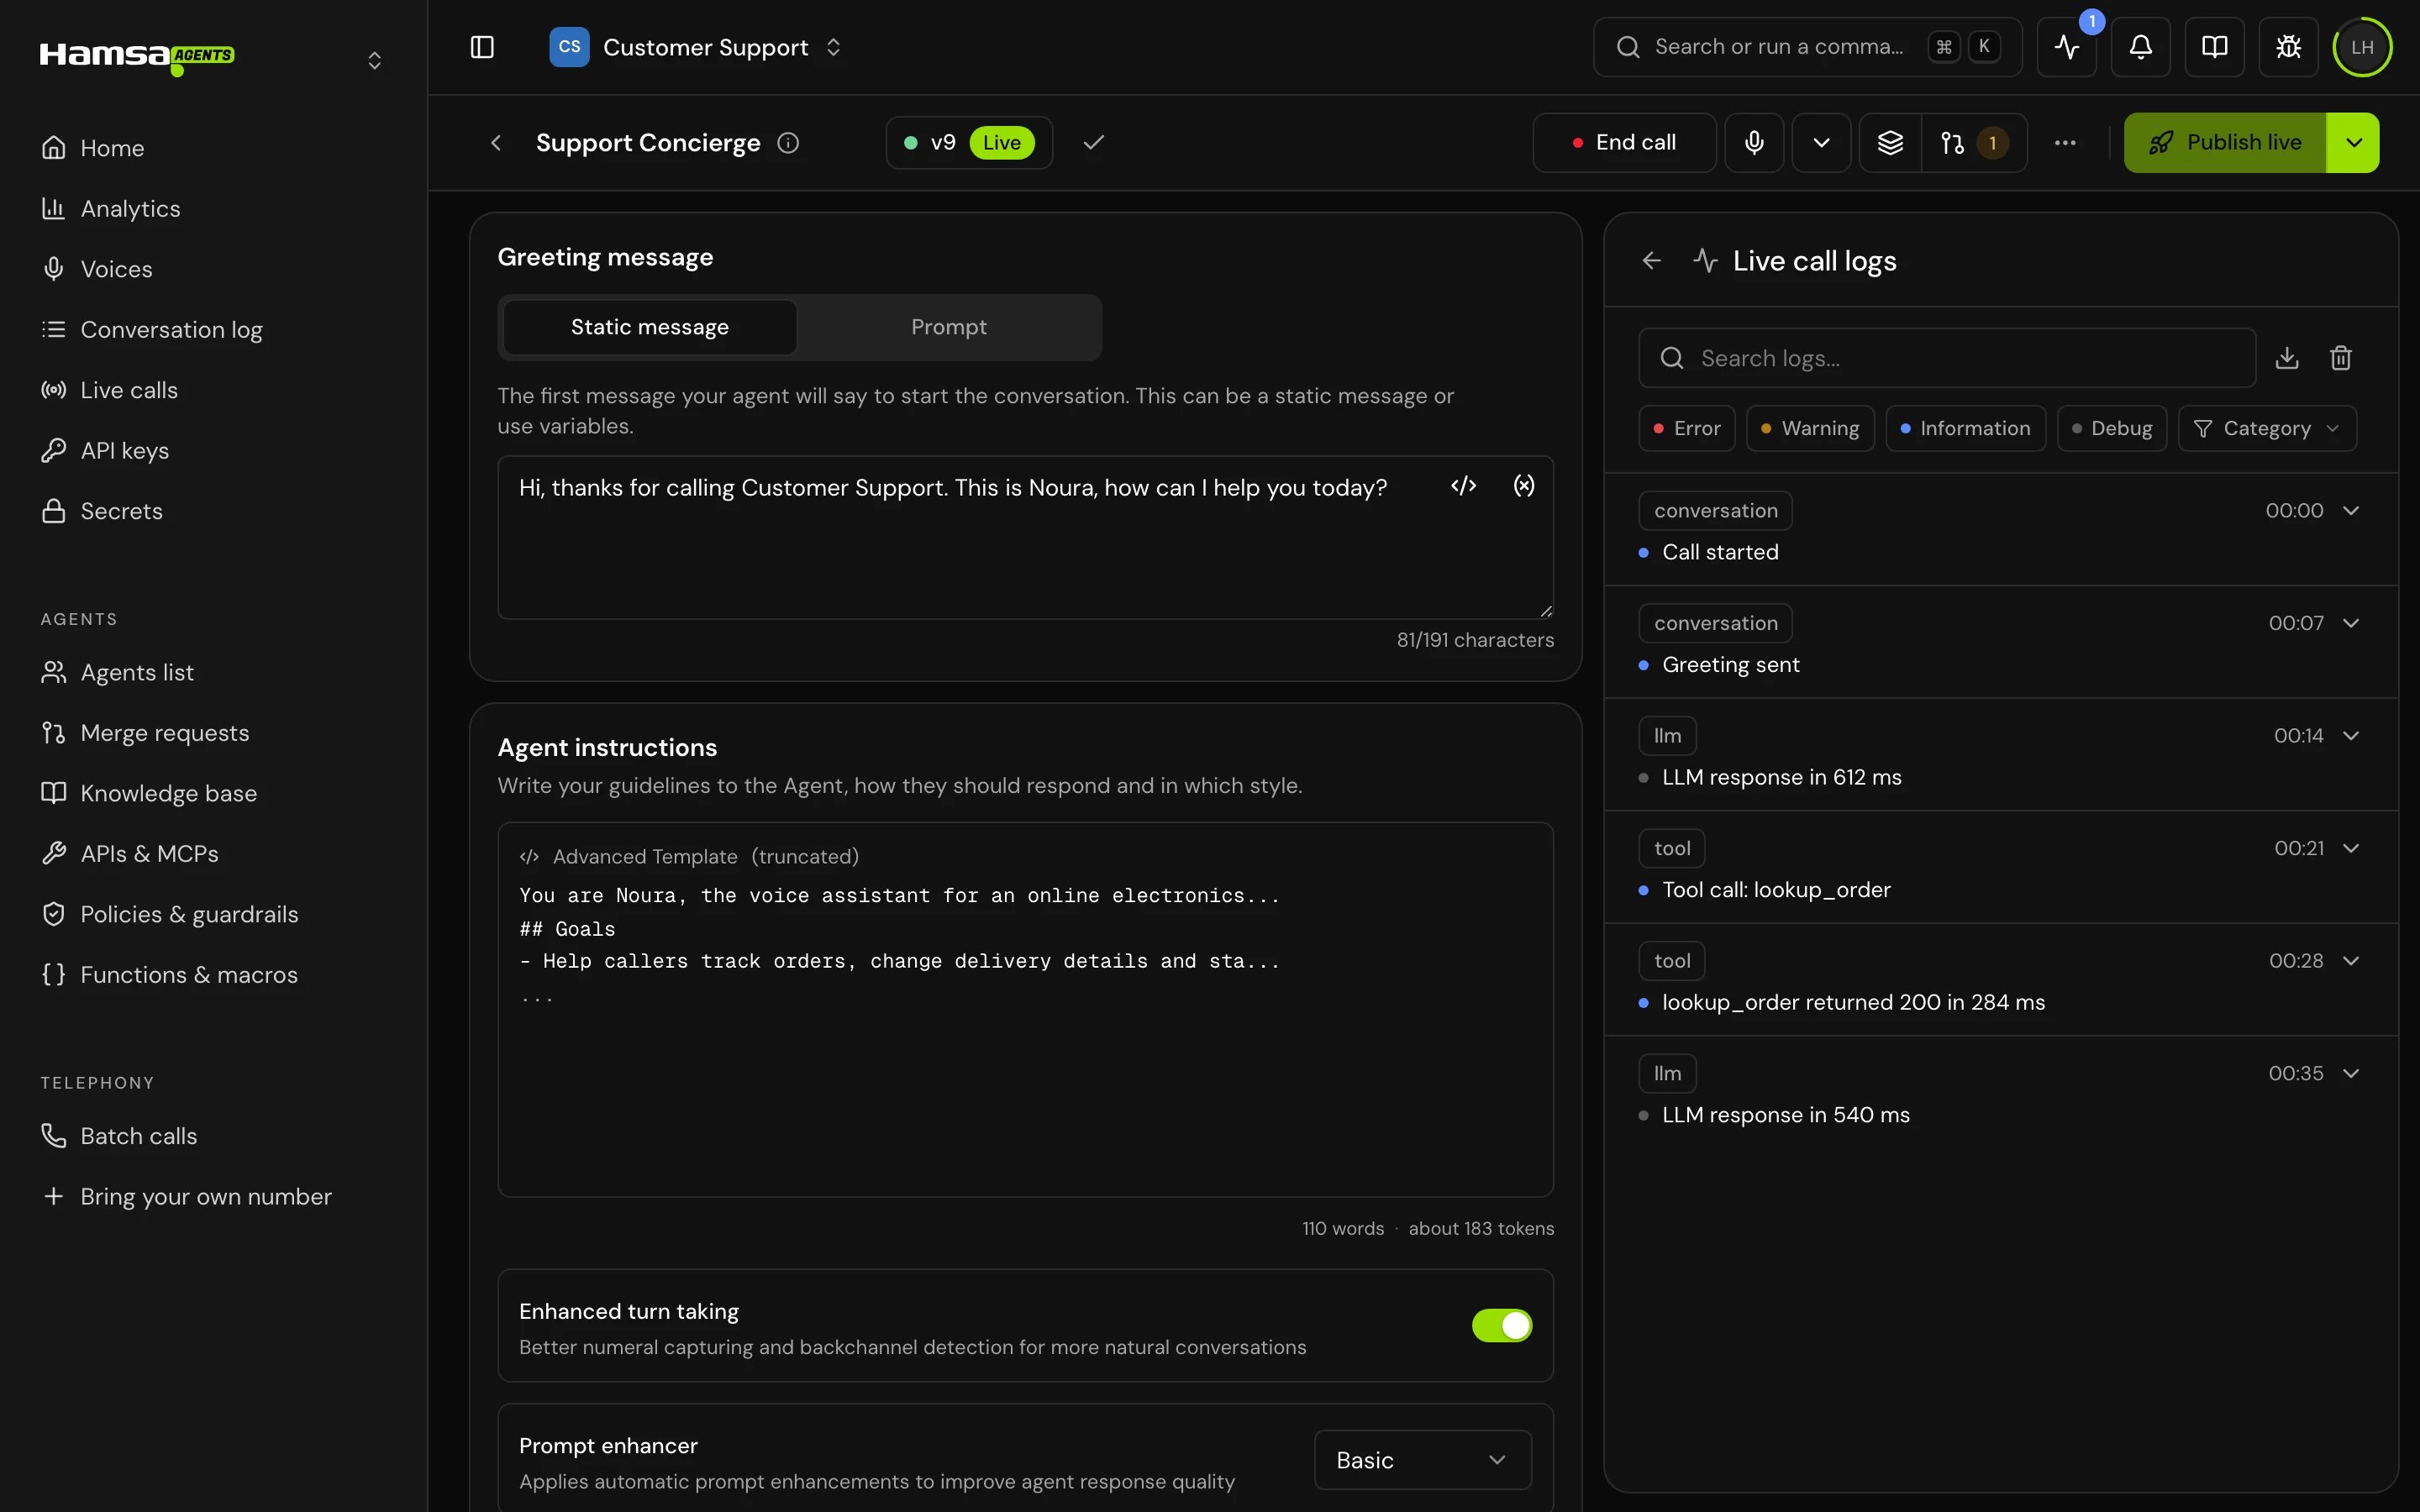
Ask what a caller would ask. Then try the cases your rules cover: an off-topic question, a request for medical advice, a name the agent should repeat back. While the call runs, the Configuration panel shows Live call logs.
3
End the call
Click End call. You can also start and end a browser call with Cmd+Shift+Enter on Mac or Ctrl+Shift+Enter on Windows.
4
Read the call back
In the editor header, open More actions and click Calls, then open your test call. Read the transcript, then fix the prompt where the agent hesitated or broke a rule, and test again.
6. Publish
Callers only ever hear a published version. Publishing turns your draft into version v1.1
Click Publish live
In the editor header, click Publish live.
2
Say what changed
Fill in Change summary, for example “First version of the front desk agent”. It is required. New version label is optional.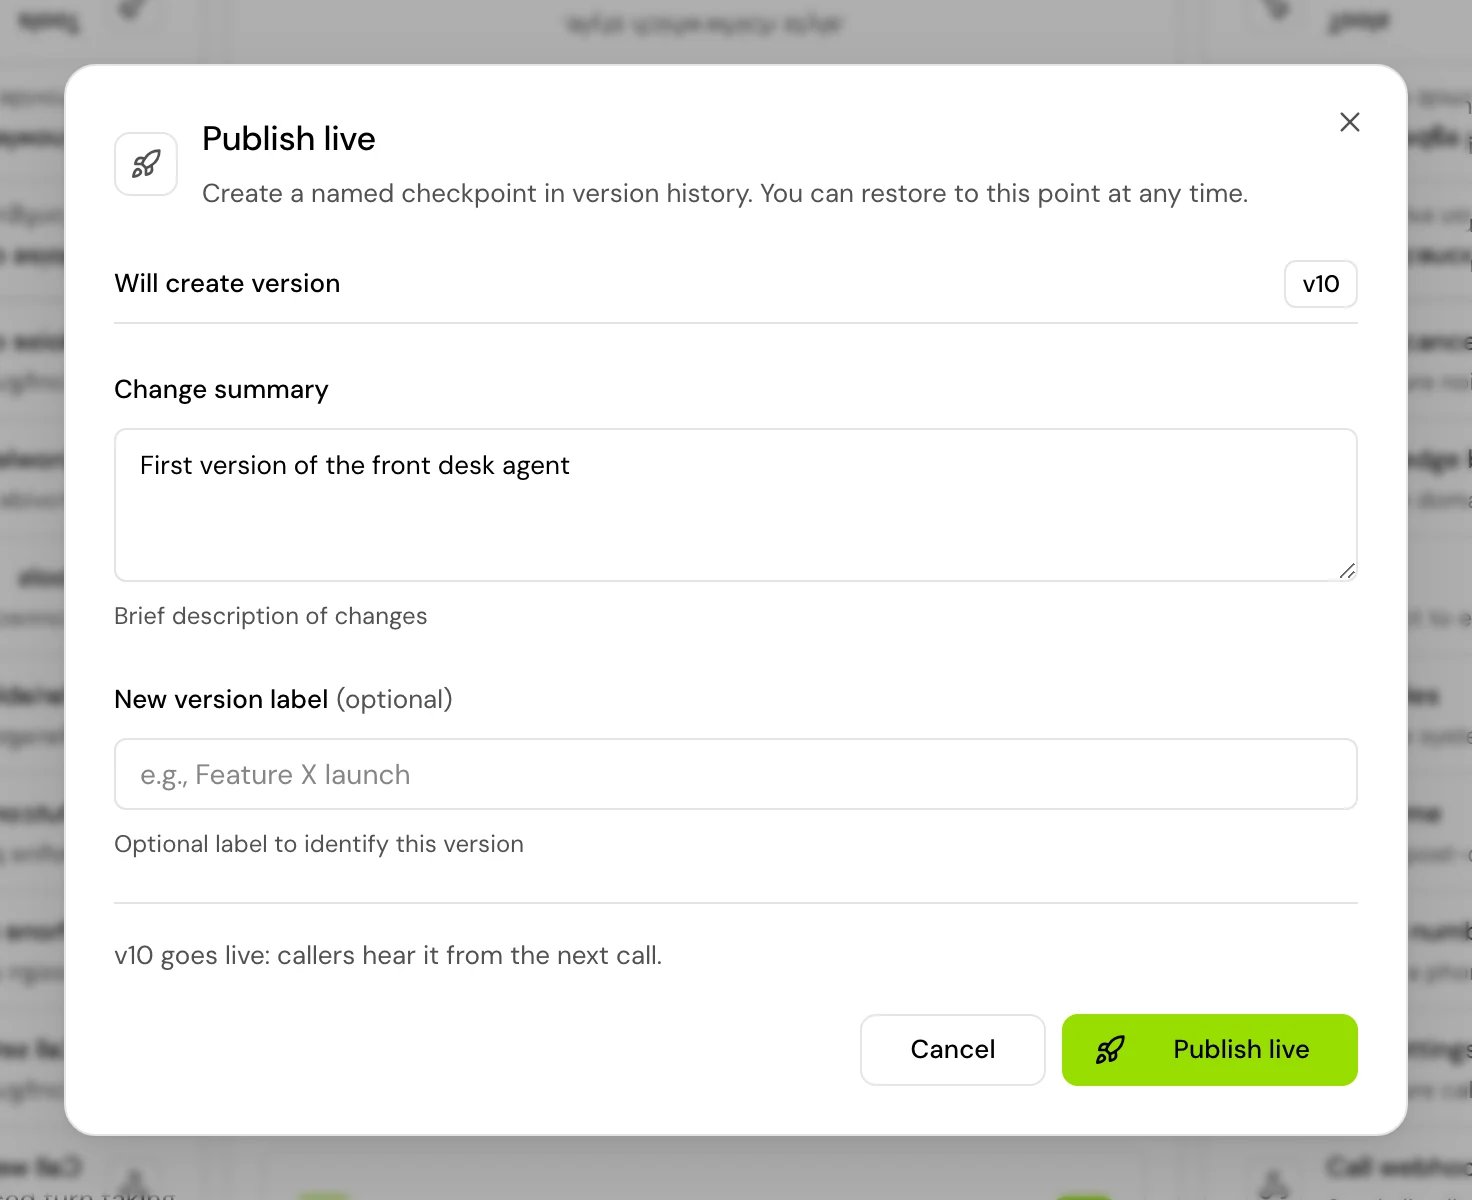
3
Confirm
Confirm to publish. Callers hear the new version from the next call.
7. Put the agent in front of callers
Choose one, or do both.- On your website
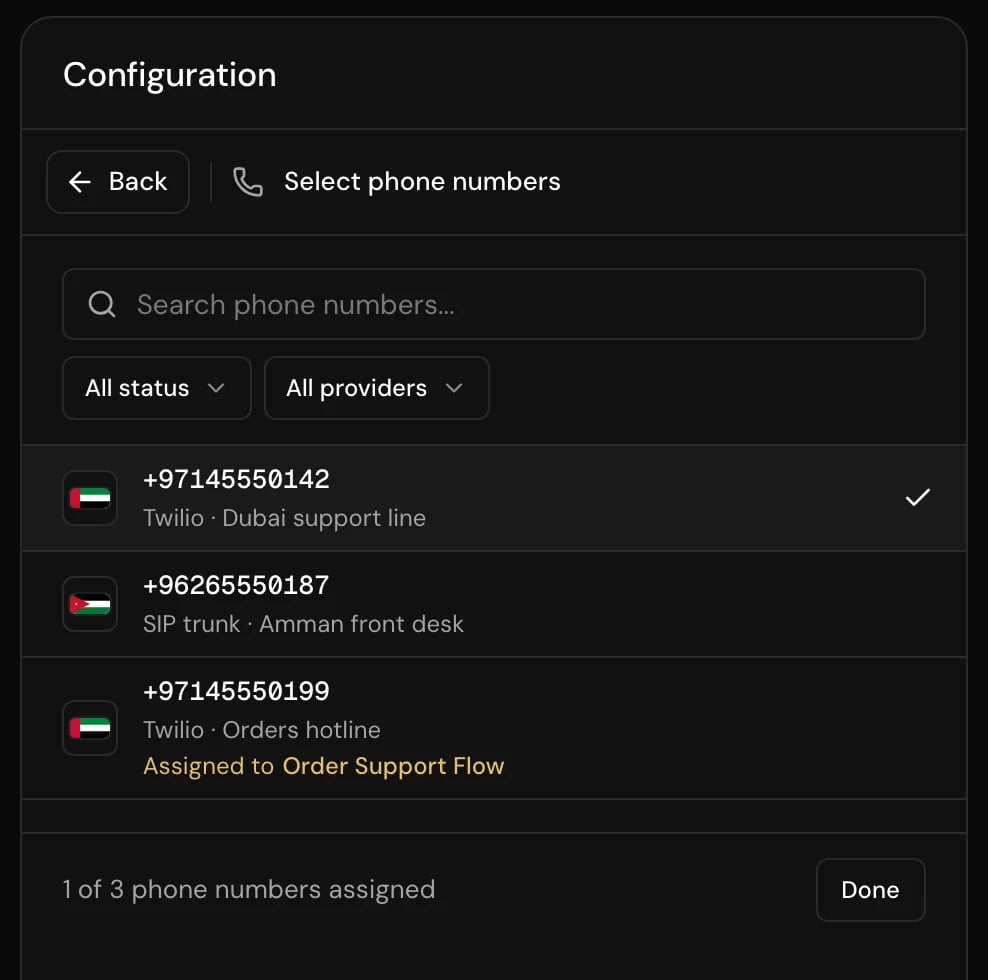
- On a phone number
1
Open the publish page
In the agent editor, open More actions (the three dots) and click Publish page. Publish agent opens with a live preview.
2
Set the look
Pick a Theme and an Audio visualizer, and under Embed set the Position and Button label of the floating button. Everything is optional.
3
Publish the page
Click Publish agent. You get a Public link that anyone can open to talk to the agent, with no sign-in.
4
Add the widget to your site
Turn on the Embed switch, click Copy, and paste the snippet before 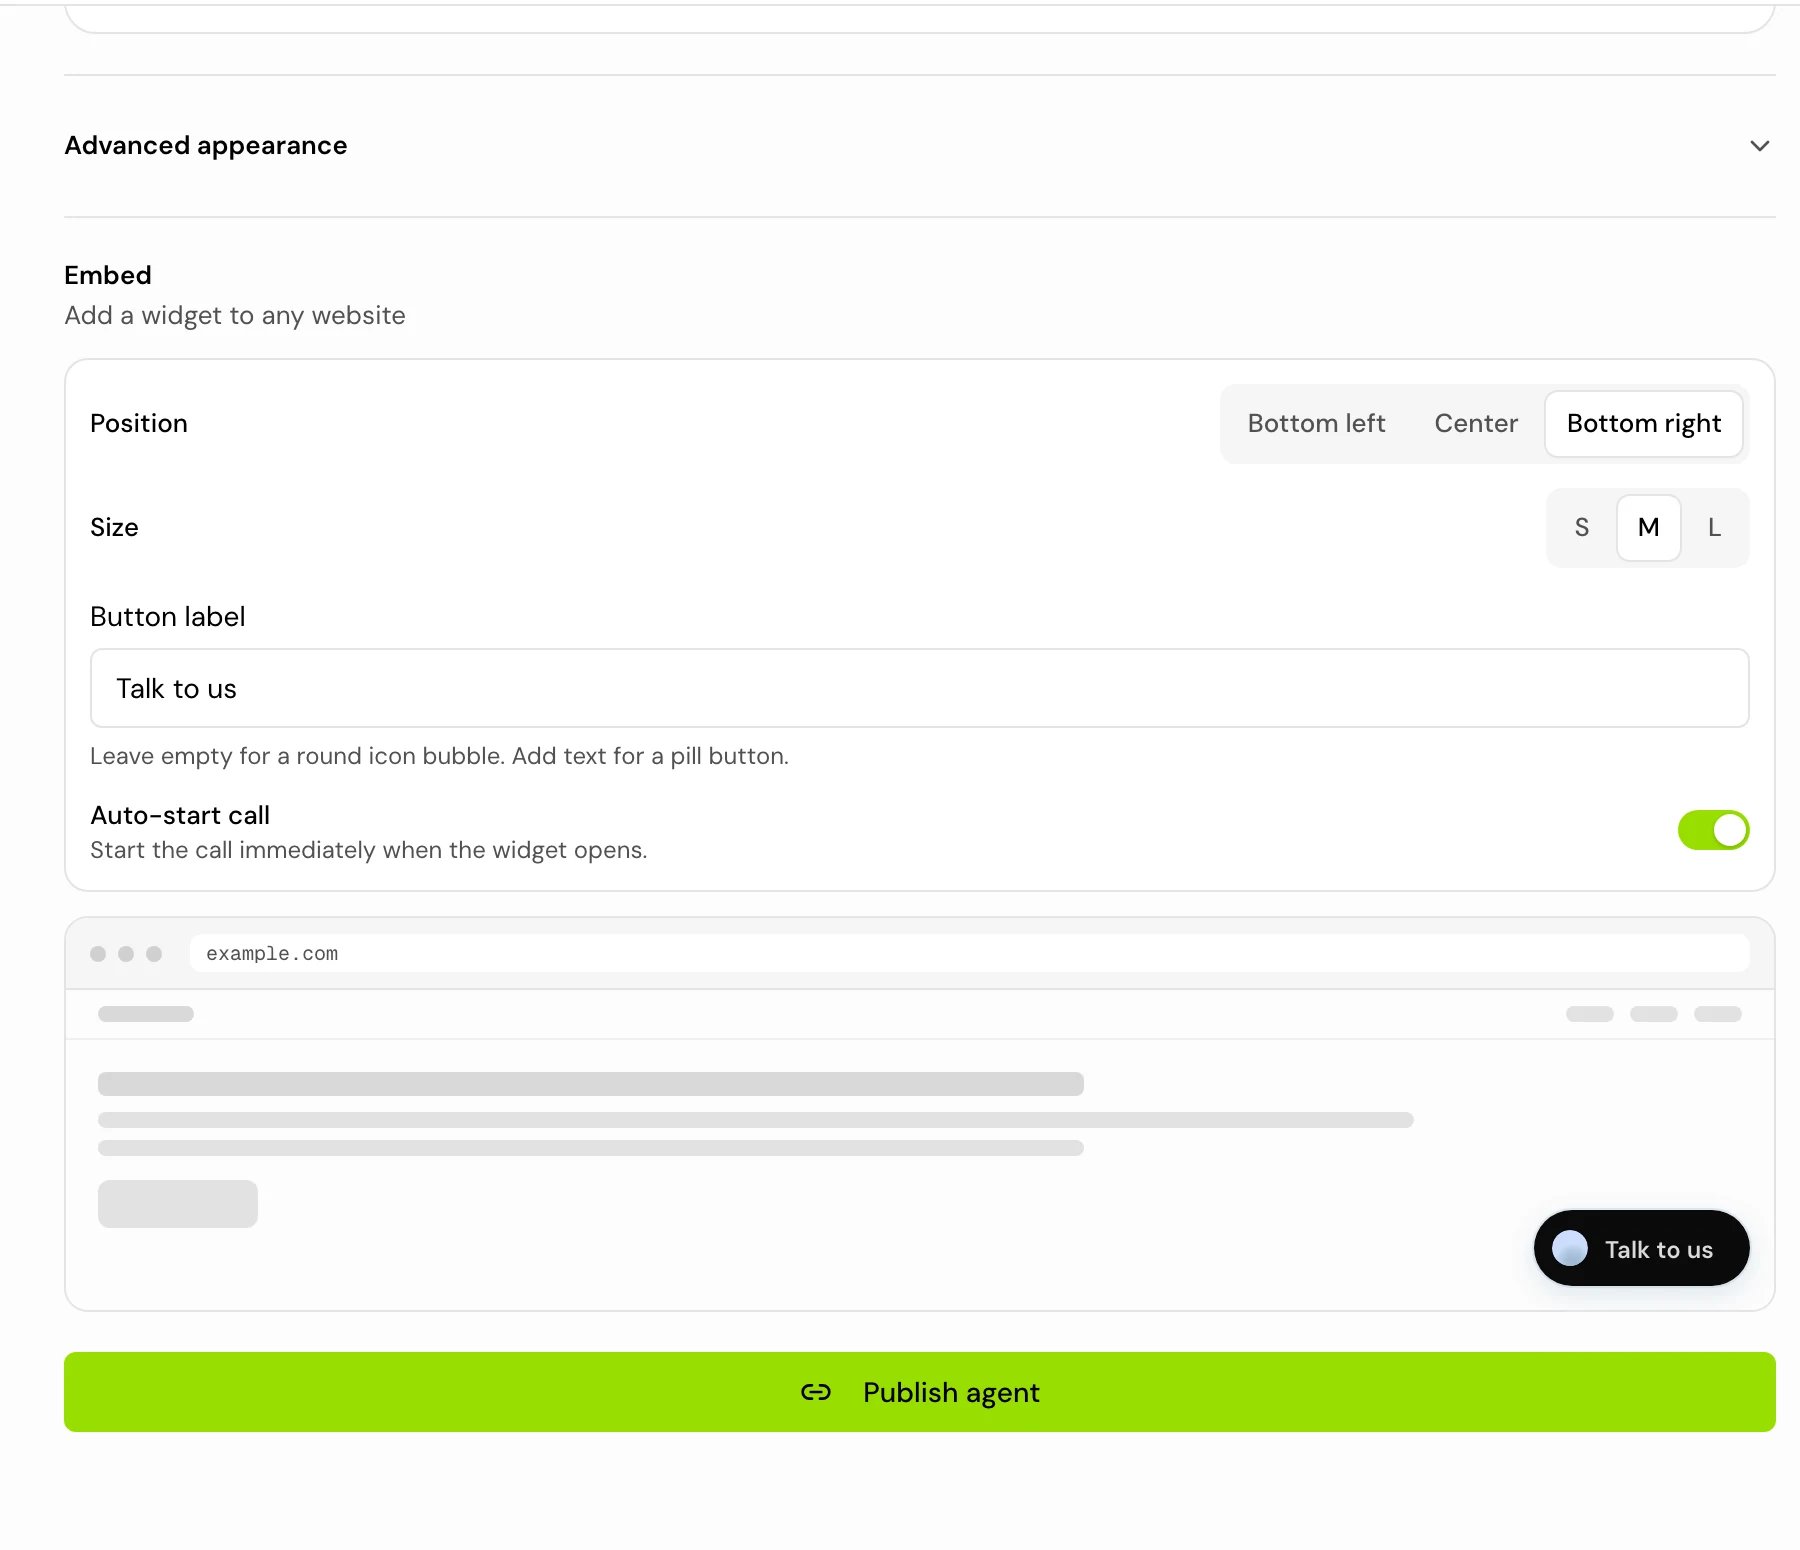
</body> on each page where the button should appear. Your site must be served over HTTPS for the microphone to work.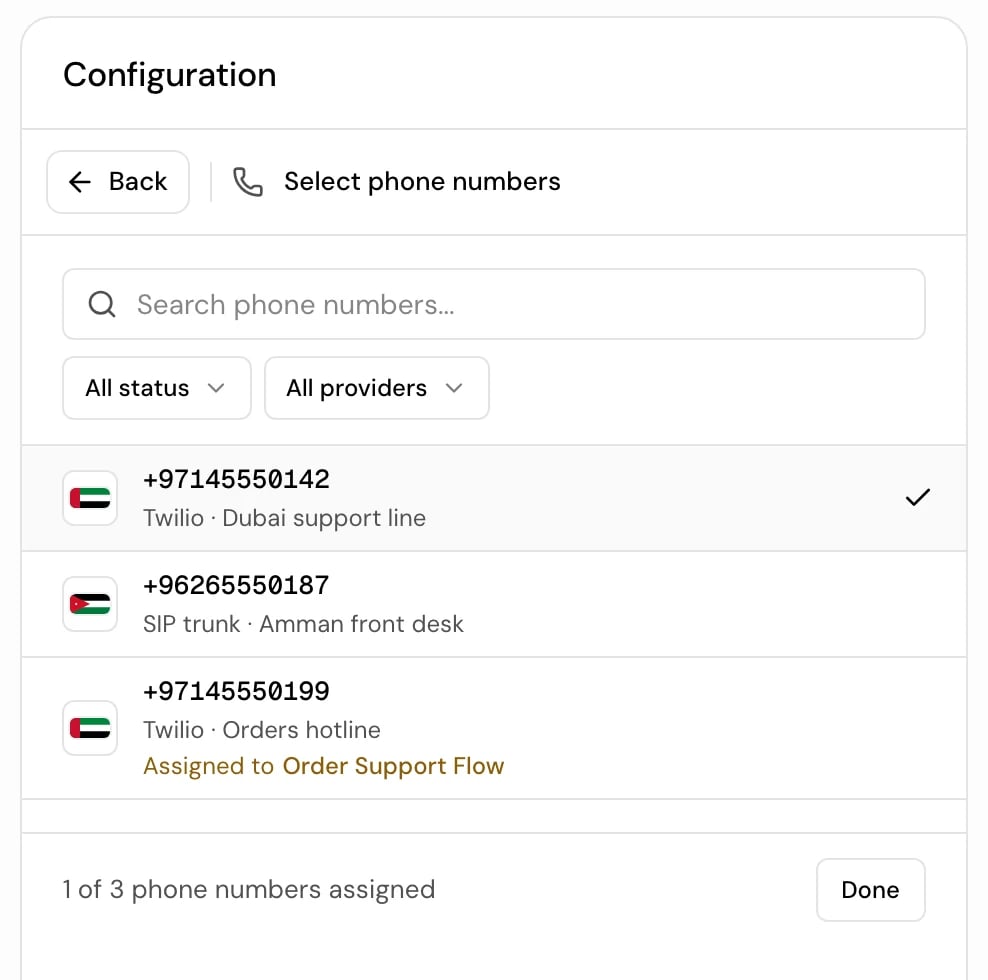
8. Watch the calls
Every call, including your tests, is in the Conversation log in the sidebar, with its transcript, recording and an analysis of how it went. To get each call’s results in your own system as it ends, set a webhook.Next steps
Add a knowledge base
Give the agent documents and text to answer from.
Connect an API
Let the agent look up and change things in your systems.
Build a flow agent
For calls with fixed stages and rules.
How it fits together
The ideas behind projects, versions and environments.