

Before you start
- To edit, your role must allow editing agents. Without it the builder opens with View only: “You do not have permission to edit this agent. Changes you make here will not be saved.” See Roles and permissions.
- The canvas can’t be edited on a phone. On a small screen you get an overview of the agent and can test it, but not change it.
Find your way around
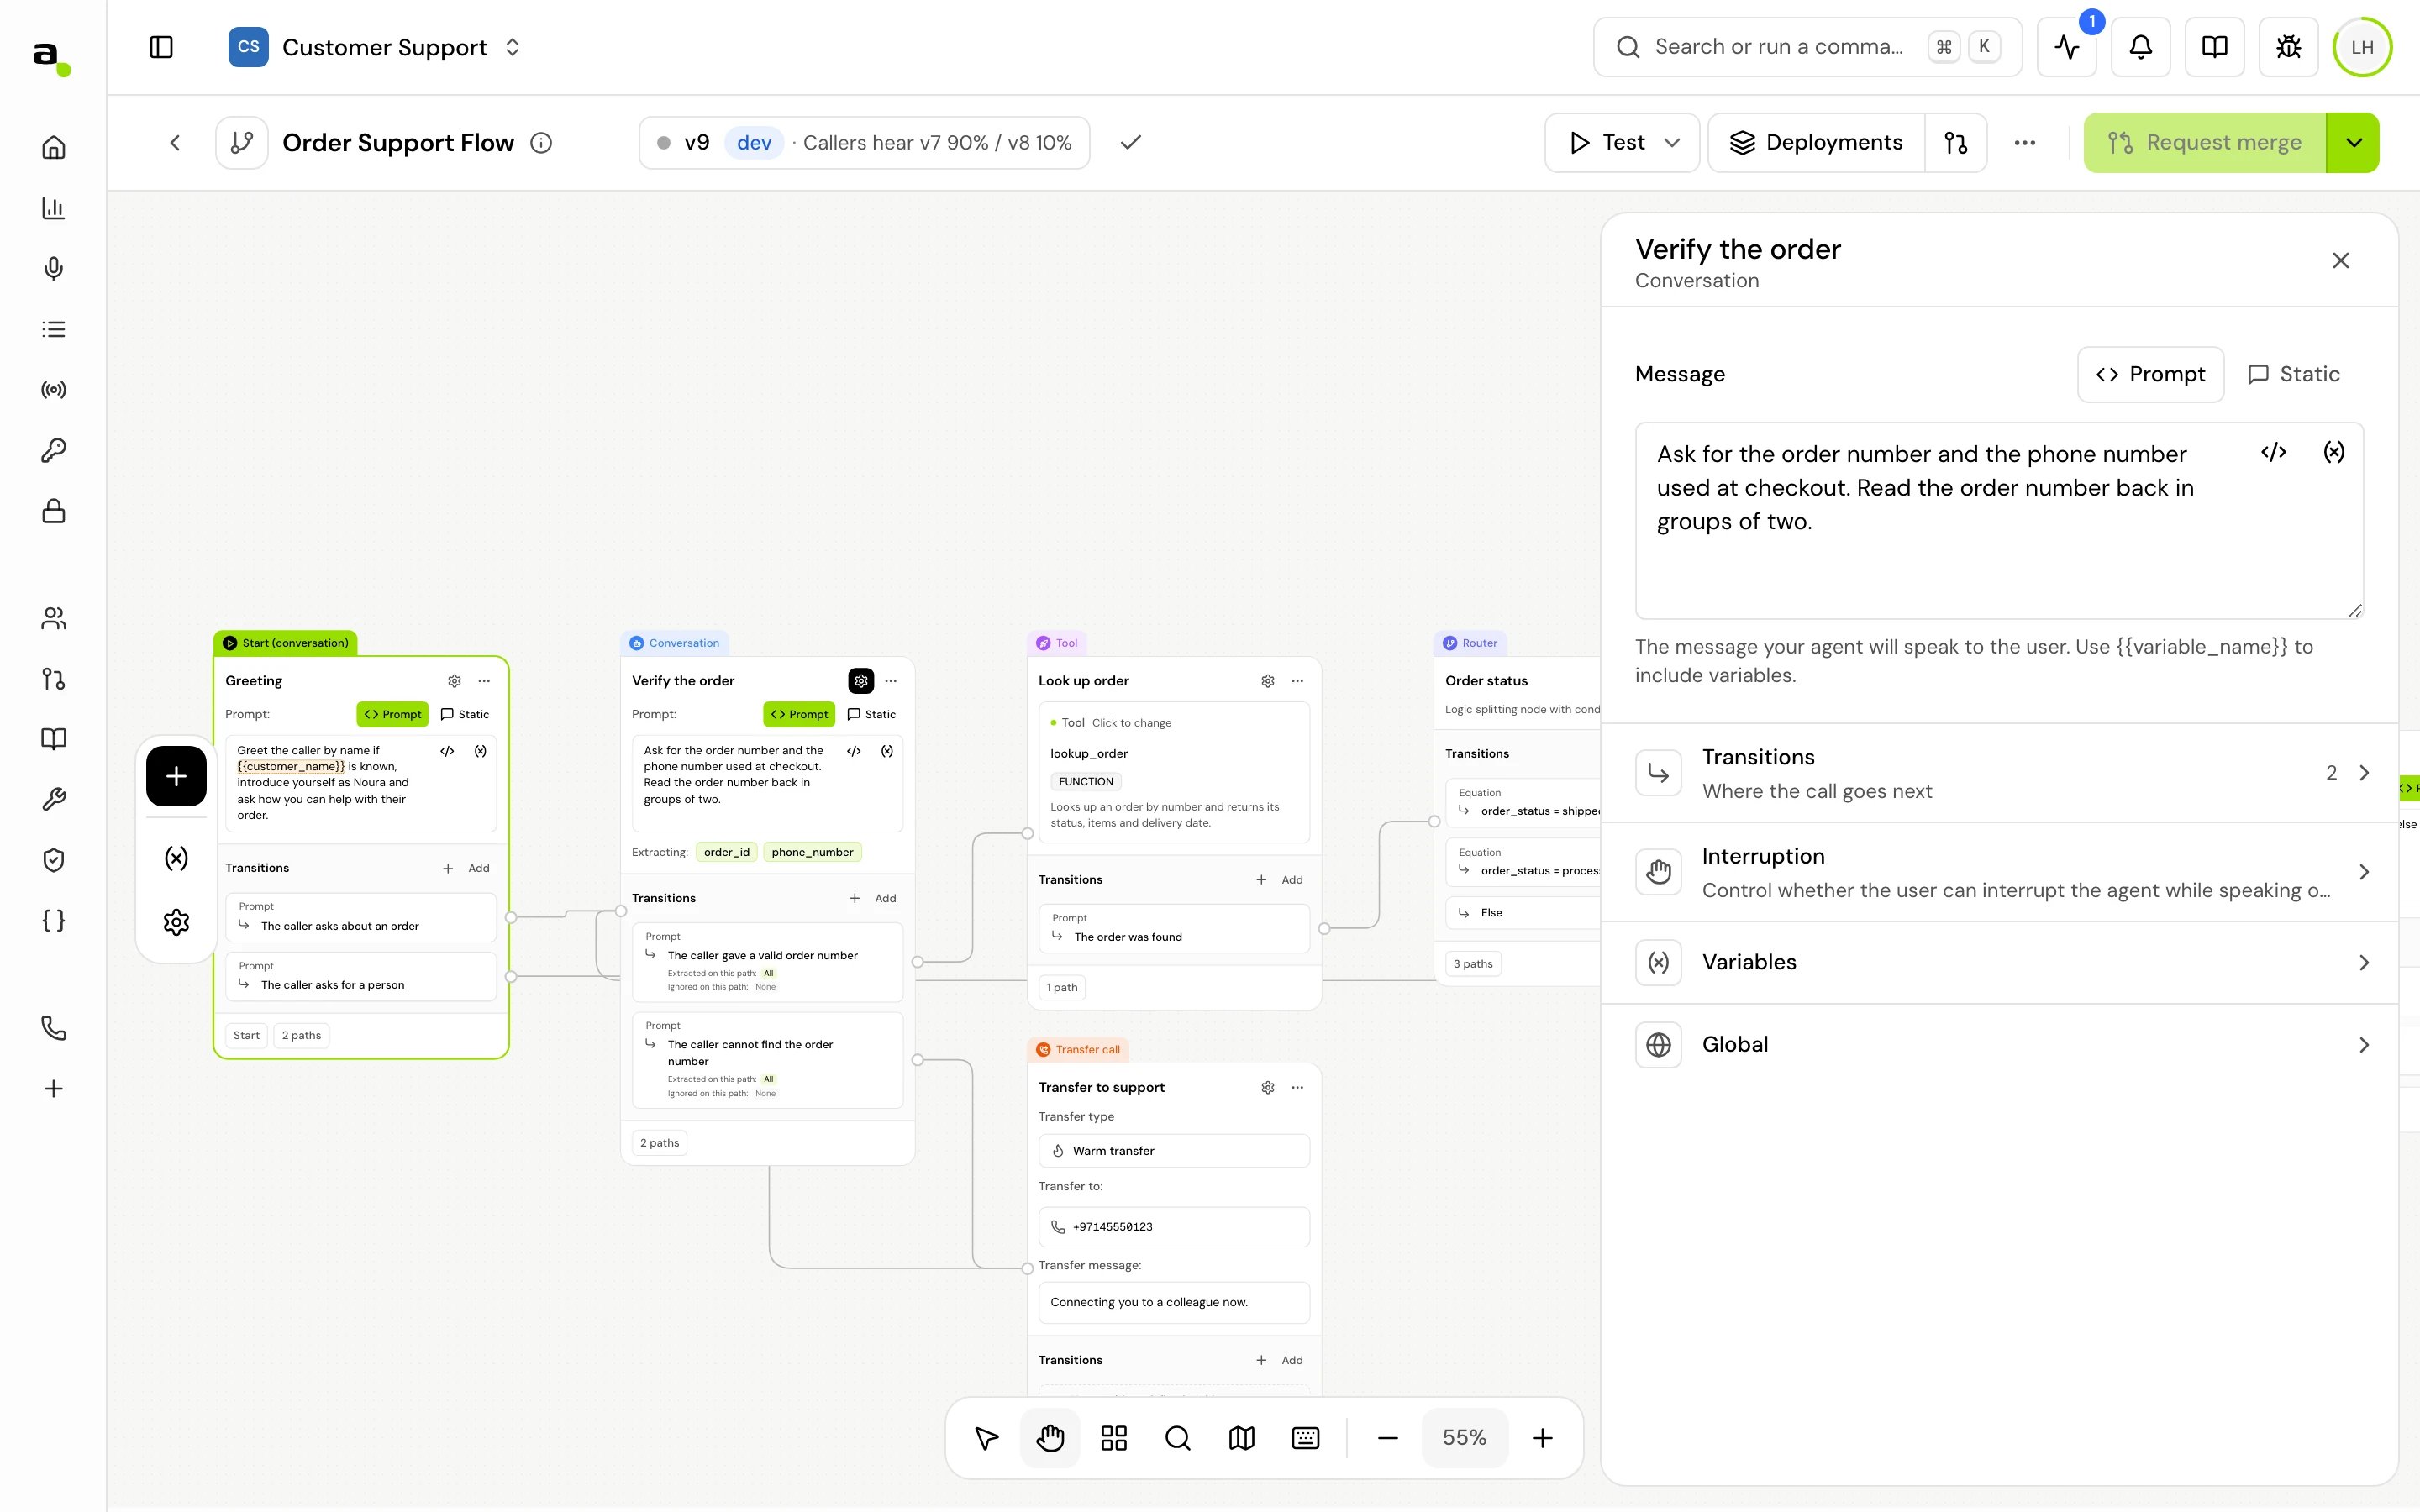
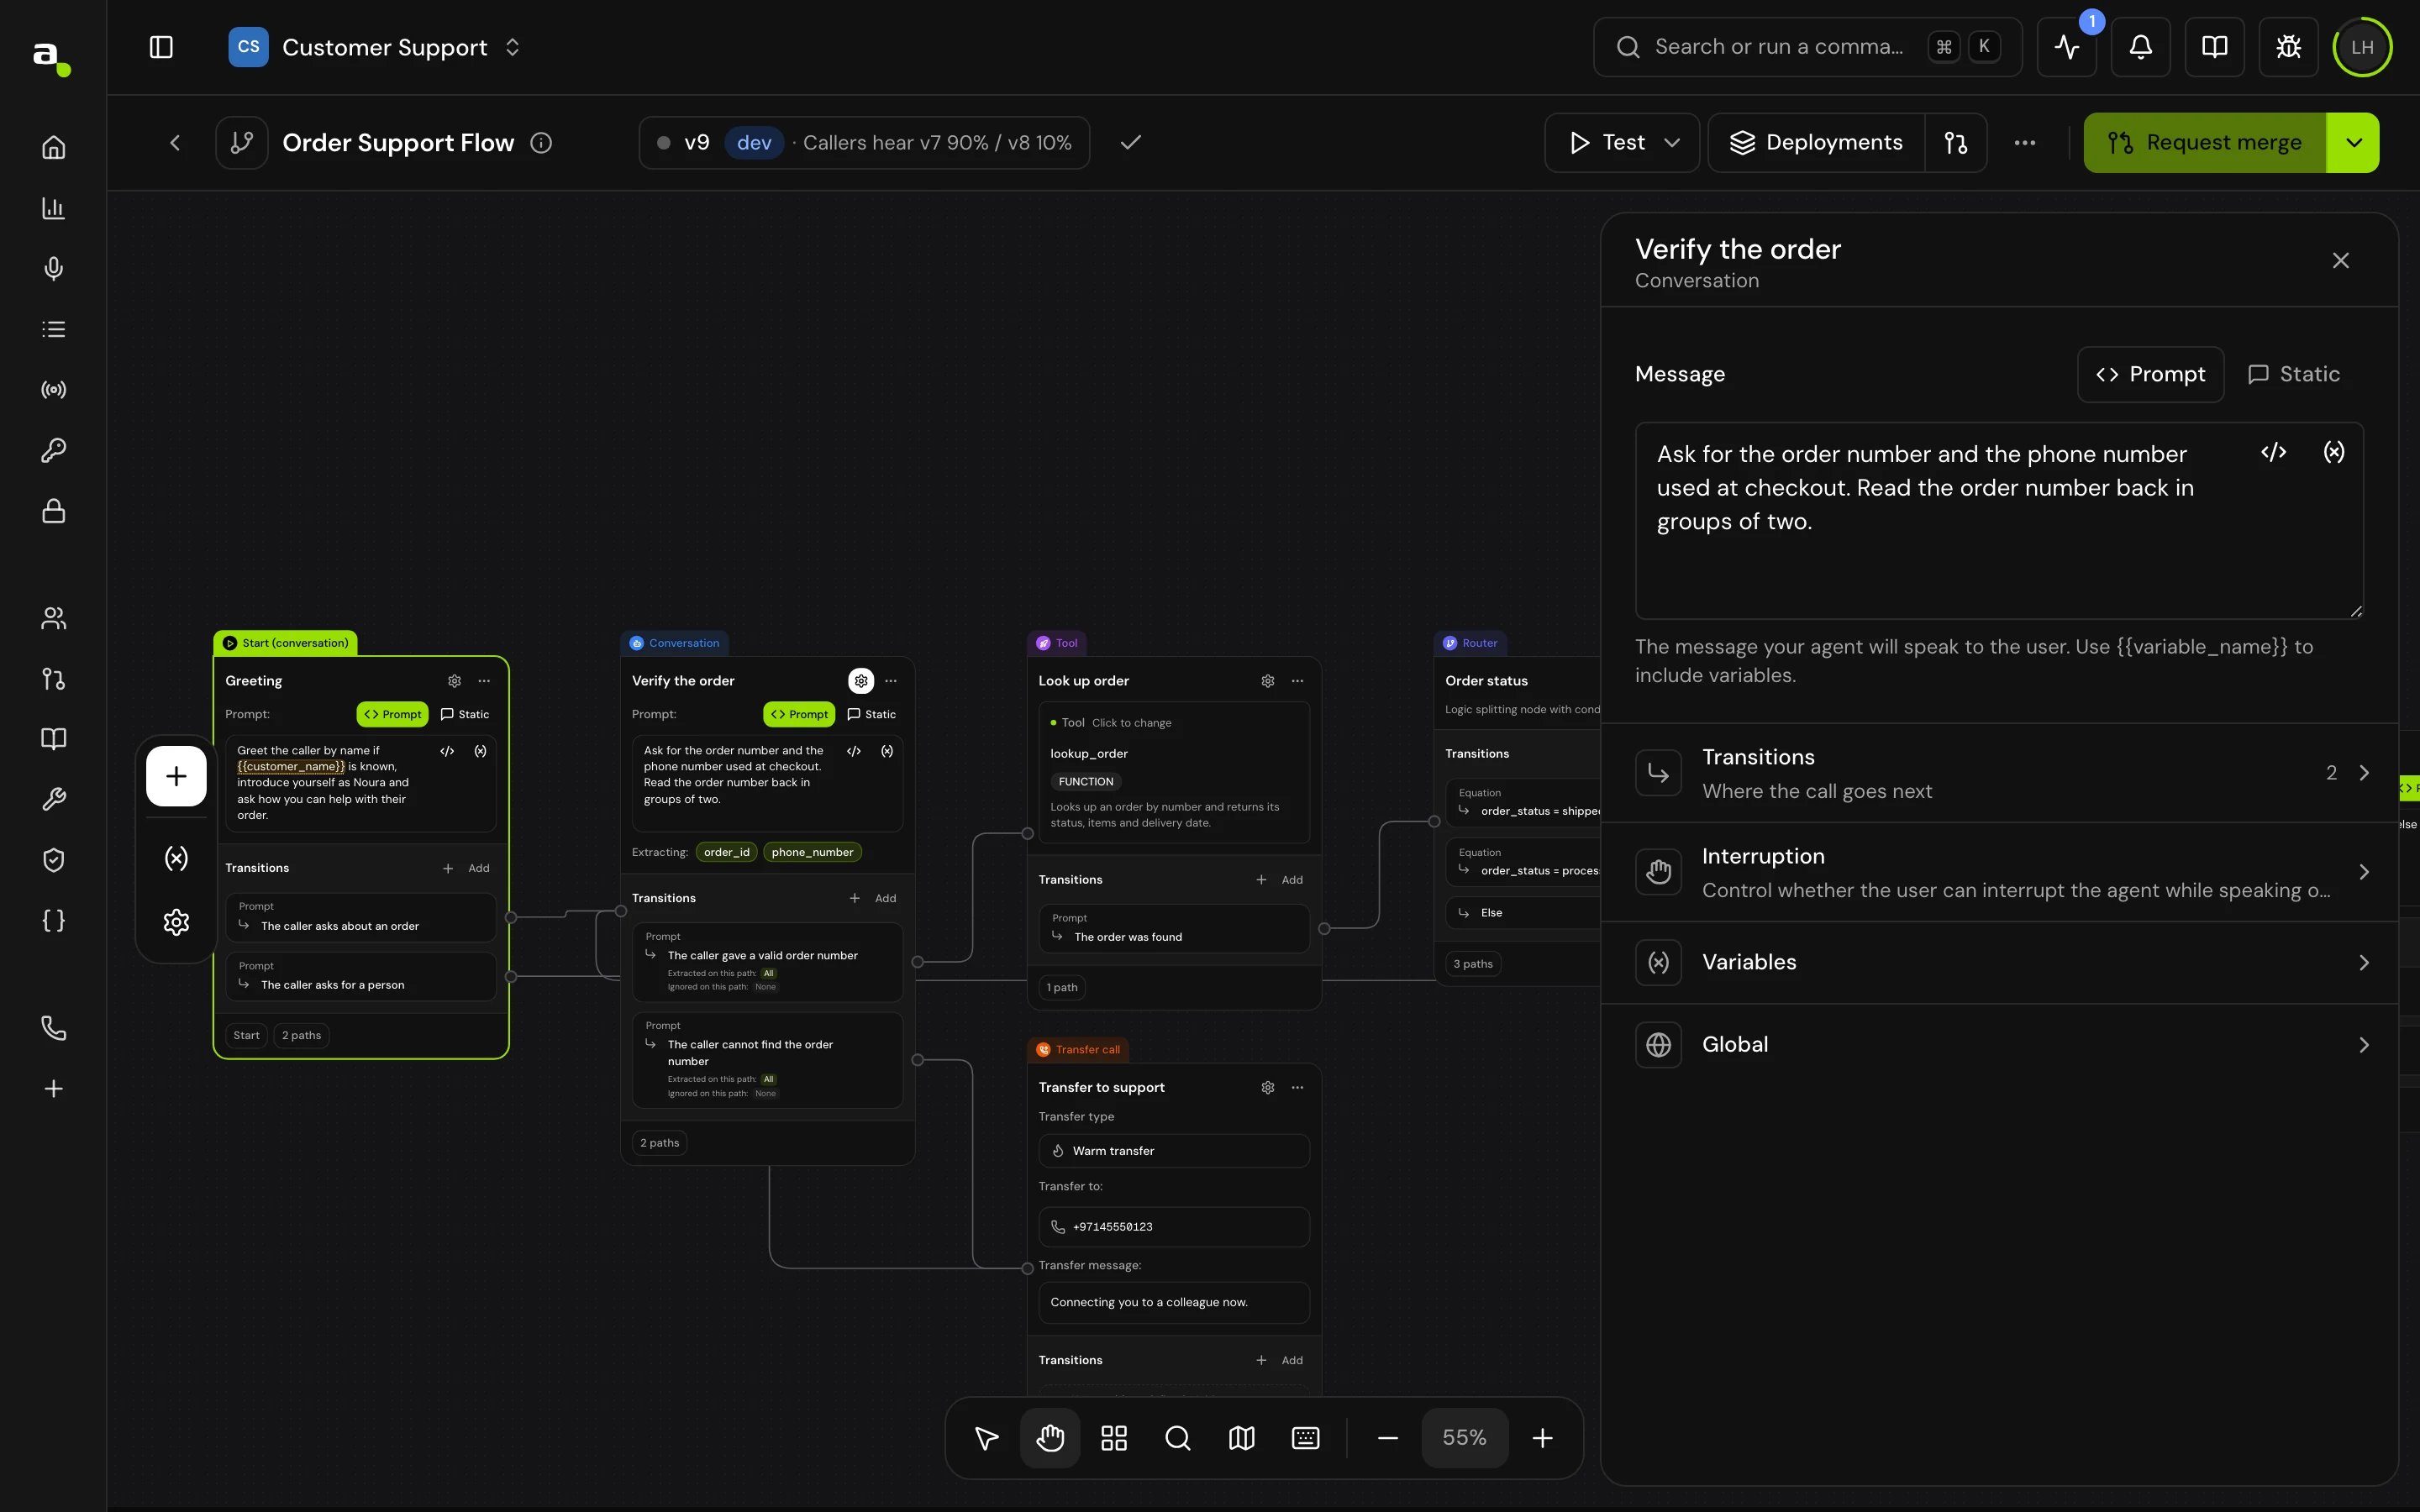
The Start step has its own colour, a lime frame and a solid lime tab, so you can find where calls begin at a glance. No other step uses it.
The app calls steps “nodes” on some buttons and labels, such as Add node. These docs say “step”.
Add a step
1
Open the step list
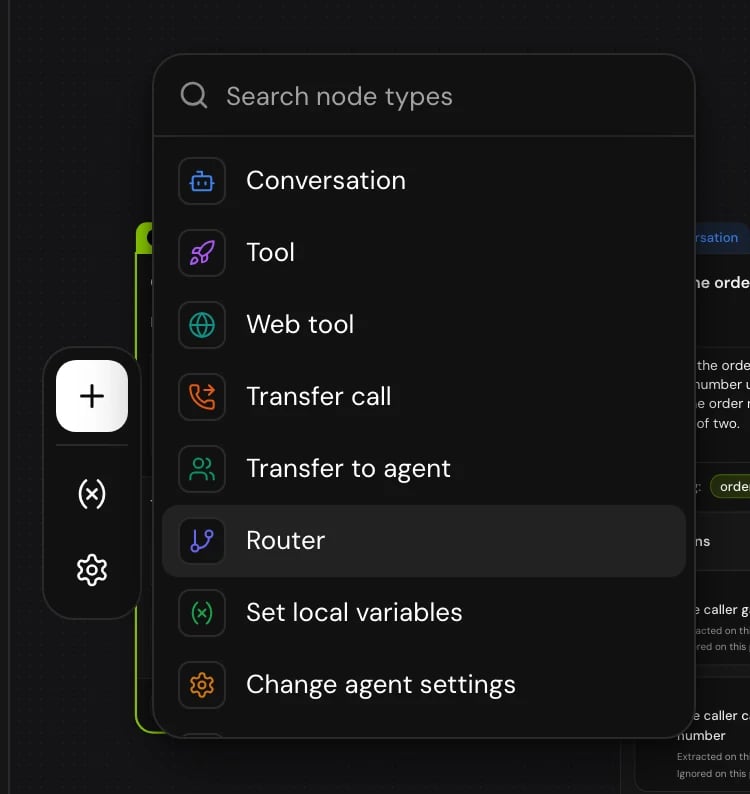
Click Add node in the tool rail.
2
Pick a type
Type in Search node types or scroll the list, then click the type. Hover a type to read what it does.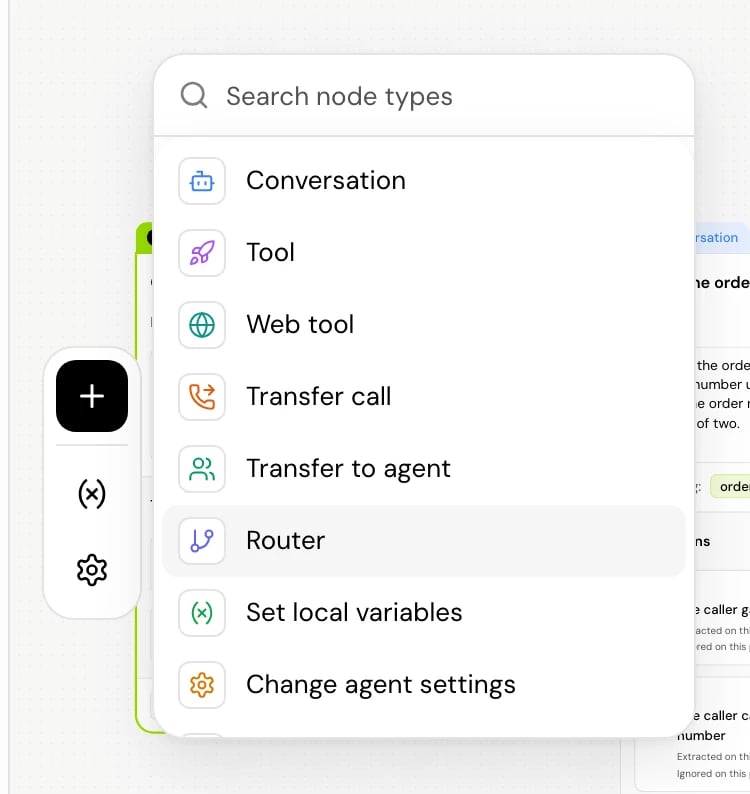
3
Set it up
The step appears in the middle of the canvas and its settings panel opens. Give it a label (up to 100 characters) so you can tell it apart on the canvas and in call logs.
Connect steps
Steps are connected through their transitions. Each transition on a step card has a handle; the connection from that handle to another step says “when this transition is taken, go there”.1
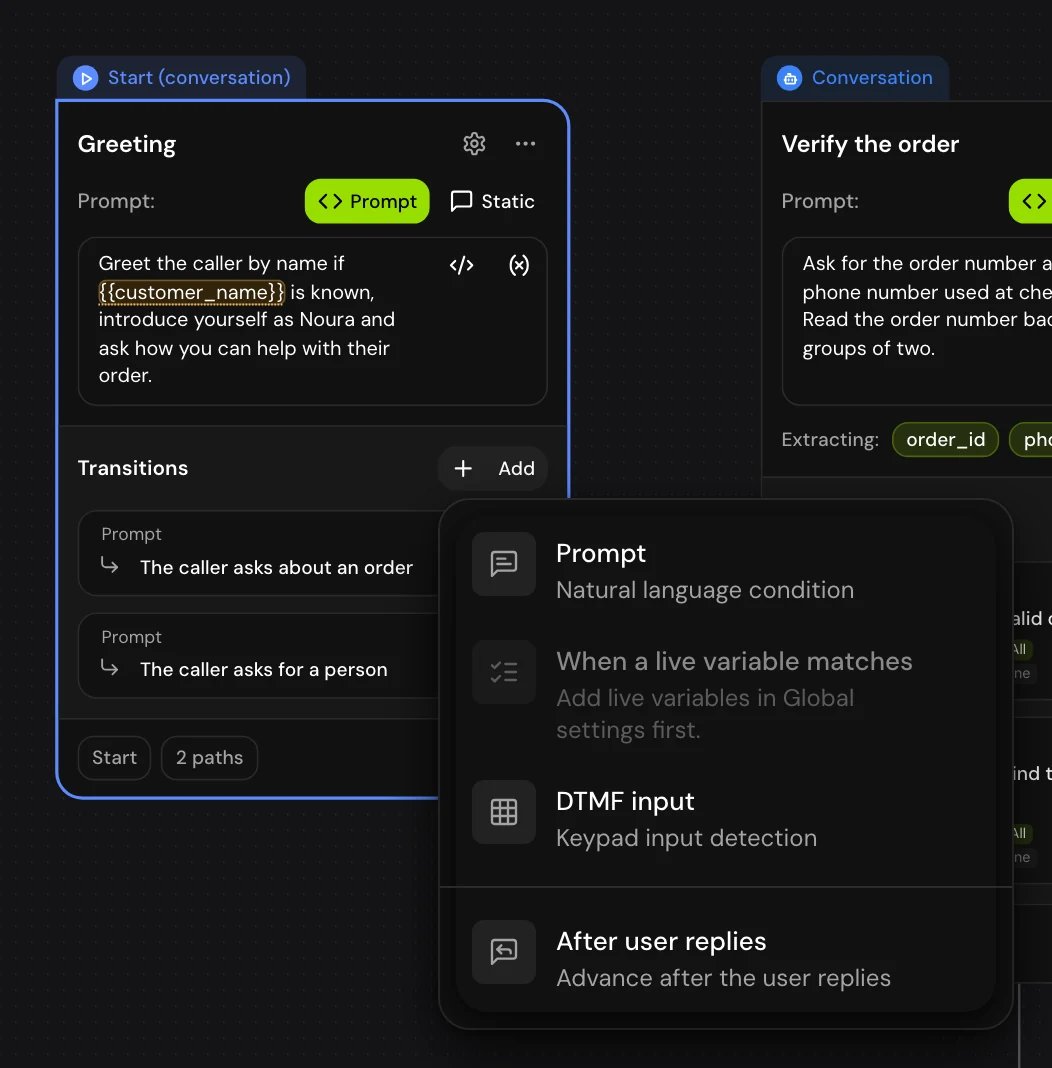
Add a transition
On the step card, click Add (“Add new transition”) and choose a type, such as Prompt. The types a step offers depend on the step. See Transitions.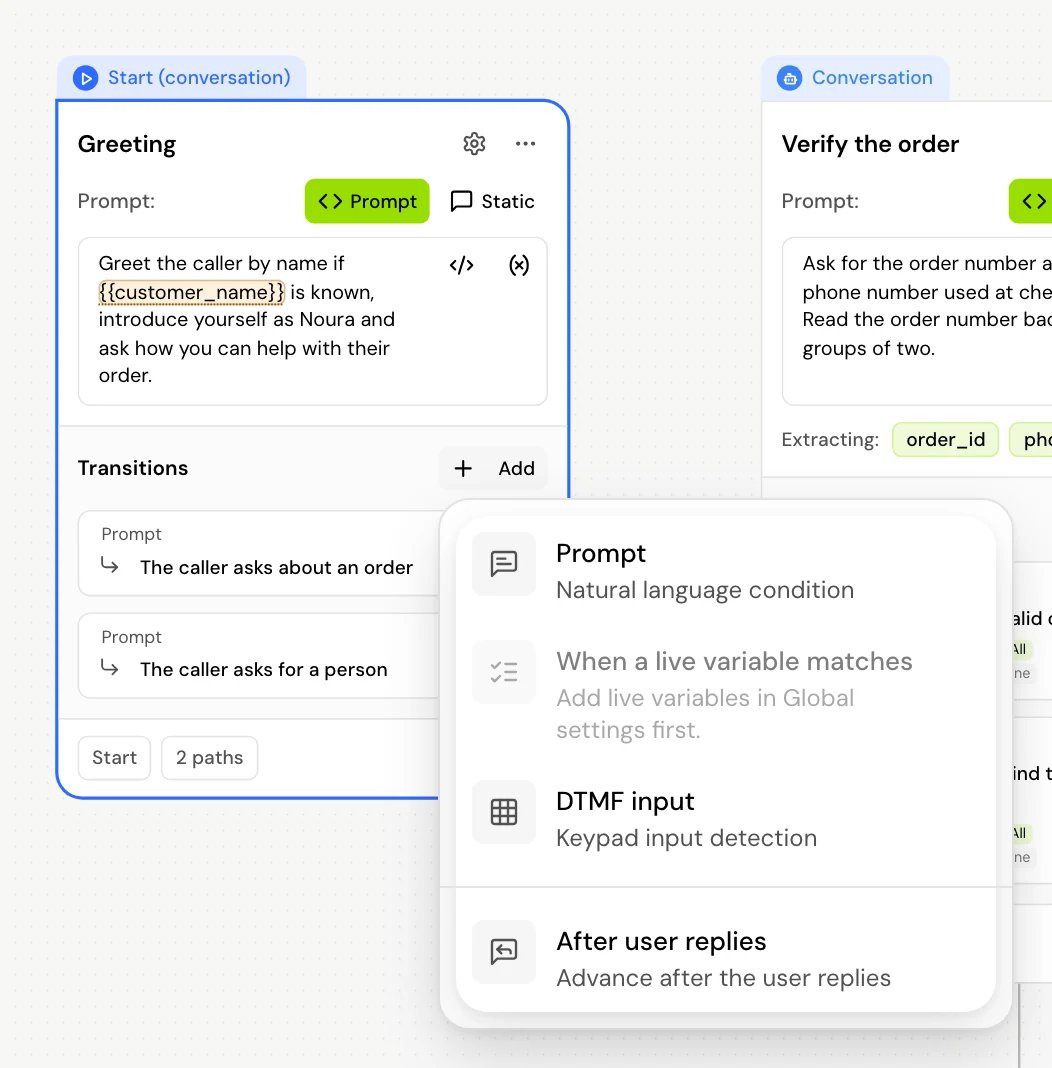
2
Set it up in the settings panel
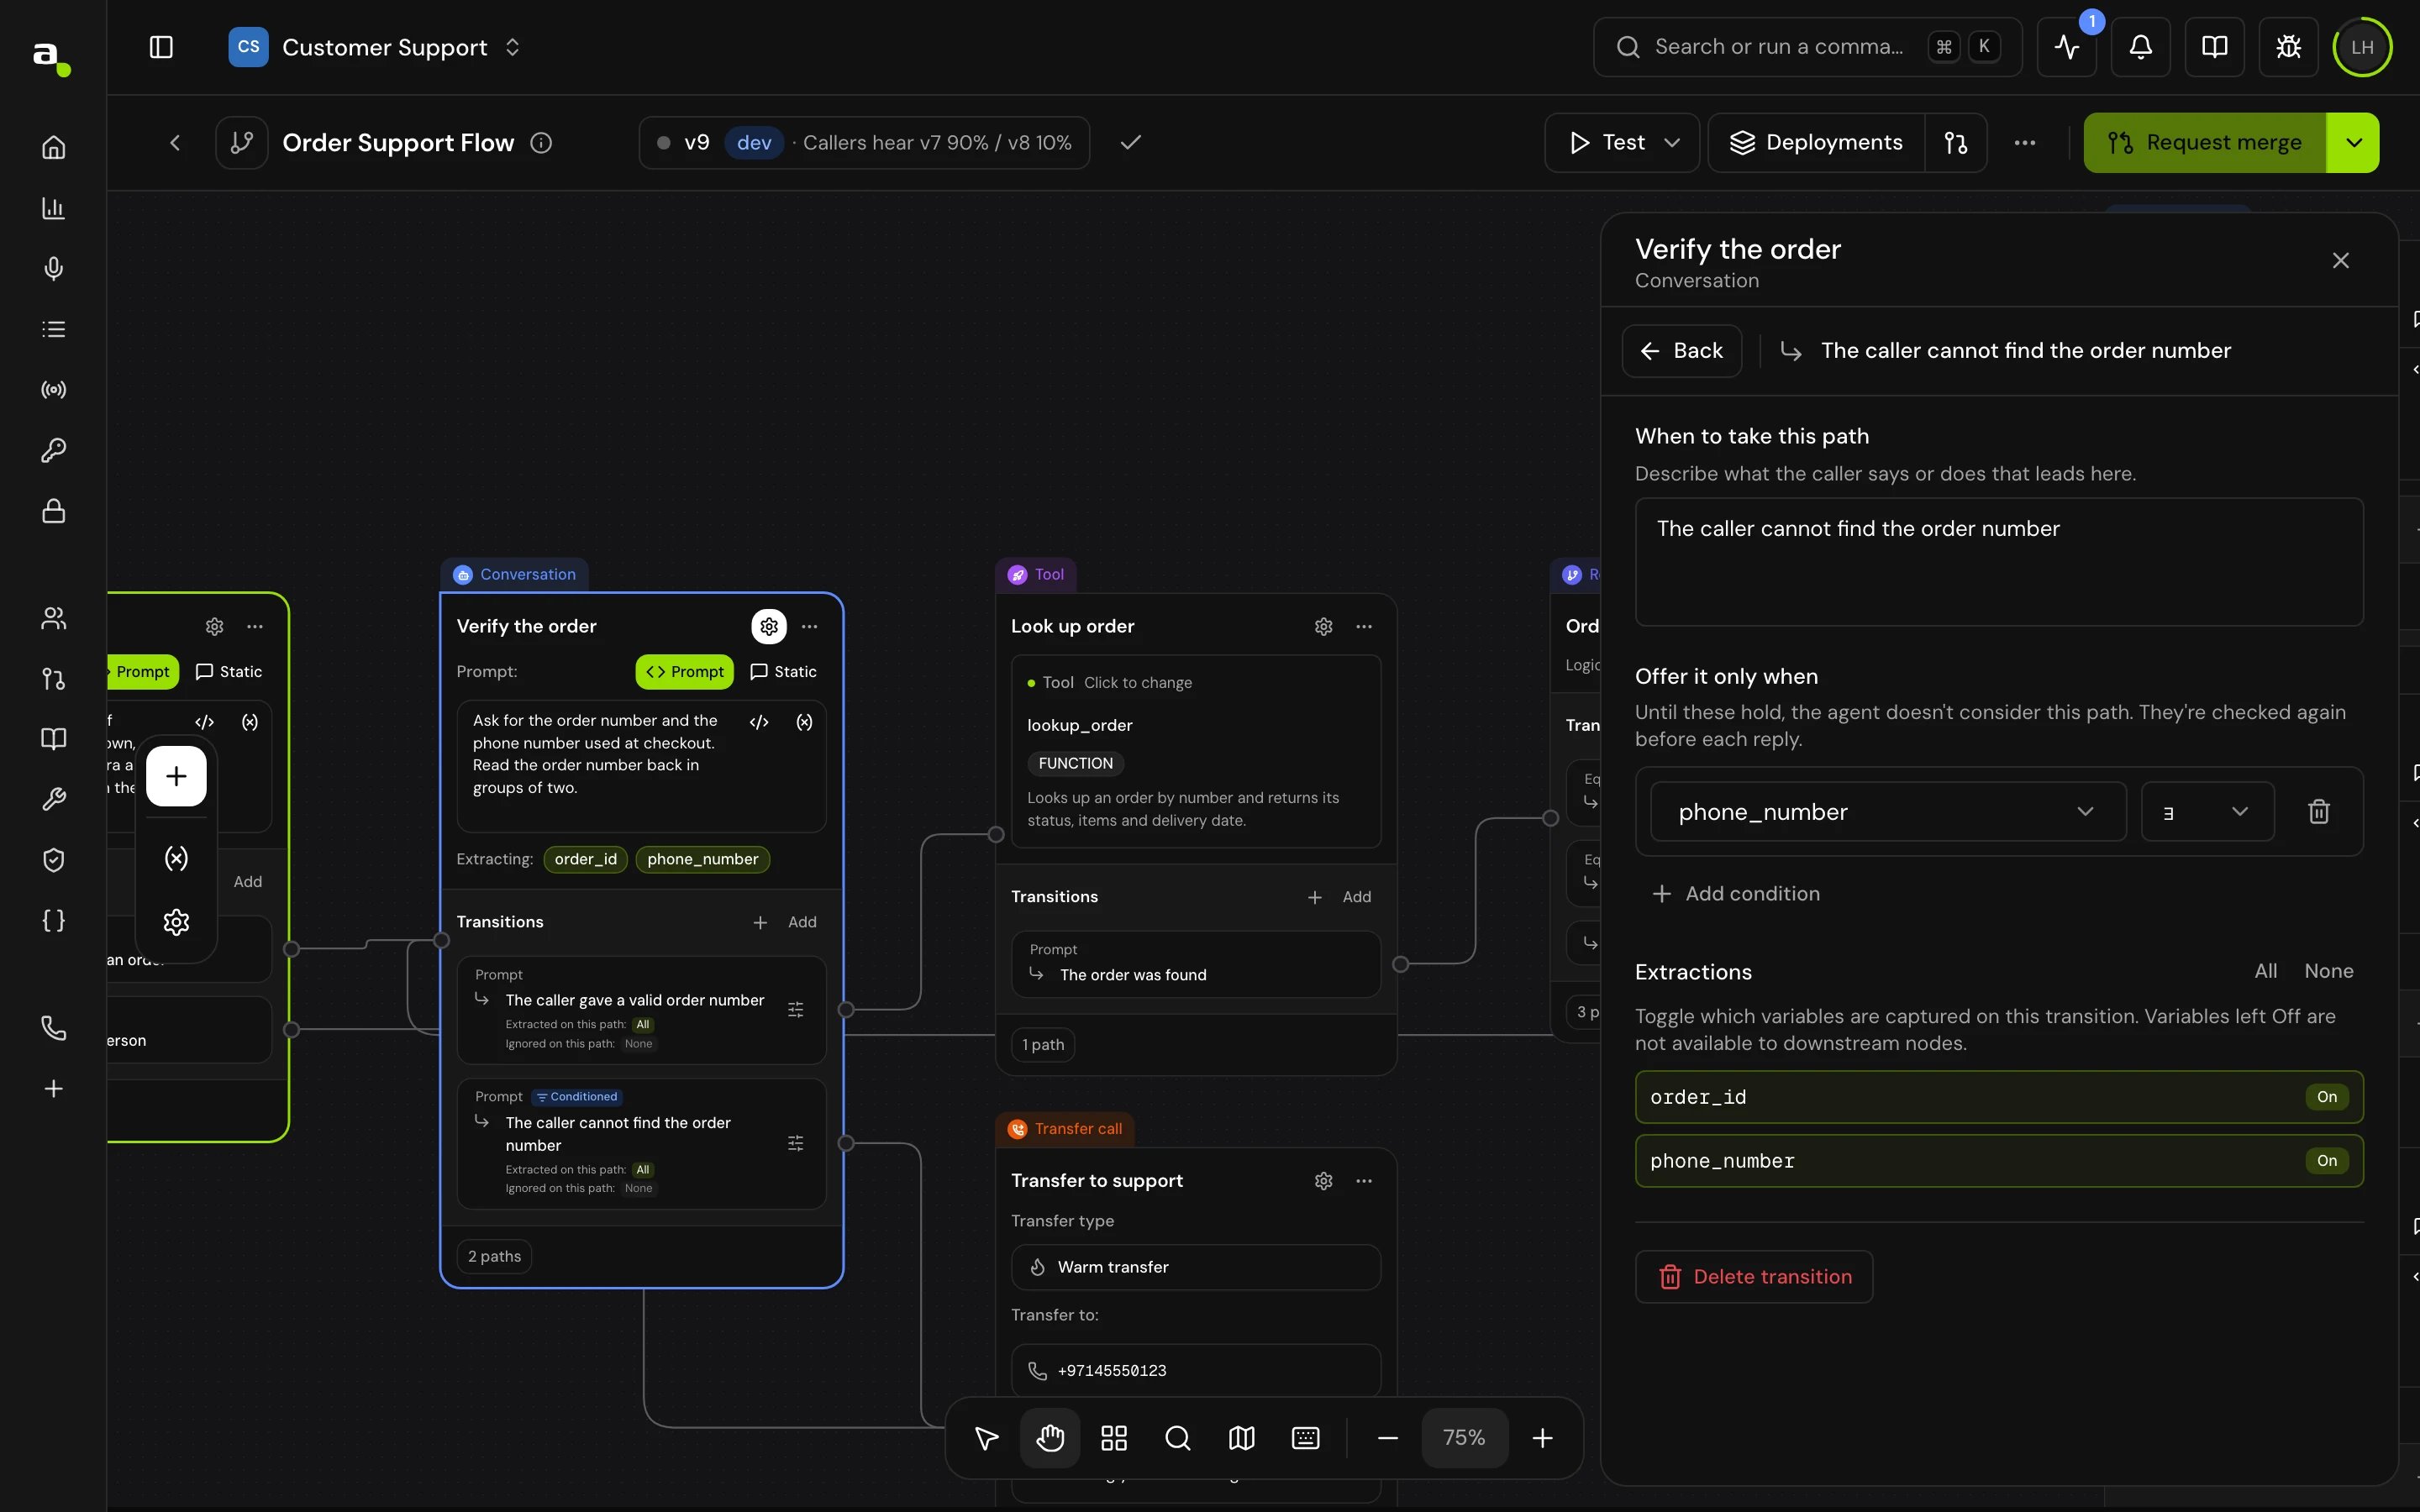
Click anywhere on the transition on the card. The step’s settings panel opens on that transition’s settings. Fill in what it needs there, such as When to take this path for a Prompt transition or the Keypad key for a DTMF input transition. Changes save as you make them.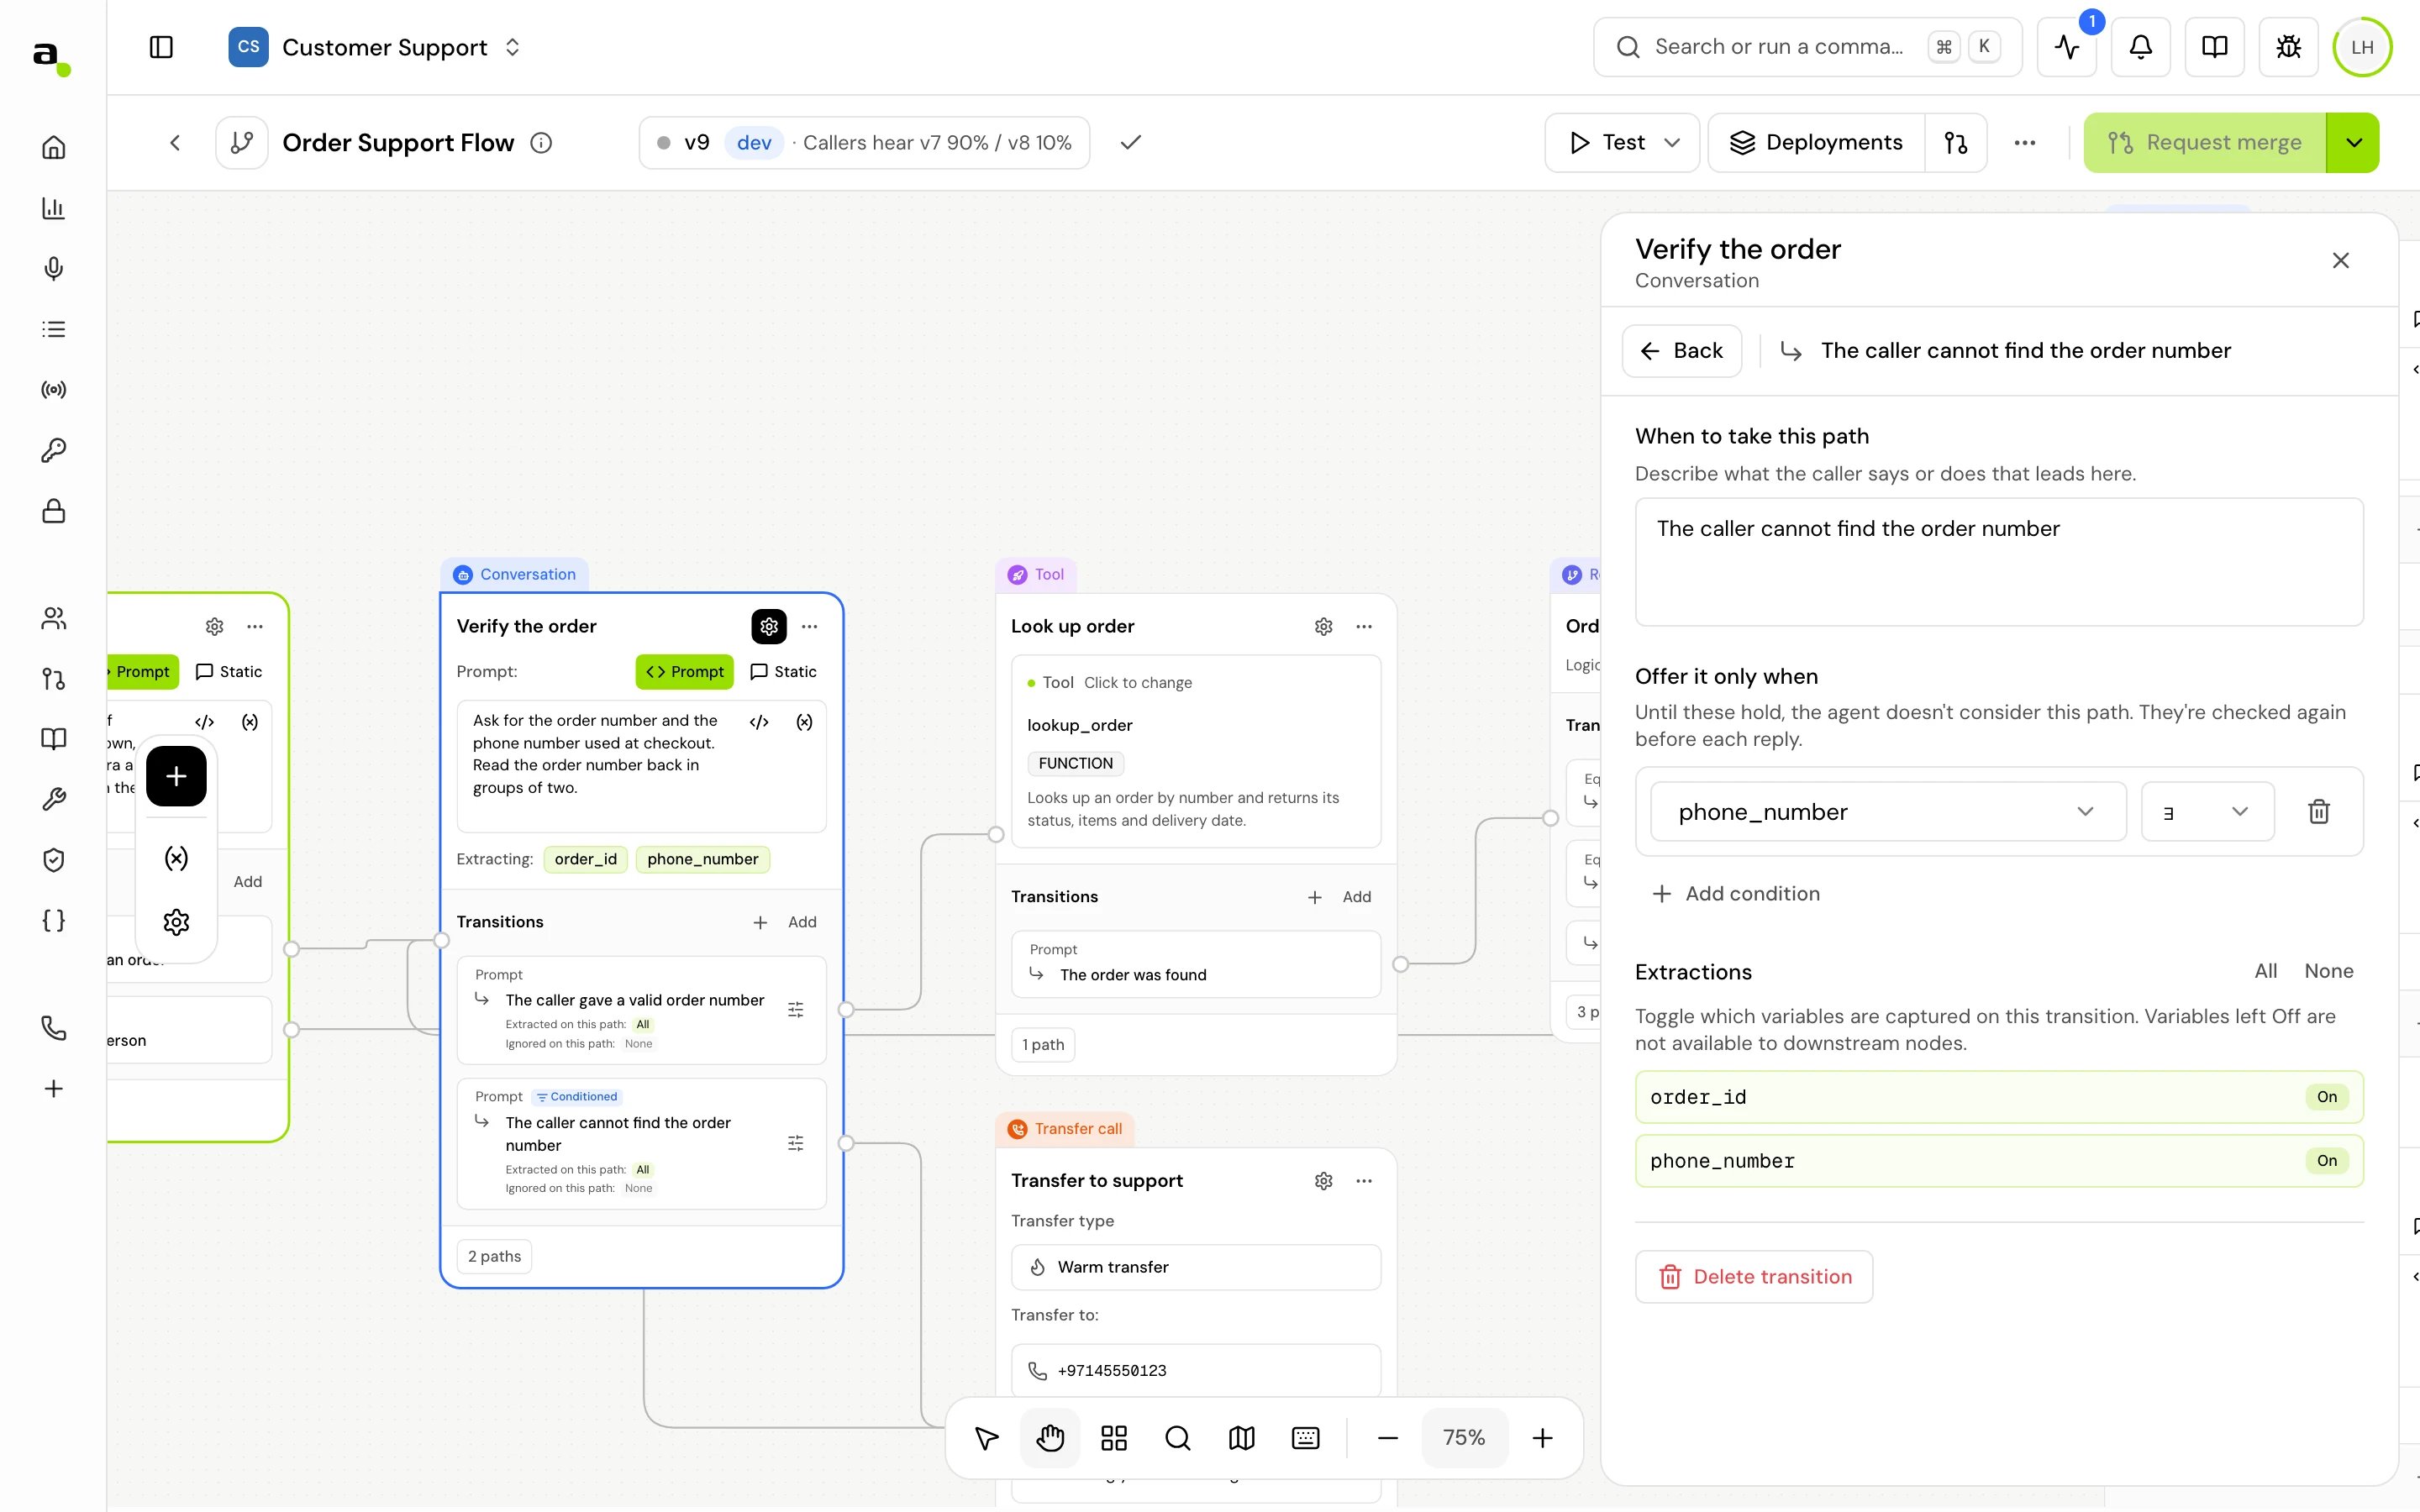
3
Draw the connection
Drag from the transition’s handle to the step it should lead to.
- A step can’t connect to itself.
- Two steps can be connected only once in the same direction.
- Each transition handle has one connection.
- A step set to return to the step that called it has no outgoing connections. See Global steps.
Select, copy and delete steps
- Click a step to select it and open its settings. Hold Cmd (Mac) or Ctrl (Windows) and click to add more steps, or hold it and drag to select everything in a box.
- Copy and paste the selection with Cmd+C and Cmd+V on Mac, Ctrl+C and Ctrl+V on Windows. The Start step is never copied.
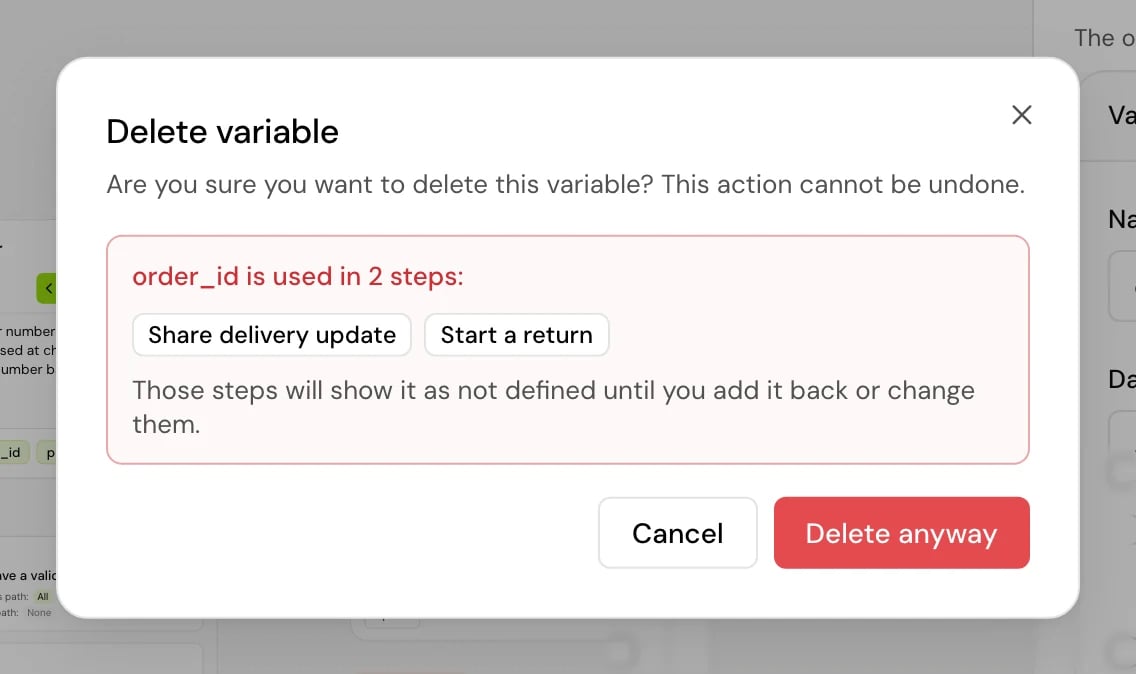
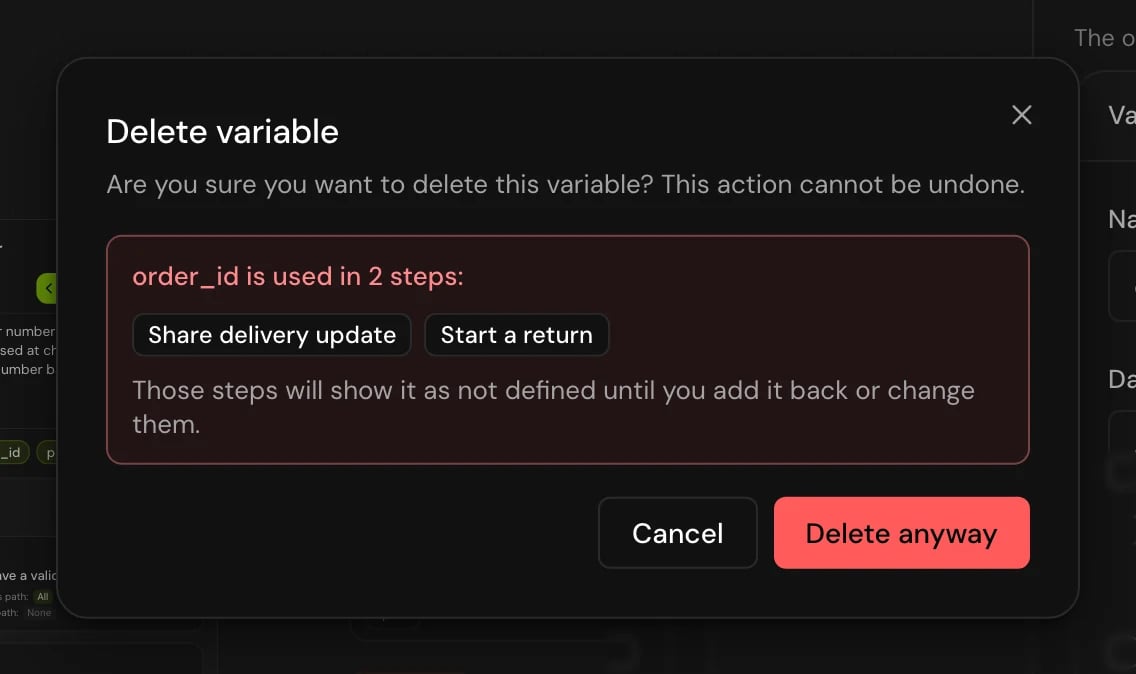
- Press Delete or Backspace to delete the selected step. The builder asks first, and deleting a step also removes its connections.
Move around the settings panel
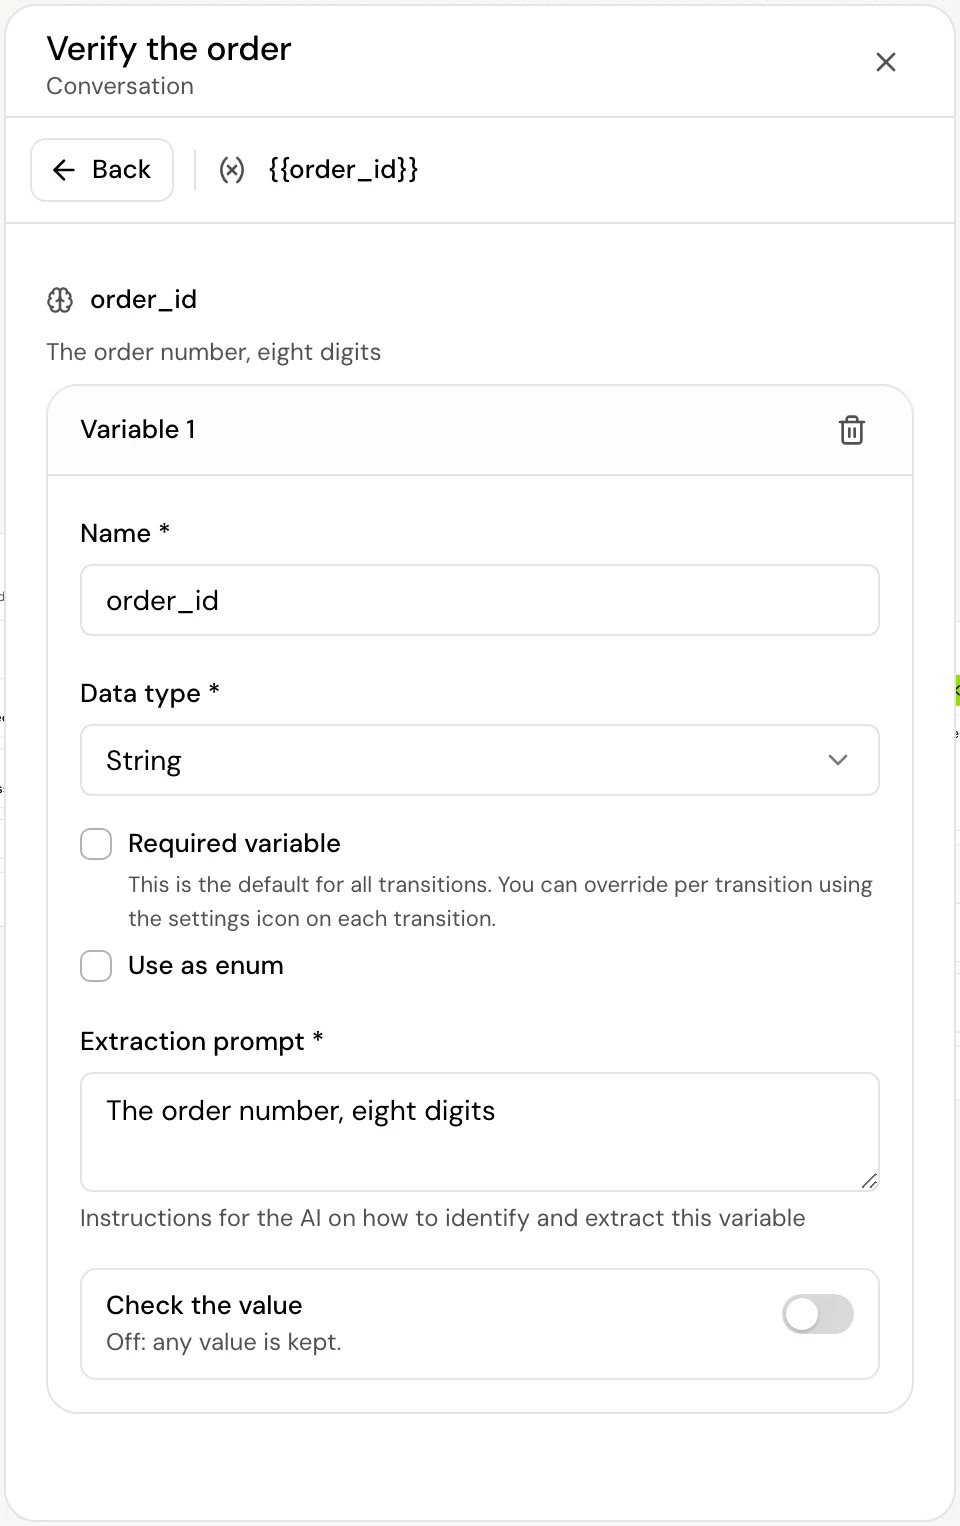
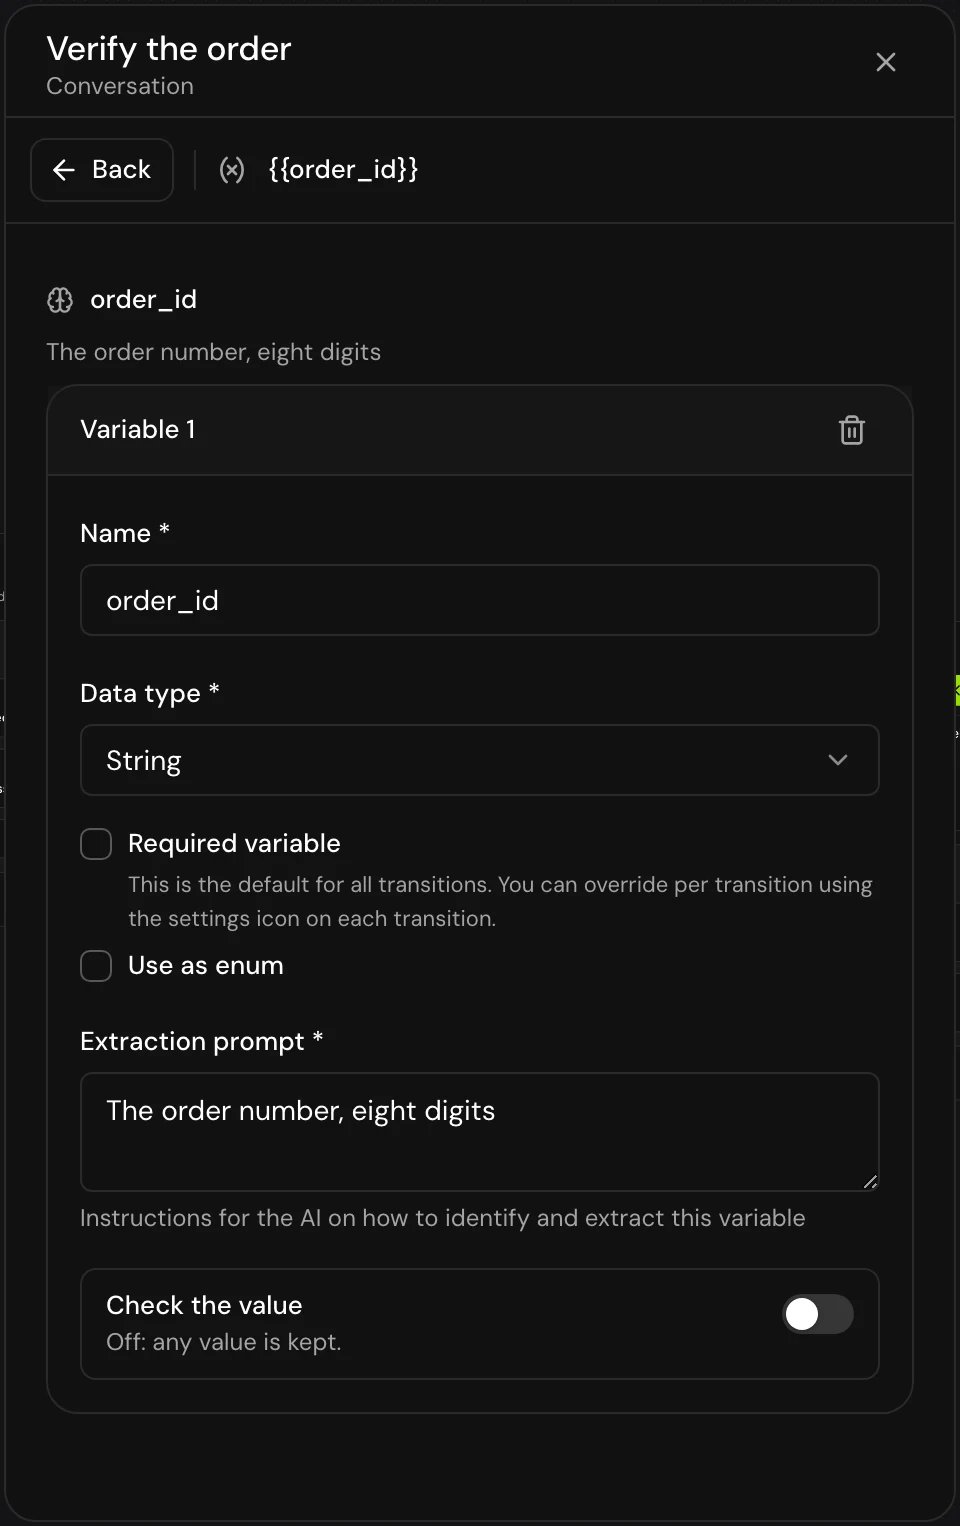
The settings panel shows a step’s main fields, then a row for each section. Sections, and rows inside them, open one level down, with Back to return:- Transitions lists every transition of the step, in the order the card shows them. Click one to open its settings. Else, Auto, After user replies and a step’s fixed transitions (such as On Success) are listed but have nothing to set.
- Variables lists the step’s variables. Click one to open its card.
- Clicking a transition on the canvas opens the panel straight on that transition. Clicking the step itself, or its Node settings button, takes the panel back to the top of the step.
Group steps
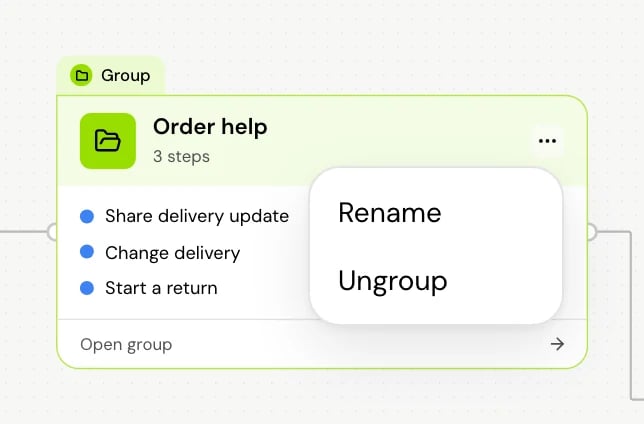
Groups fold a part of the flow into one card, so a large flow stays readable.1
Select the steps
Select two or more steps.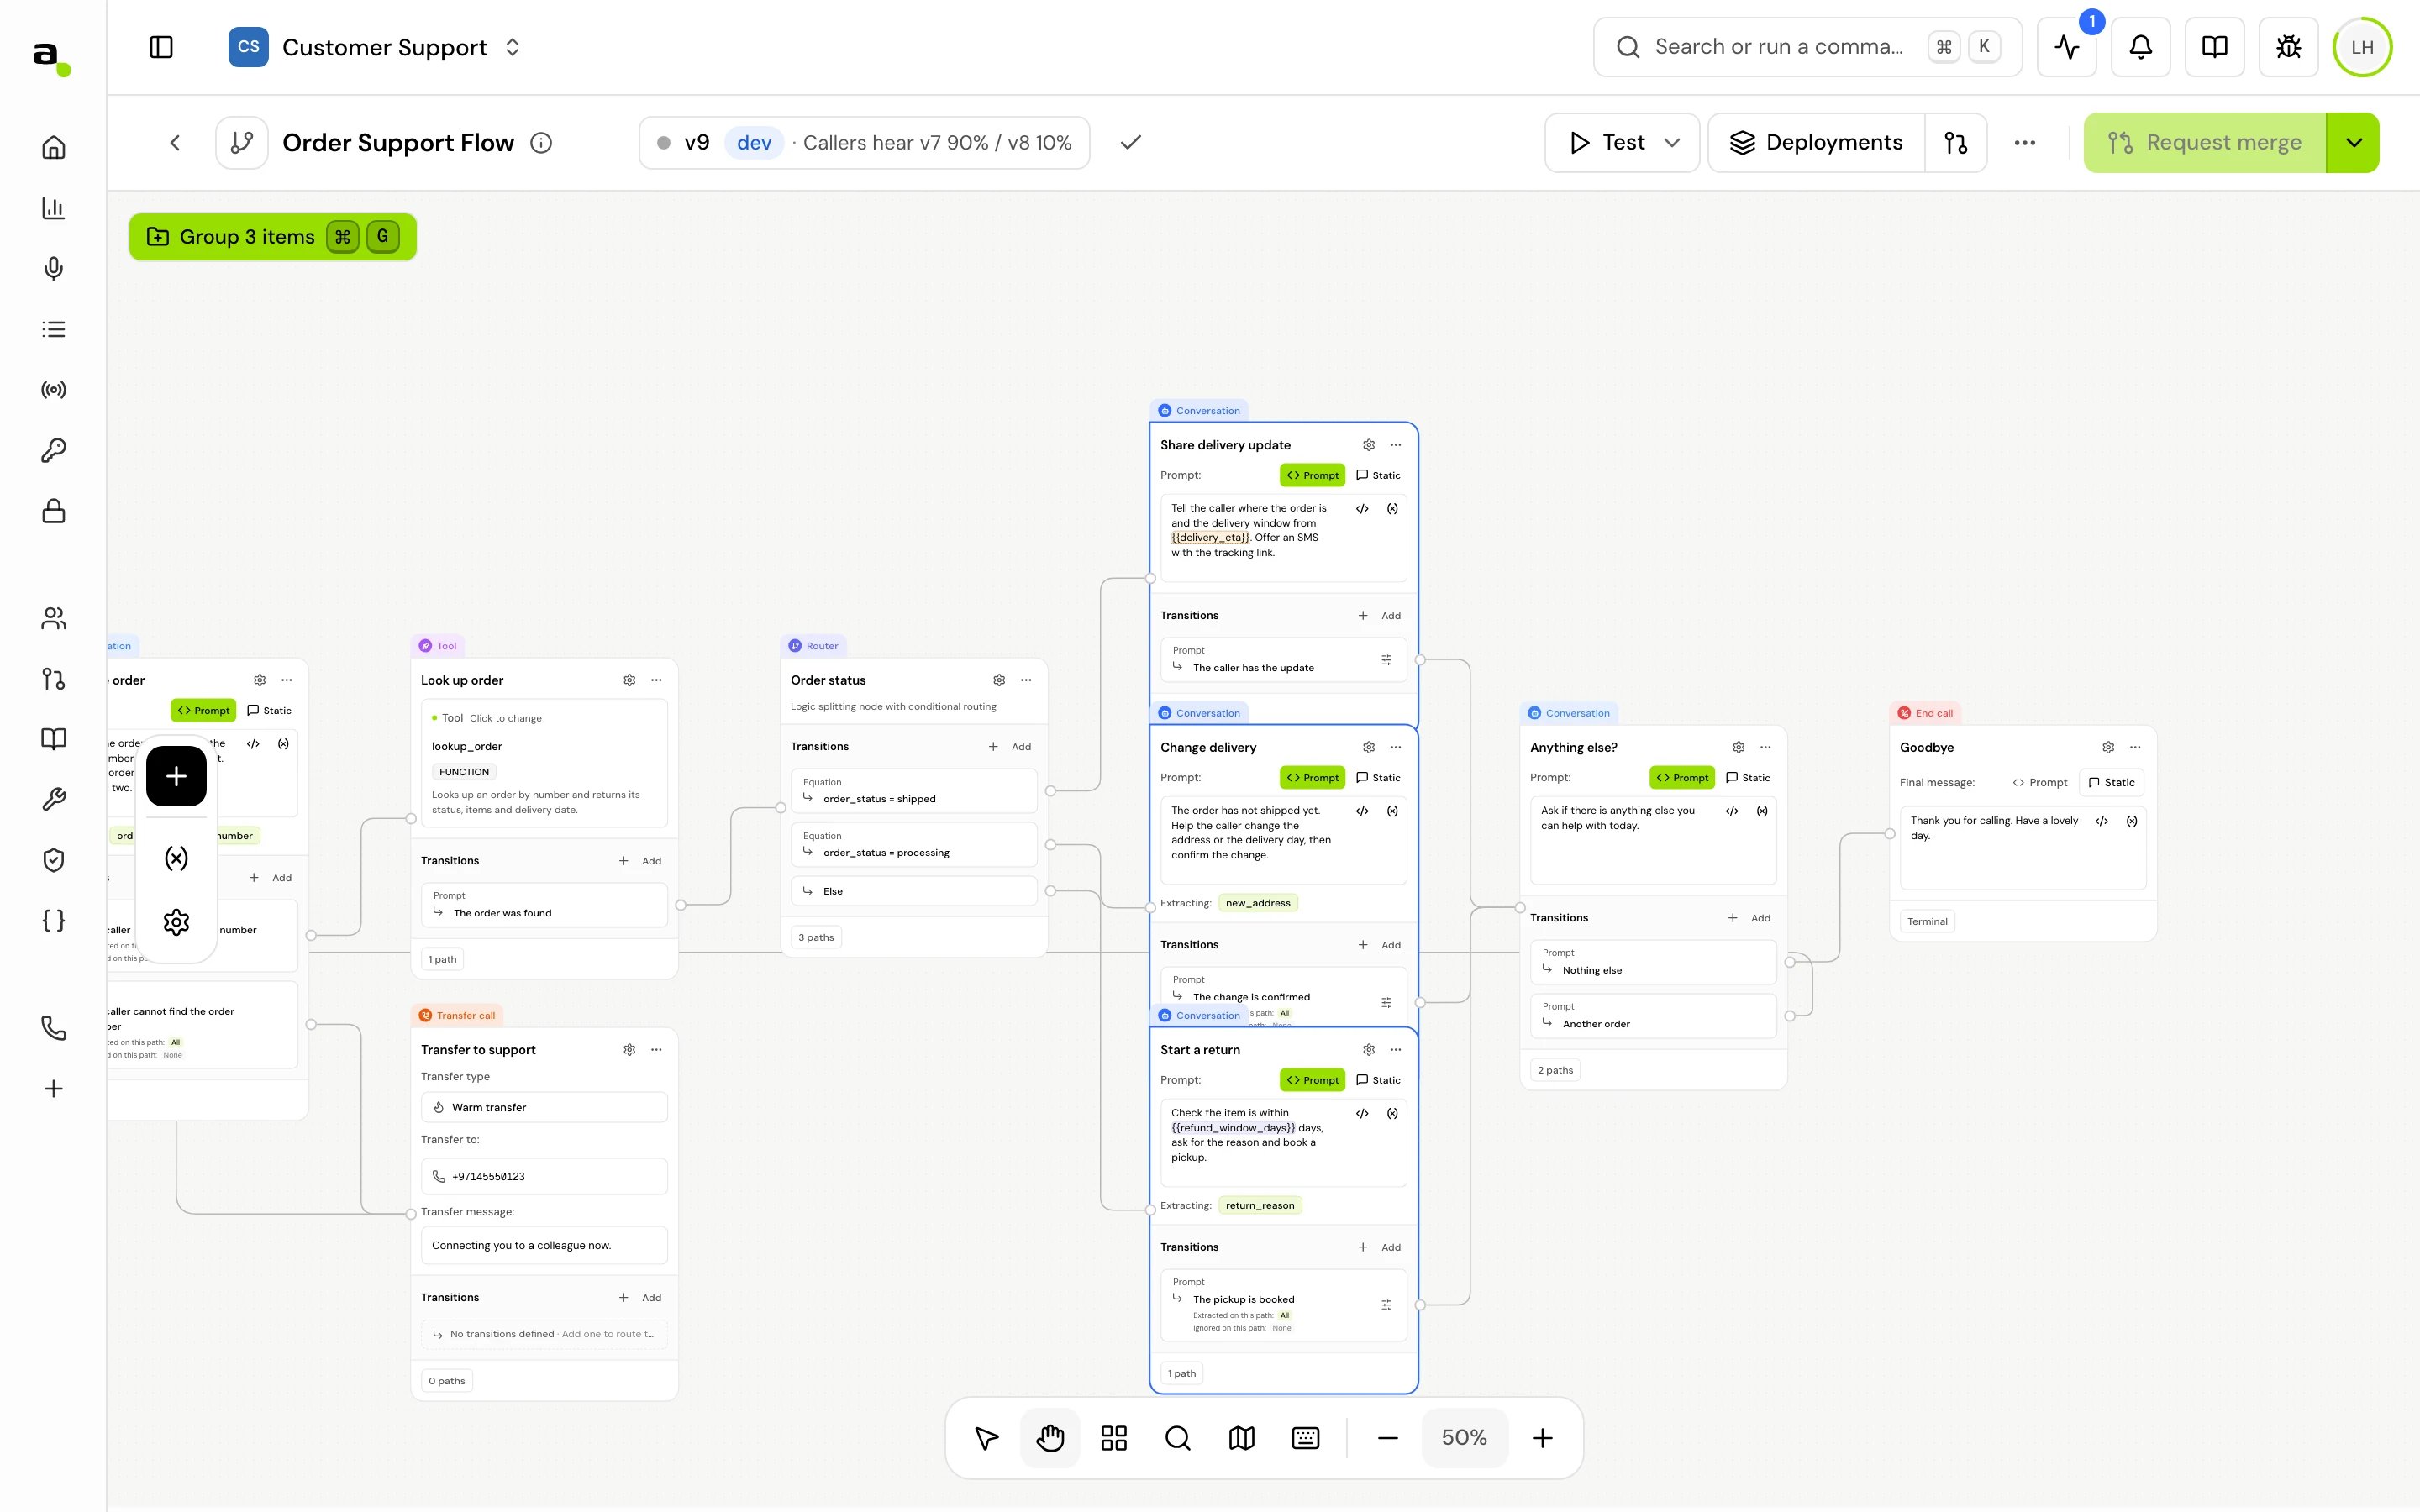
2
Create the group
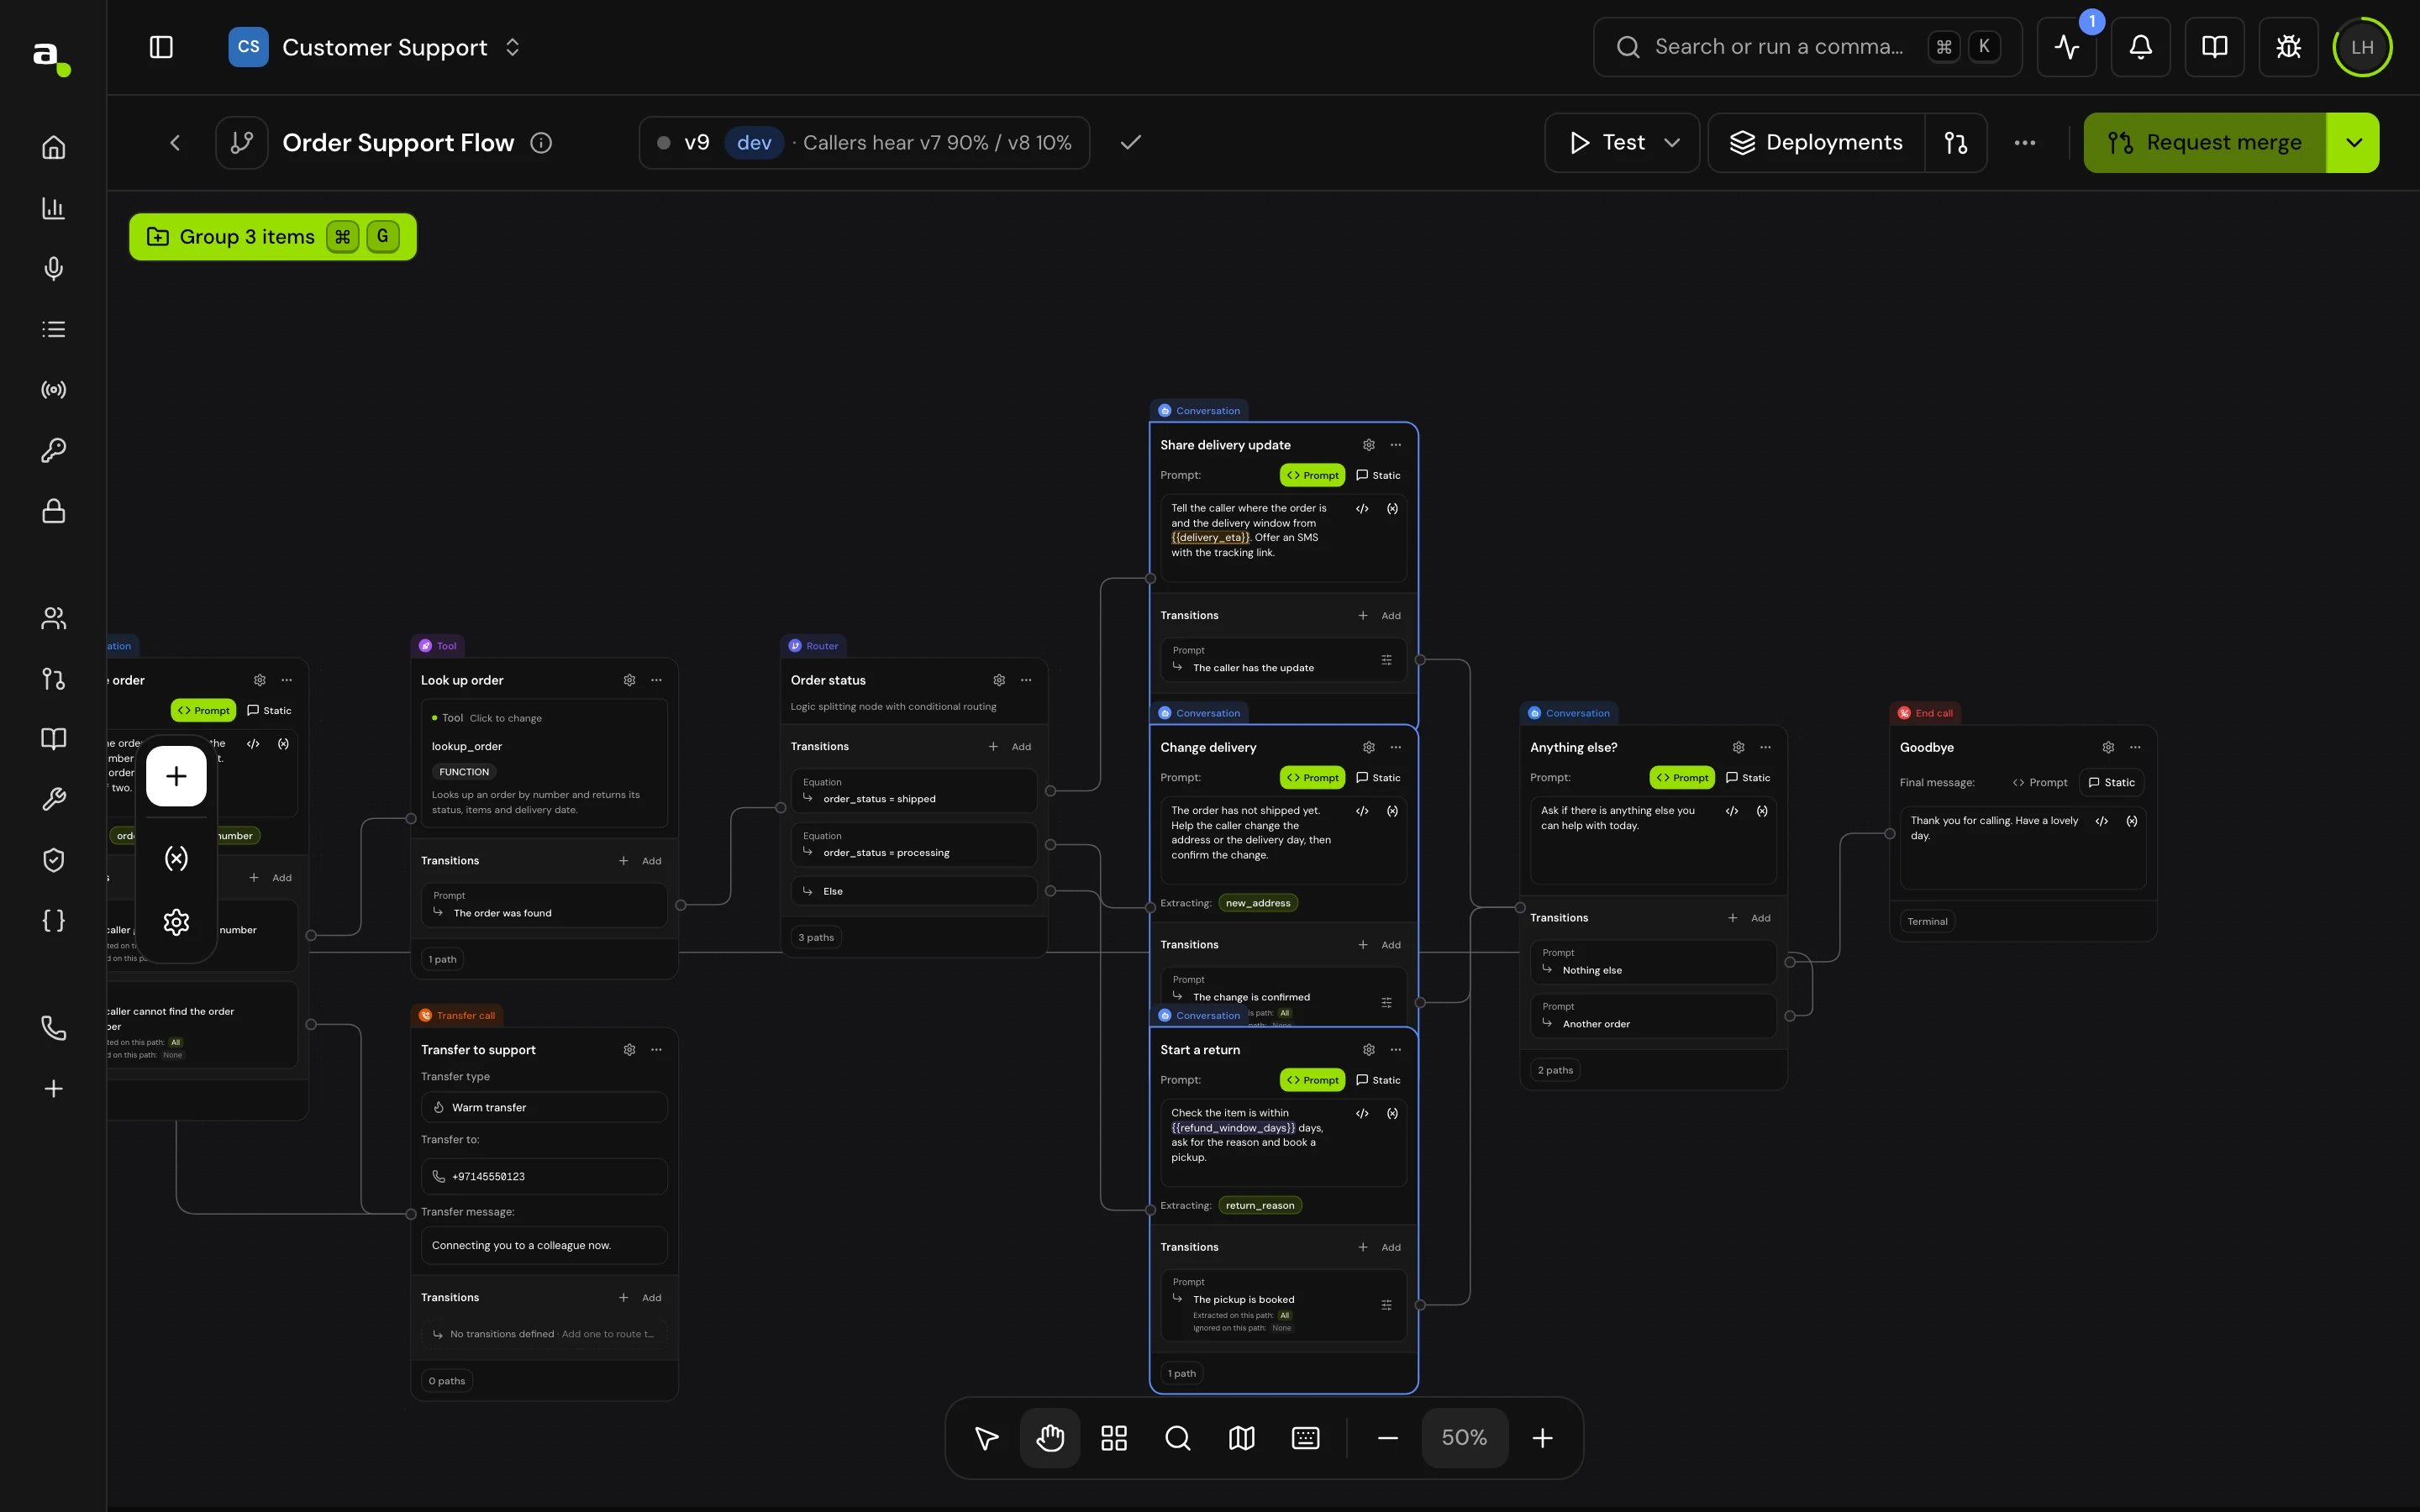
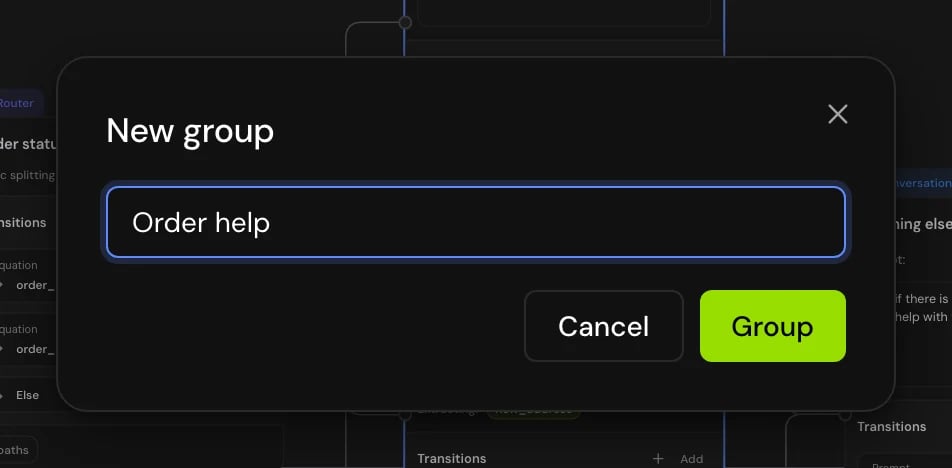
Click the group button that appears (for three steps it reads Group 3 items), or press Cmd+G on Mac, Ctrl+G on Windows. In New group, enter a Group name, for example “Book appointment”, and click Group.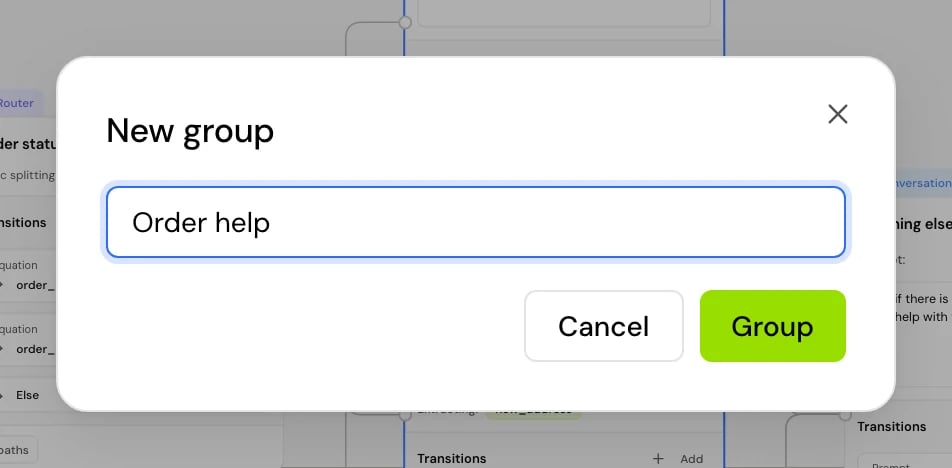
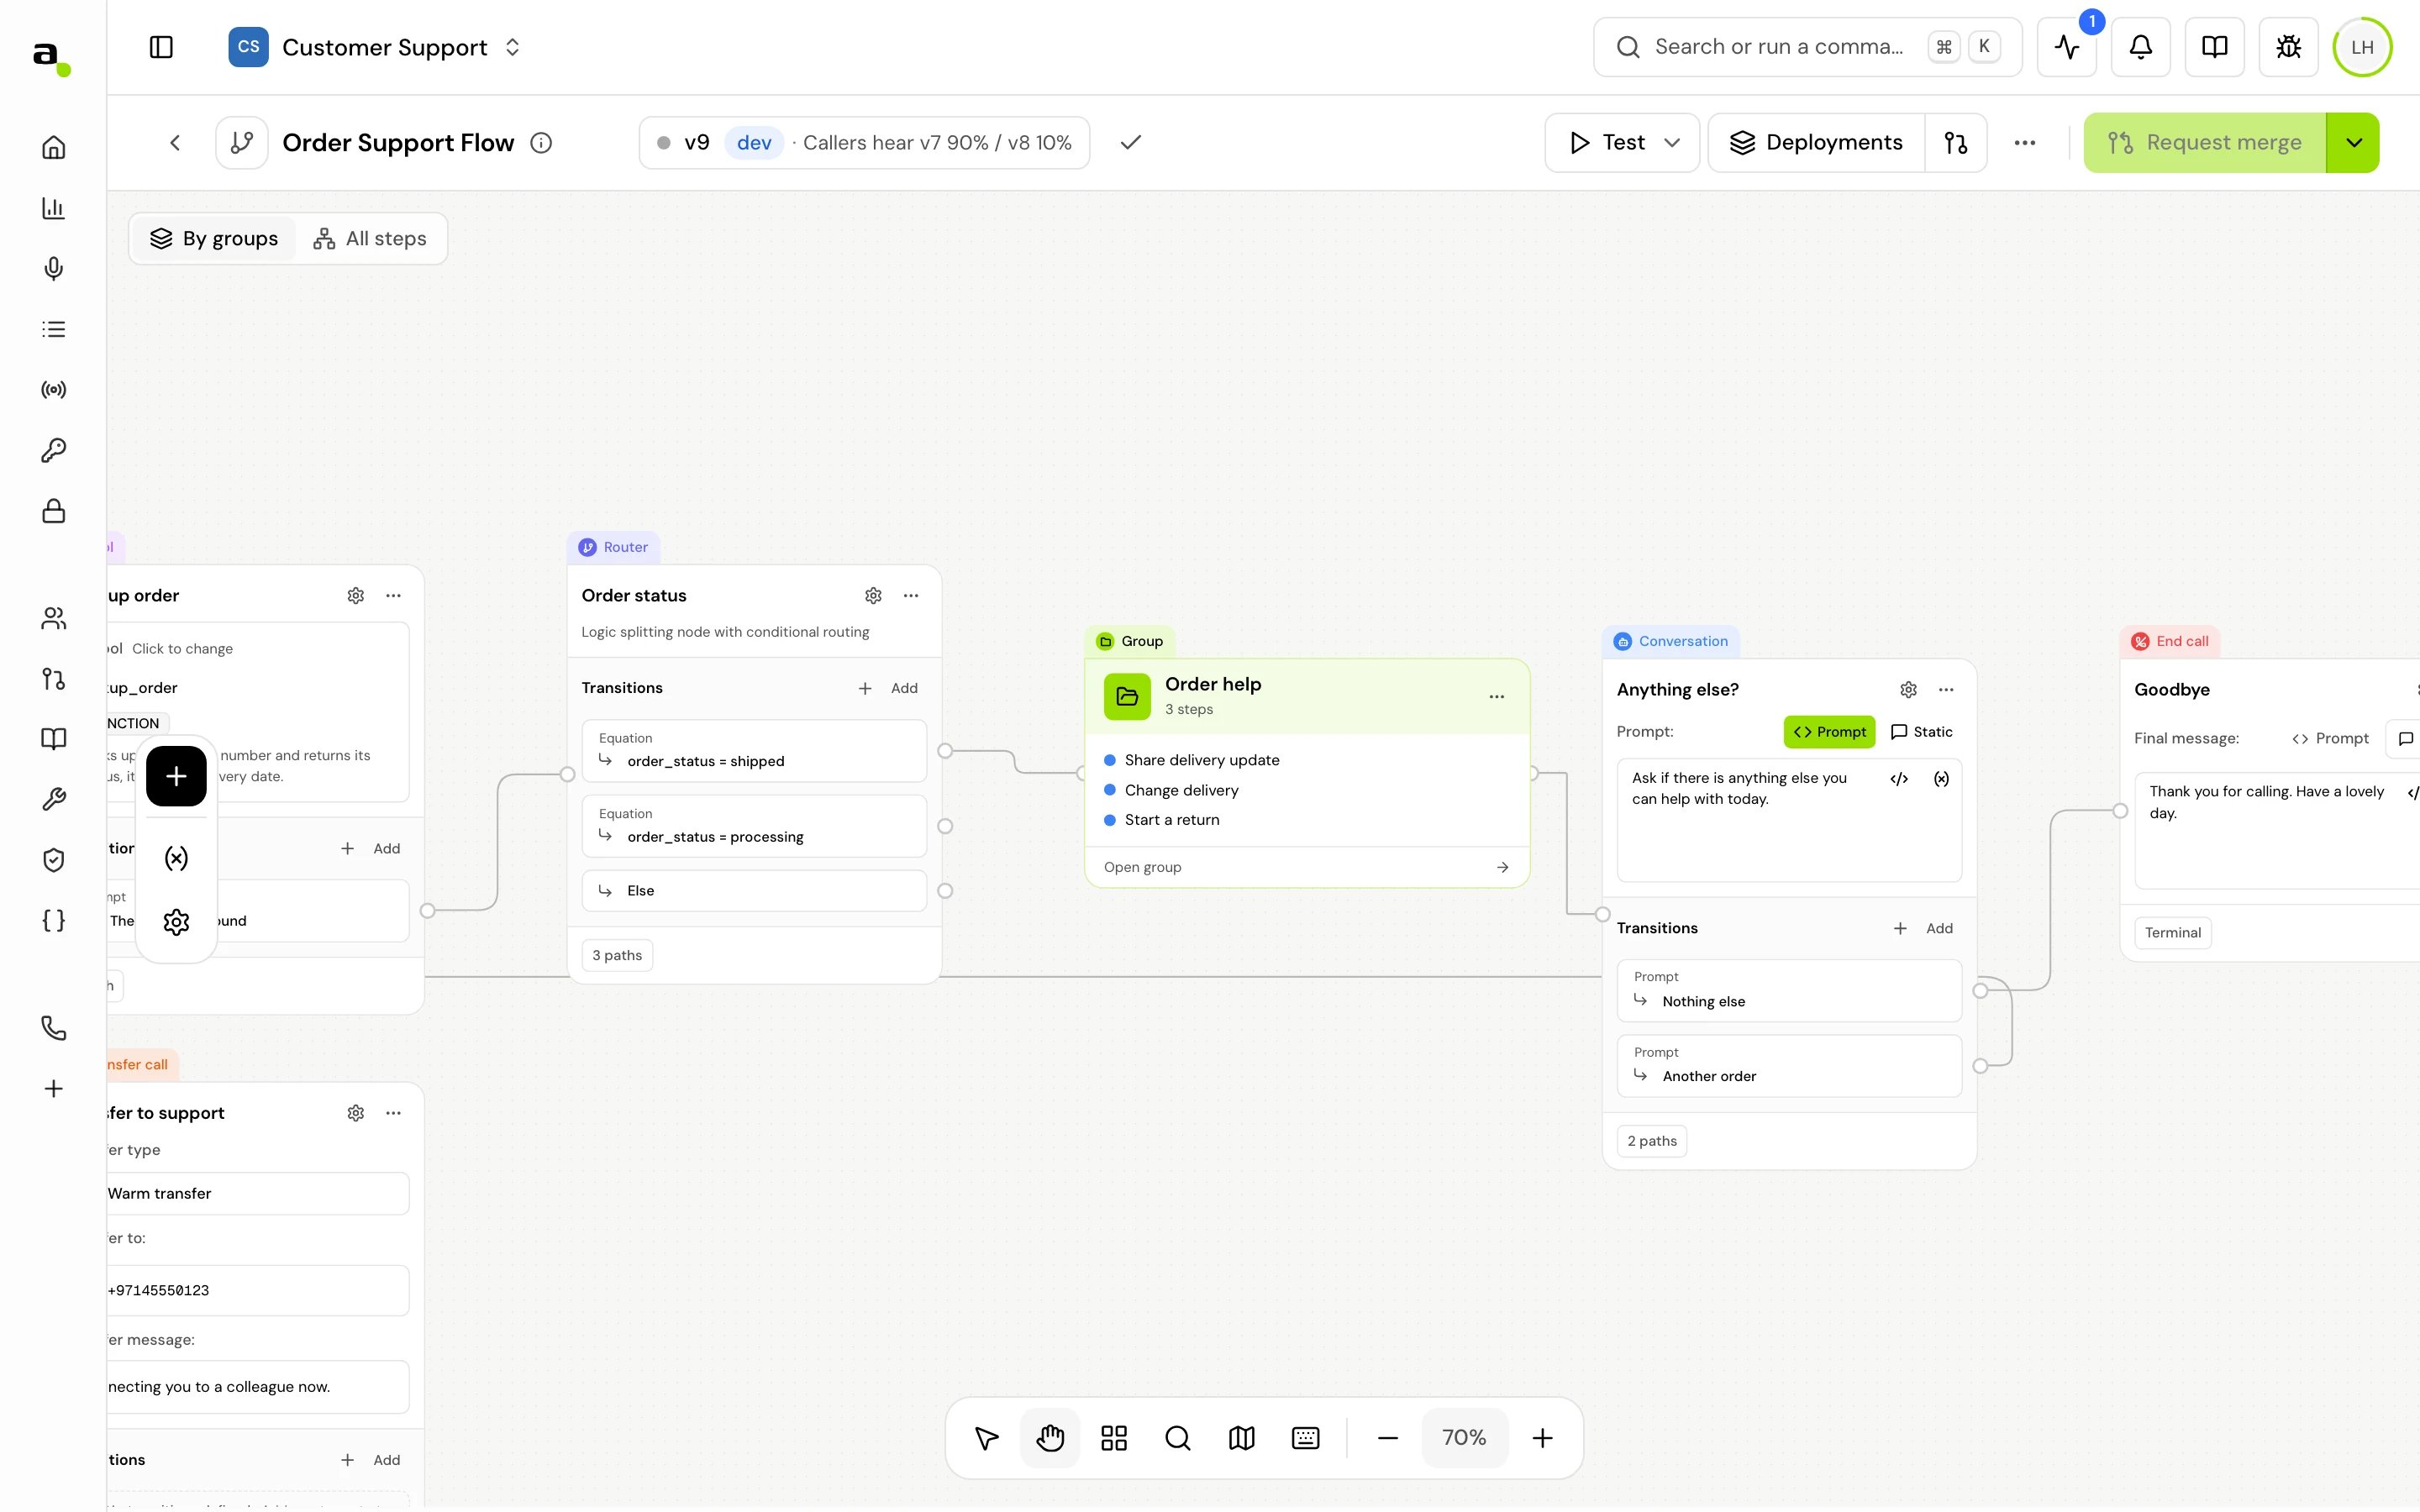
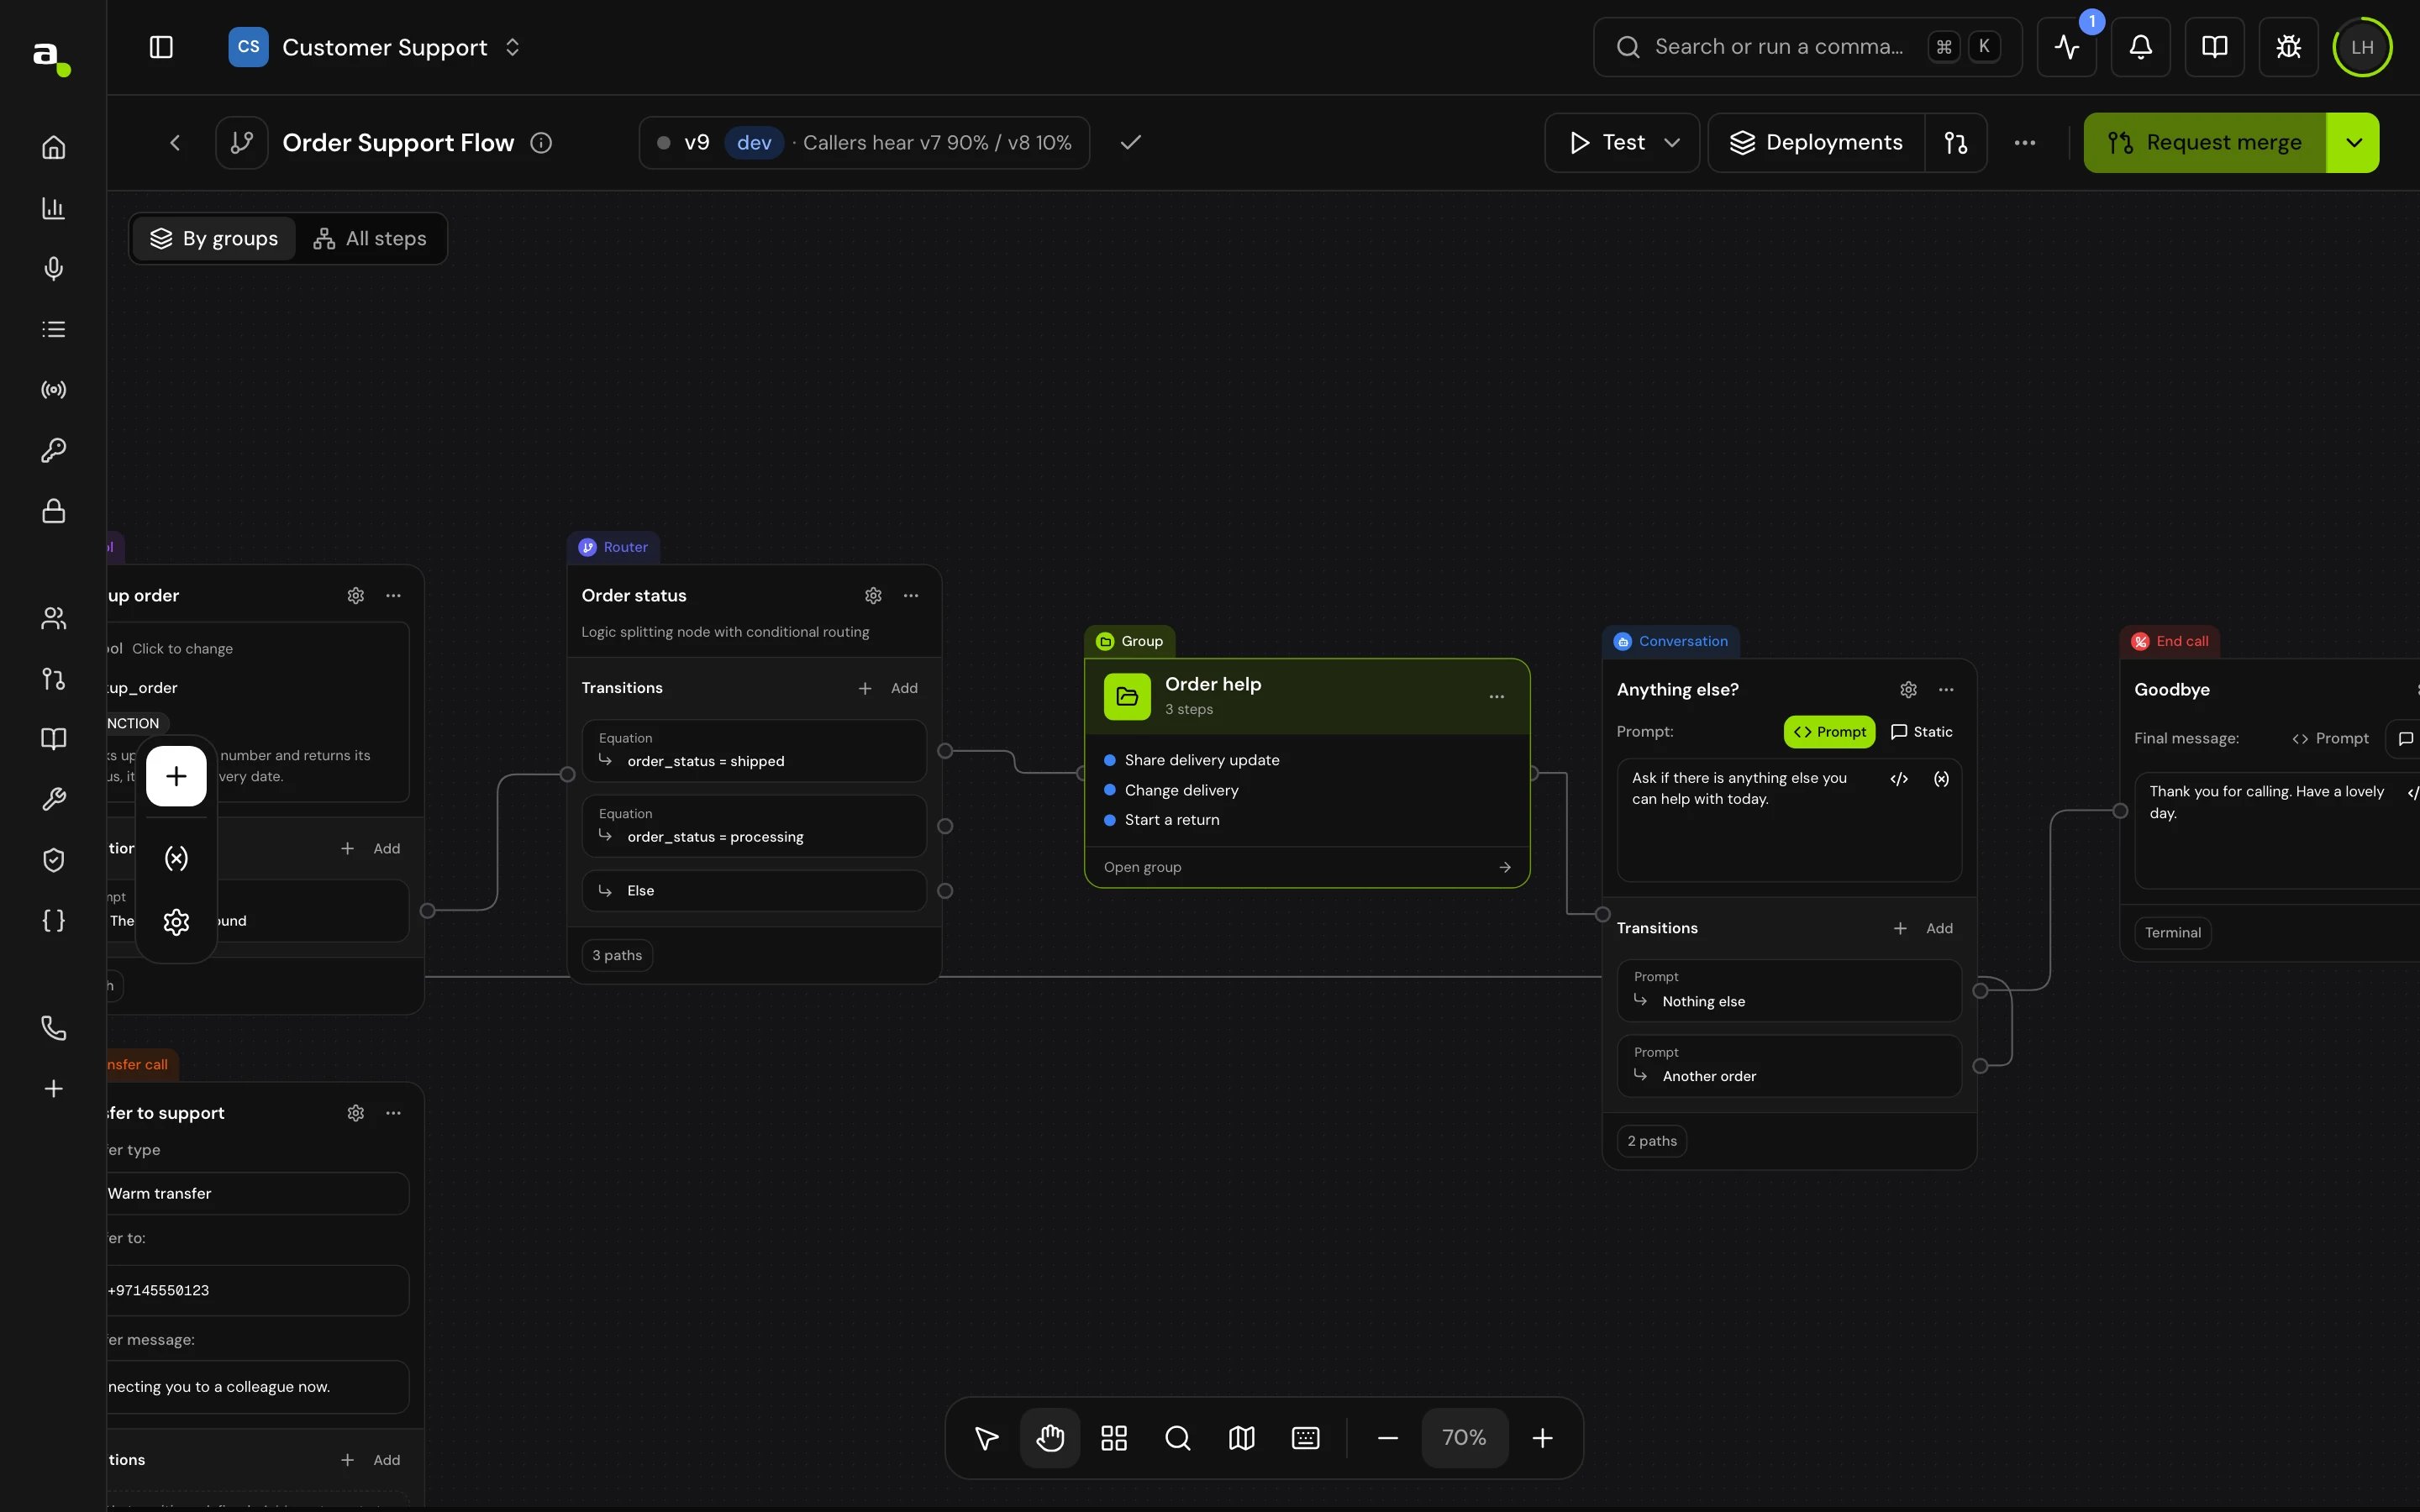
- Switch Show between By groups (each group is one card) and All steps (every step, as if there were no groups).
- Click Open group on a group card to open it. The path at the top (Where you are) shows how deep you are; click Flow to go back to the top.
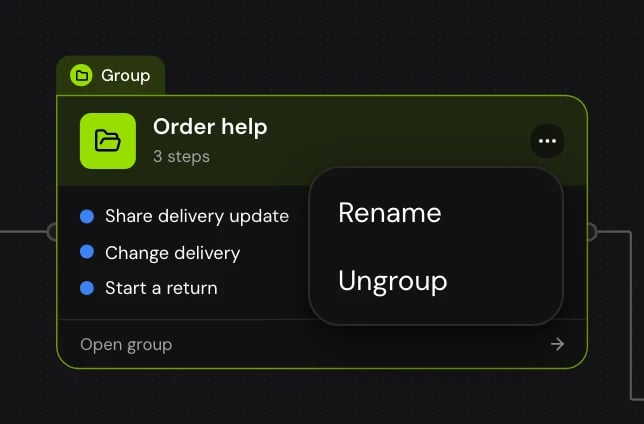
- A group card shows how many steps it holds and how many need attention. During a test call, the group the call is in shows In progress.
- Use the card’s Group actions menu (the … button) to Rename or Ungroup.
- Use a step’s menu to Add to group, Move to group, start a New group… or Remove from group.
Connections into and out of a group
Shown By groups, connections still show where a call can go:- A closed group. Connections into or out of a group card are drawn as lines to and from the card. When one line stands for several connections, hover it to see how many (“3 connections”). Double-click a line into a closed group to open the group.
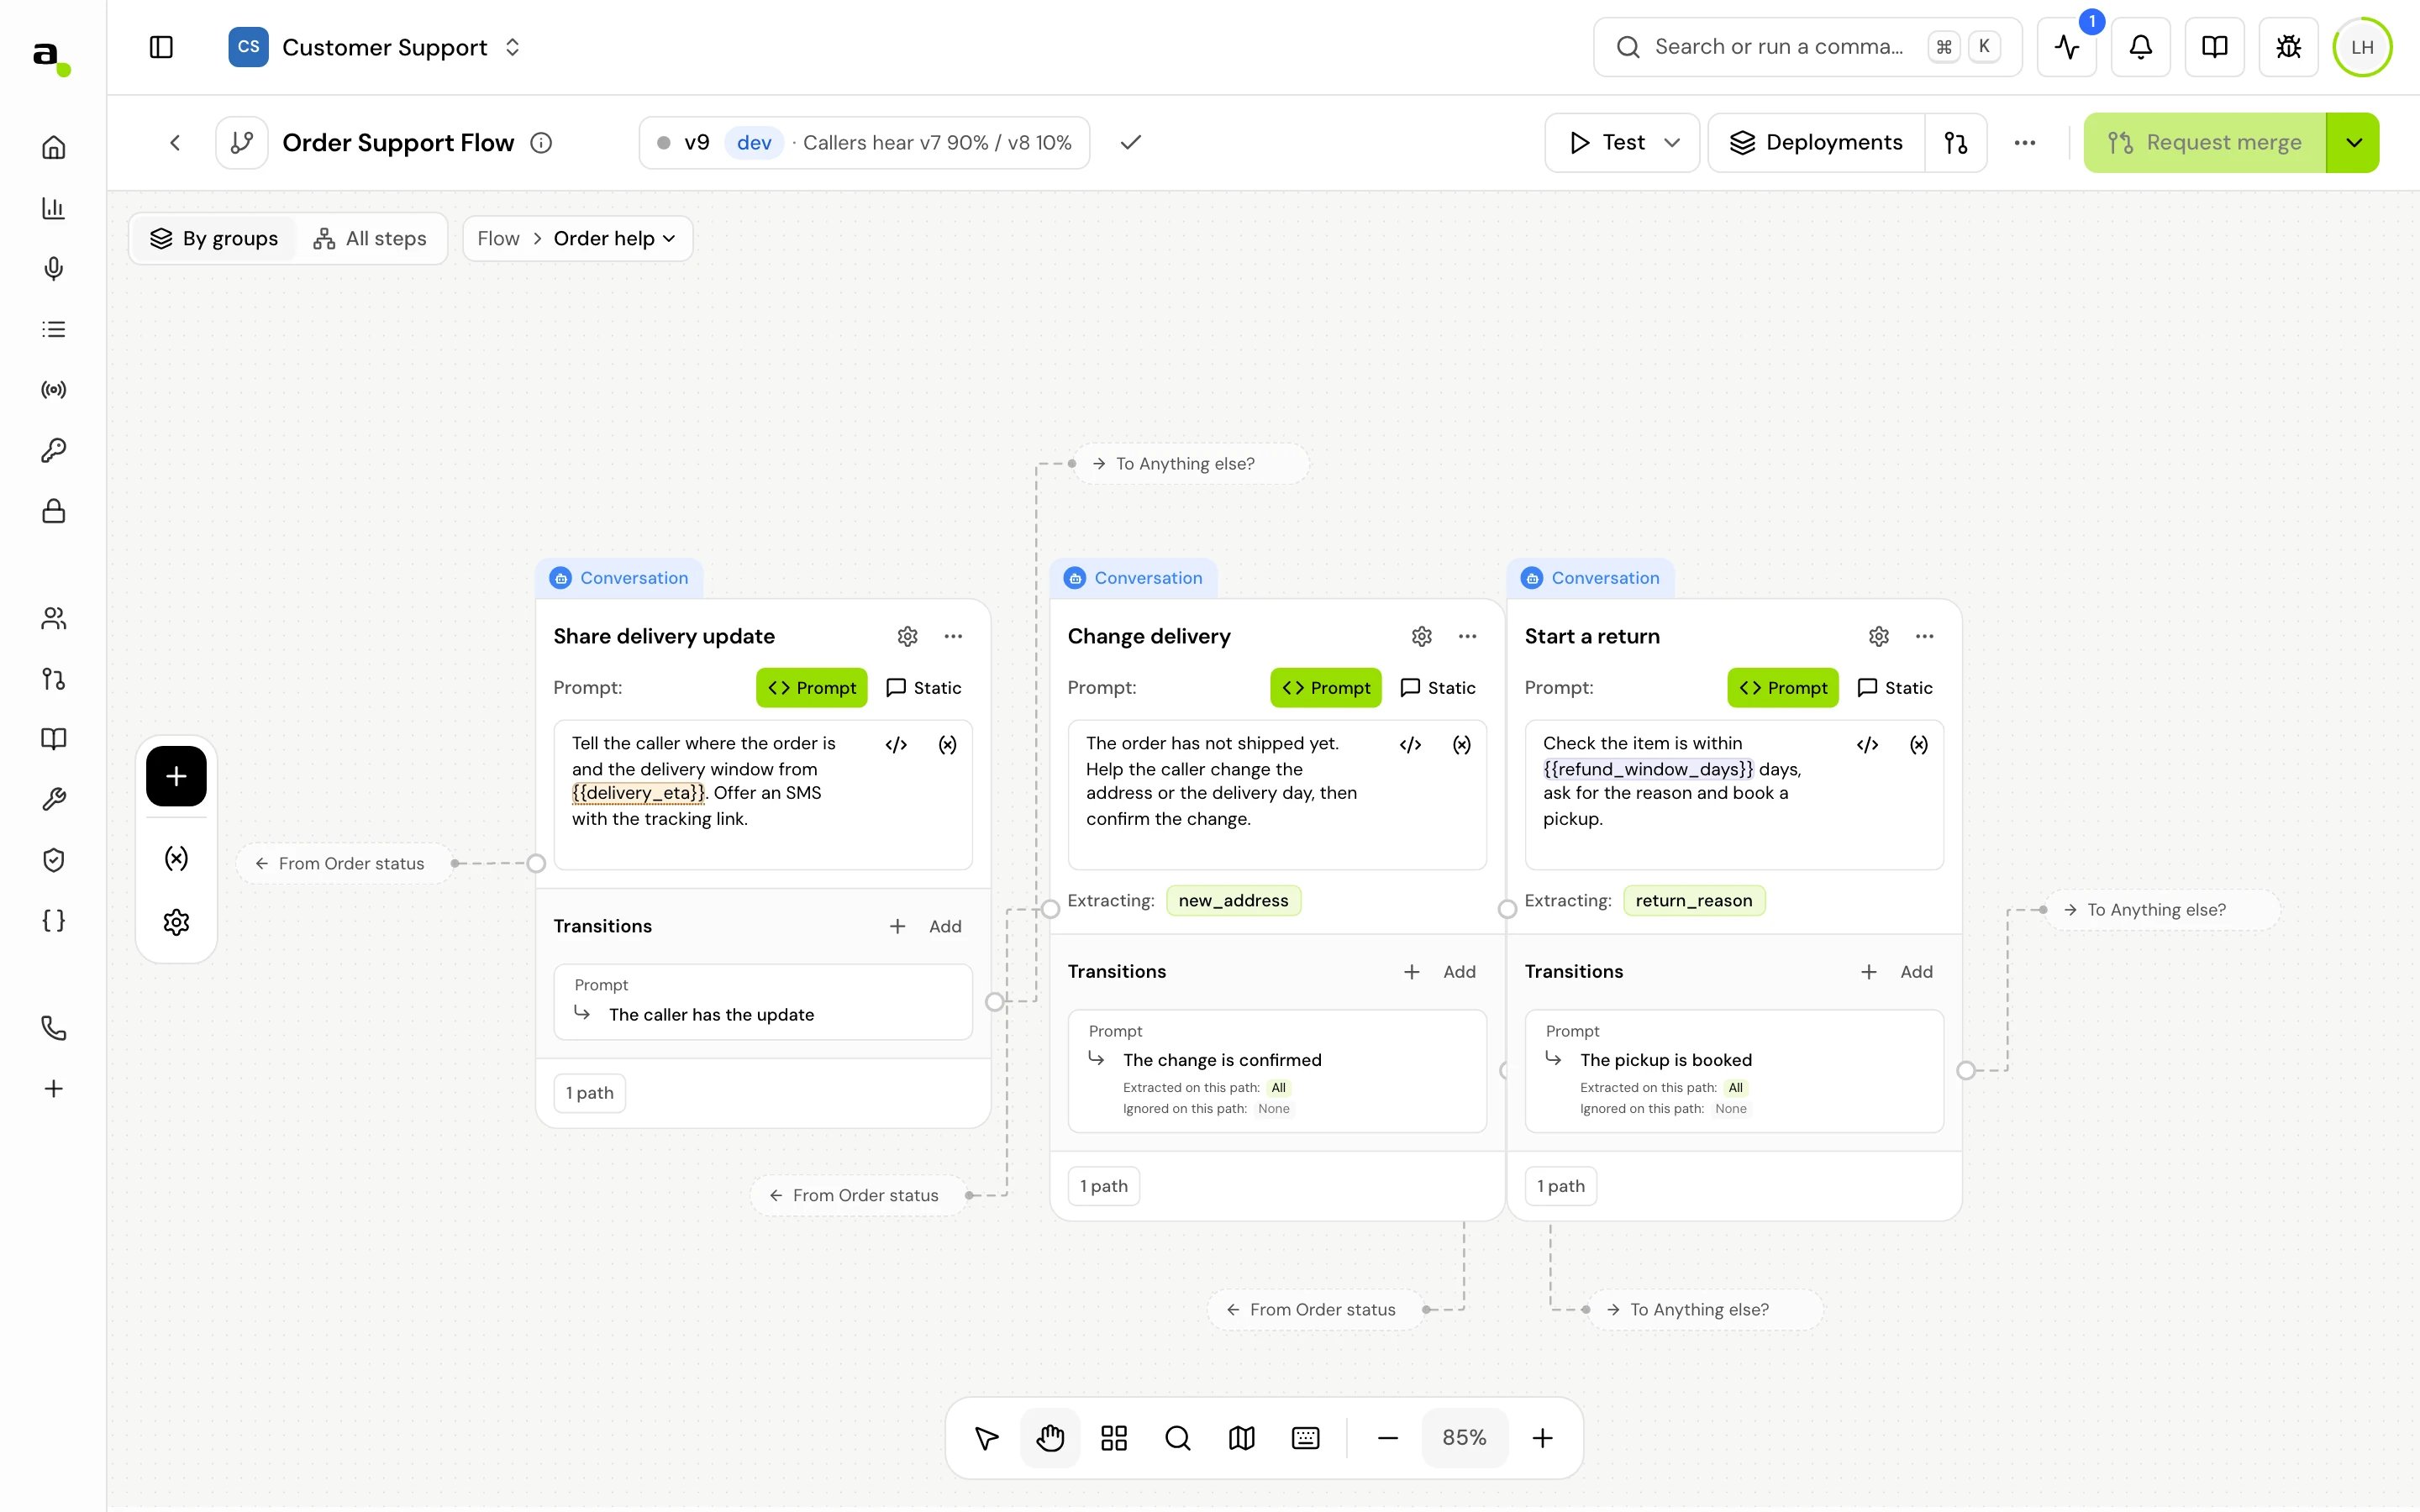
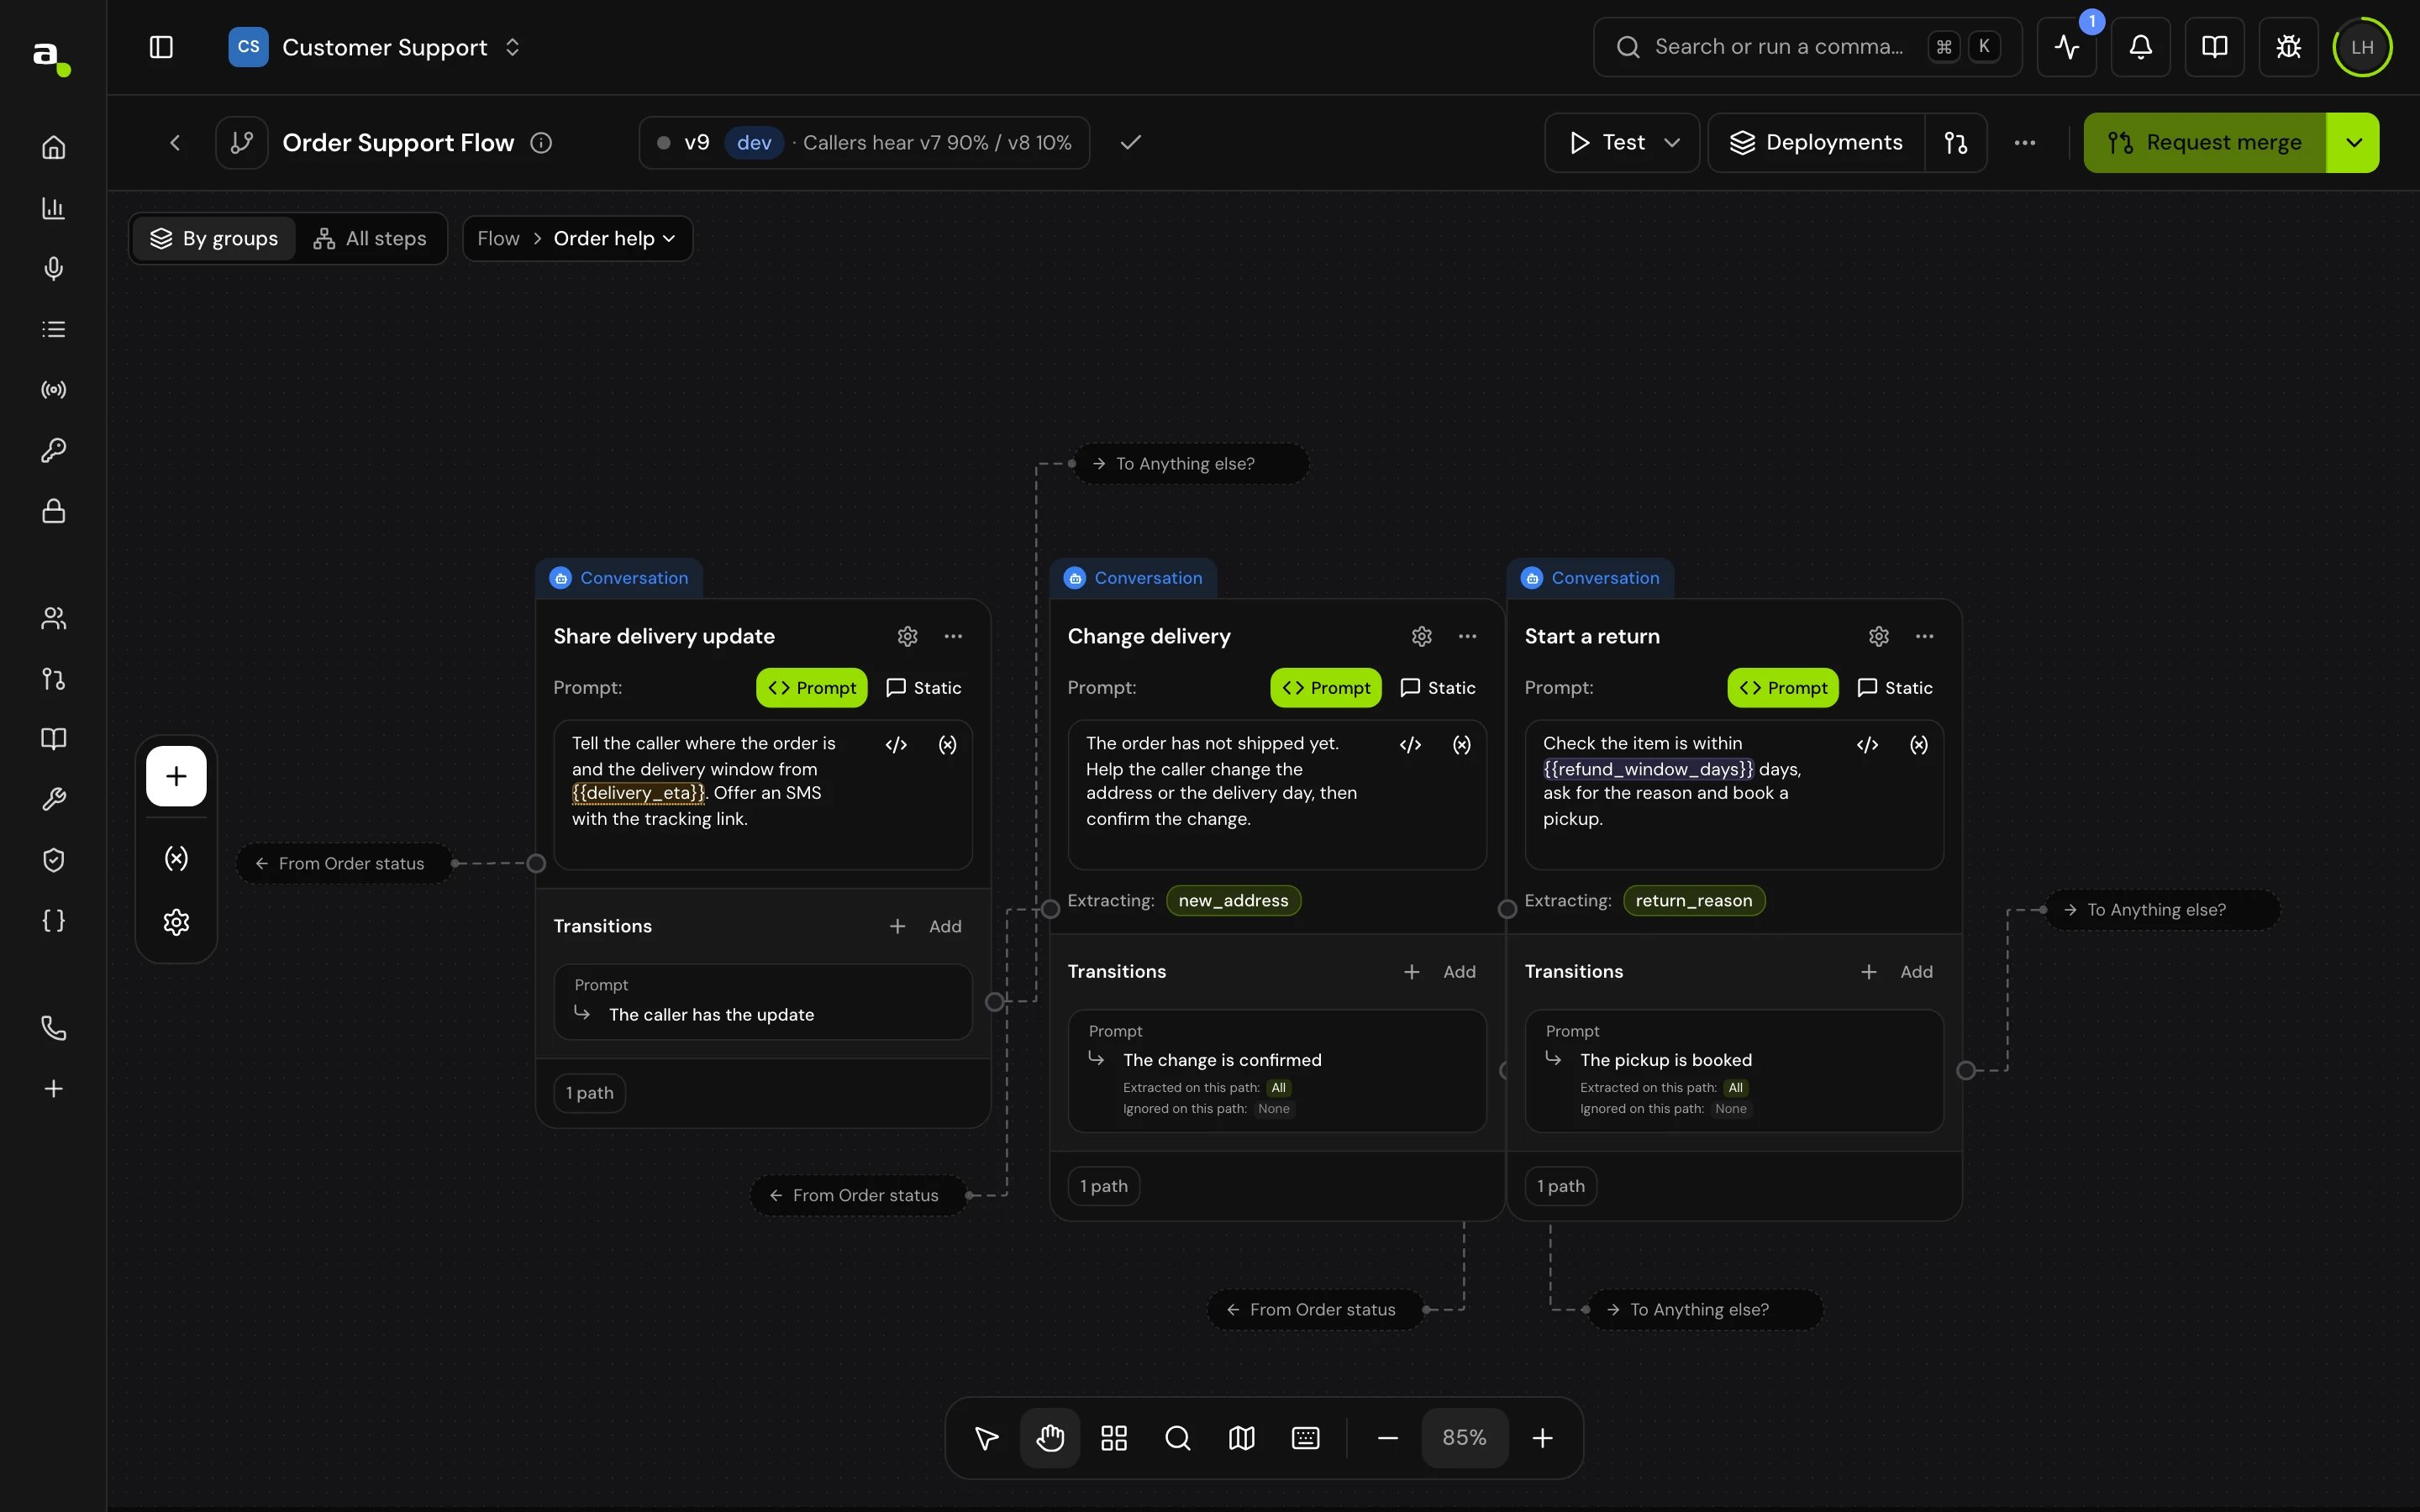
- An open group. Inside a group, a connection to or from a step outside it ends in a dashed label, such as From Order status or To Anything else?. Click the label to go to that step. When several steps are involved, the label reads, for example, From 3 steps: click it and choose one under Go to a step. A “×2” on a label means that step has two connections here.
Find a step
Press Cmd+F on Mac or Ctrl+F on Windows, or click Find node. Type in Find in nodes and notes. The search looks in step labels, step types, messages, transfer messages, phone numbers, descriptions and transition conditions.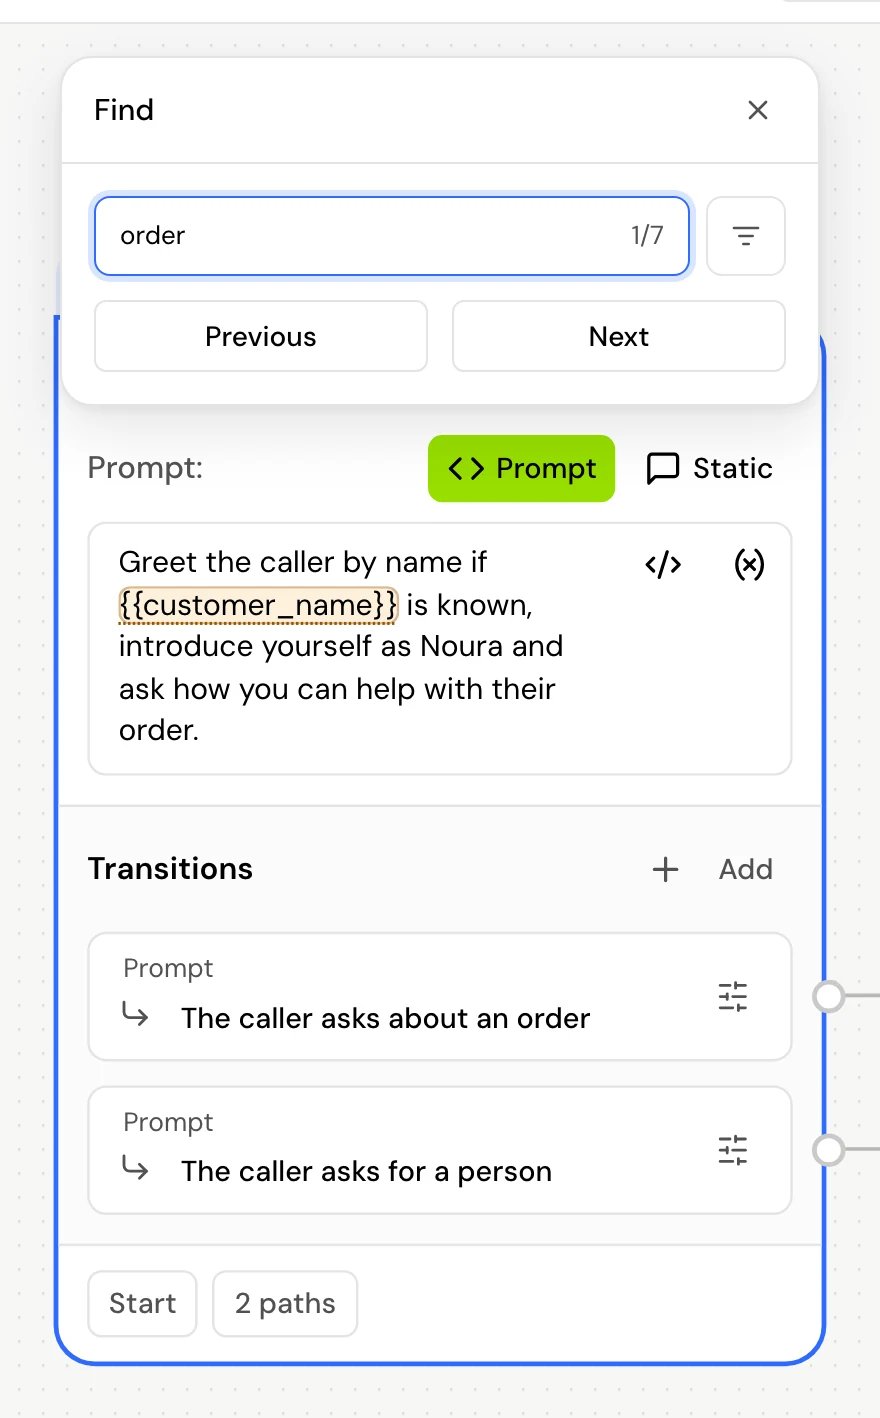
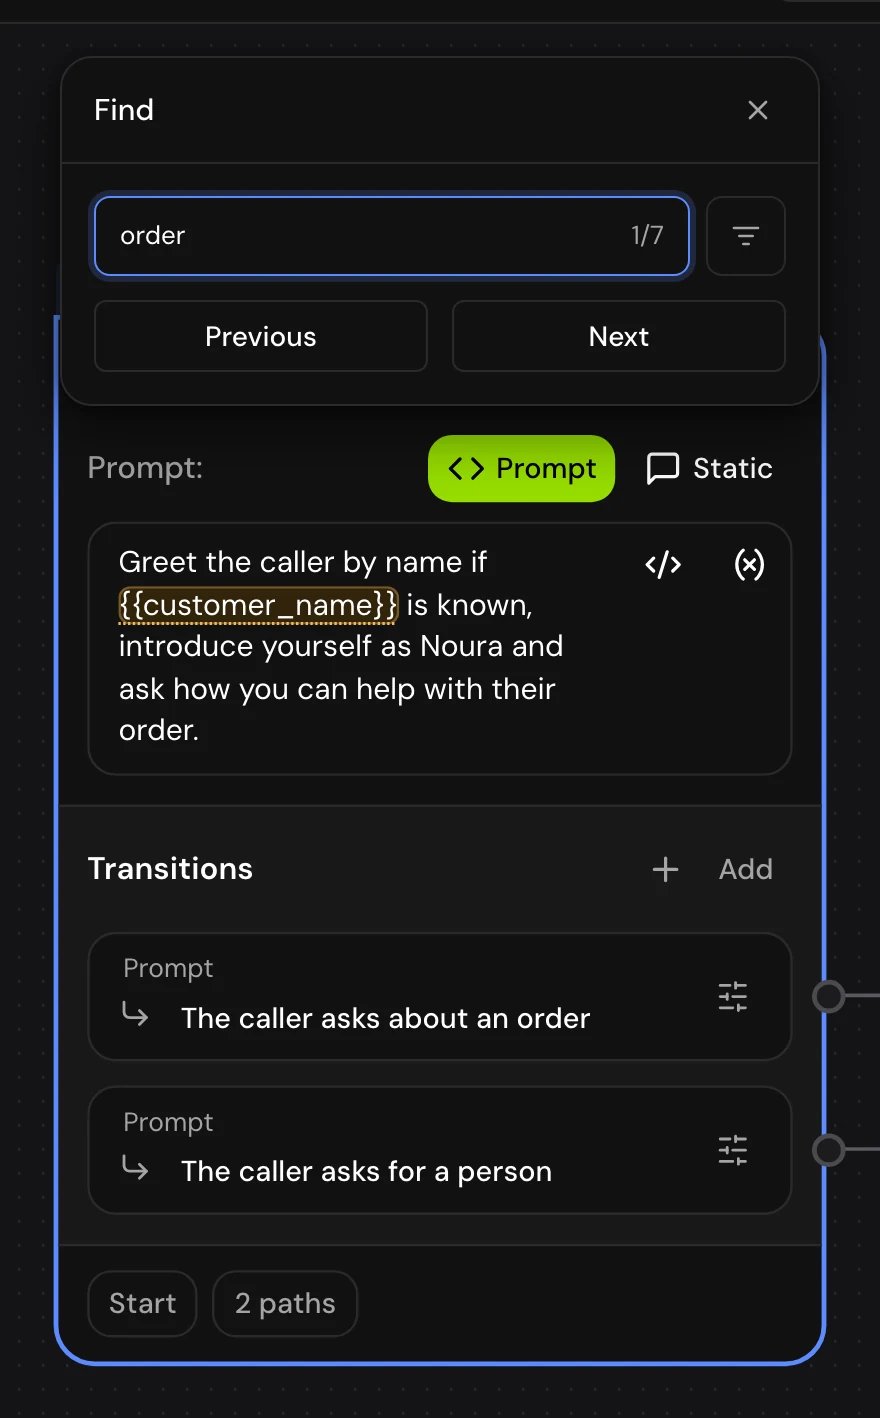
- Press Enter for the next match and Shift+Enter for the previous one. Each match is selected and centered.
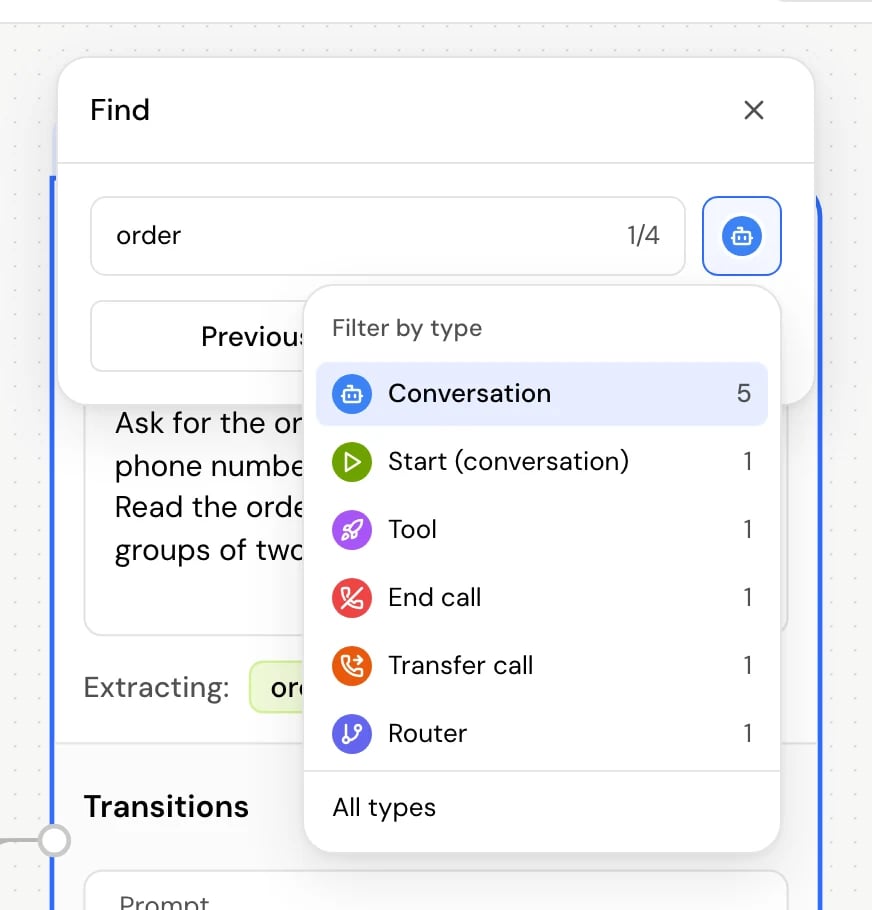
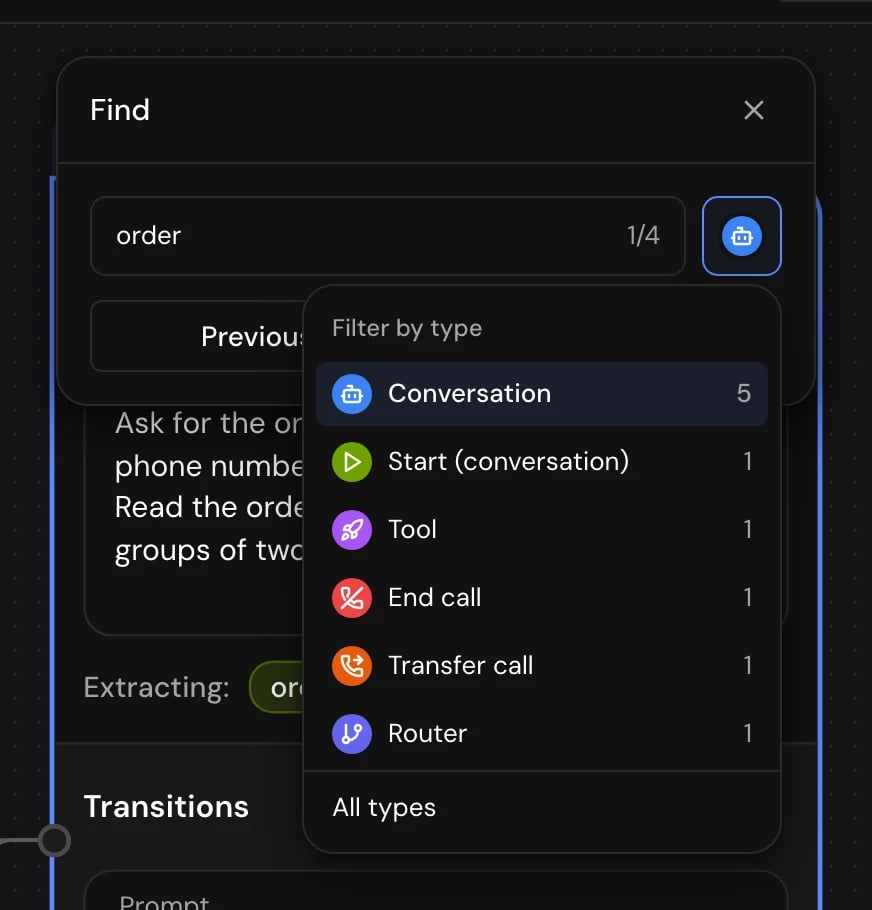
- Use Filter by type (the button next to the search box) to search only some step types. The list shows how many steps of each type the flow has. Tick one or more types, or choose All types to clear the filter. Steps that don’t match fade out.
Tidy the canvas with auto layout
Click Auto-layout nodes in the canvas toolbar and pick a layout: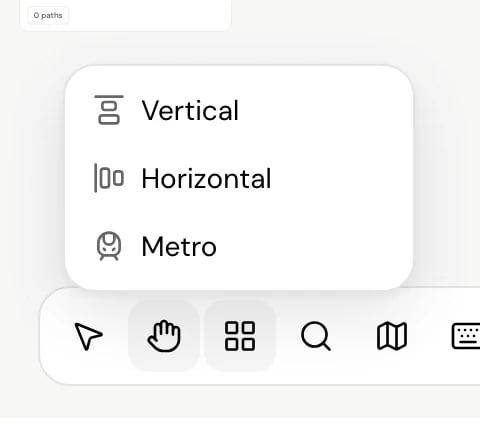
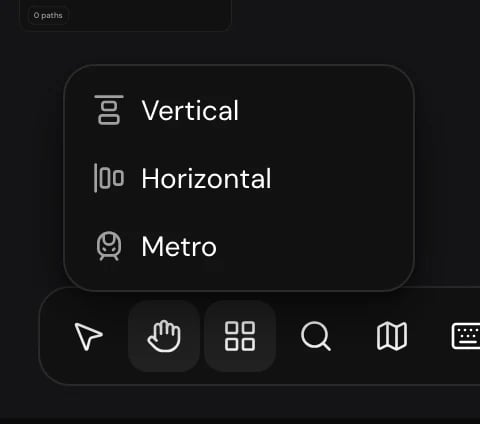
The Start step always comes first. In a flow with groups, each group is laid out on its own.
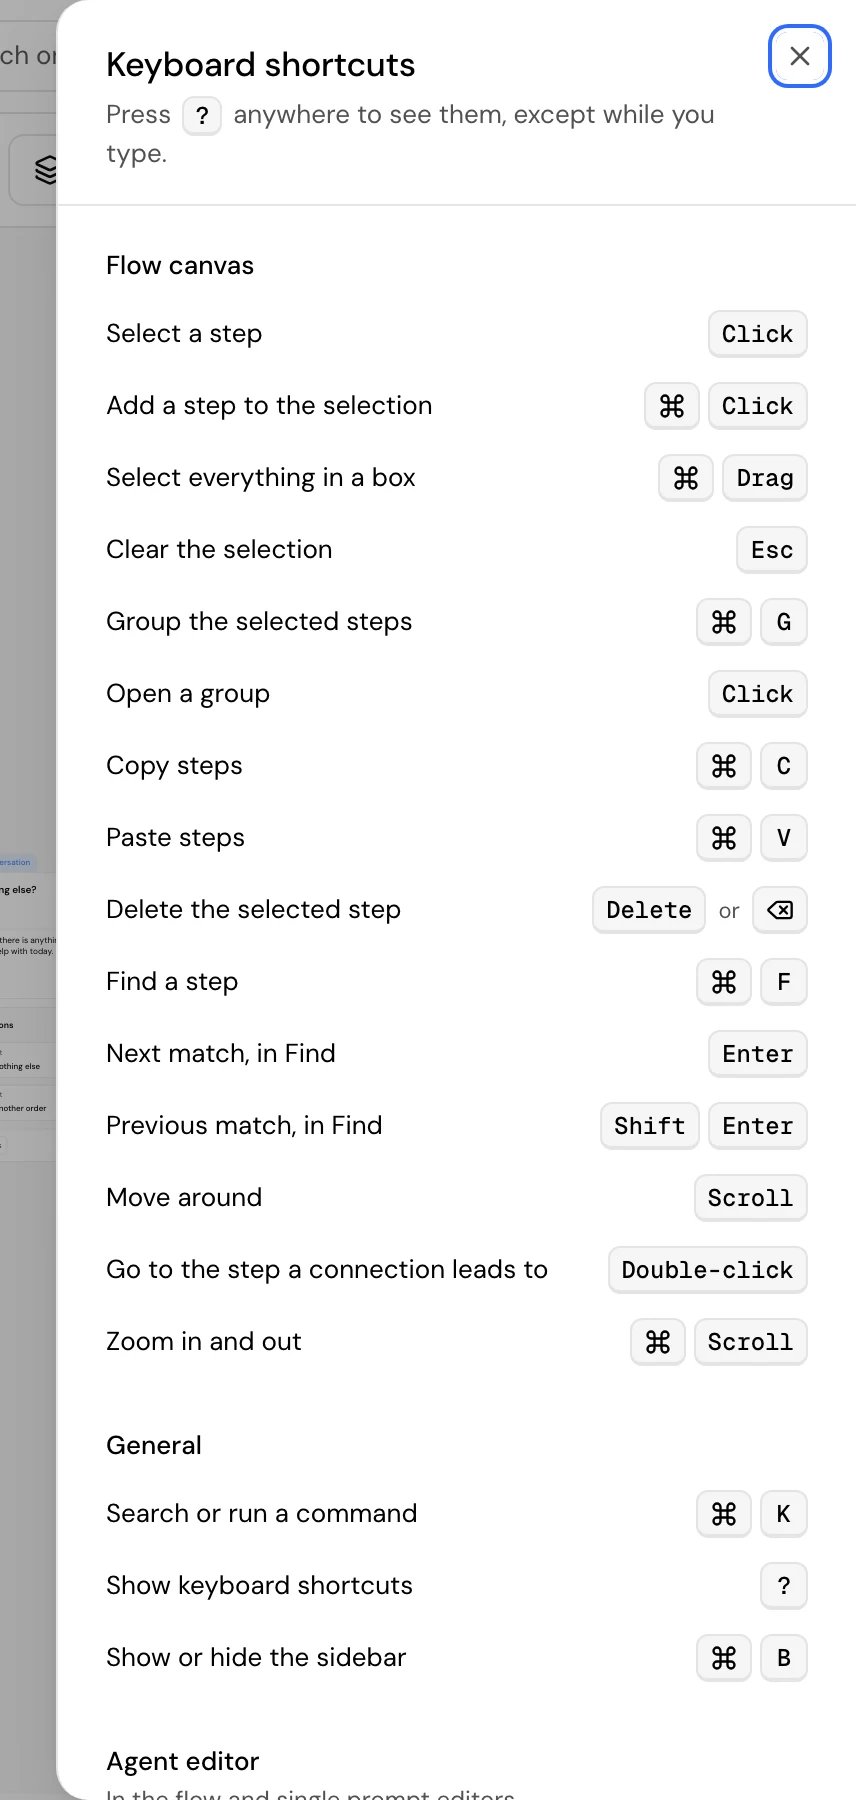
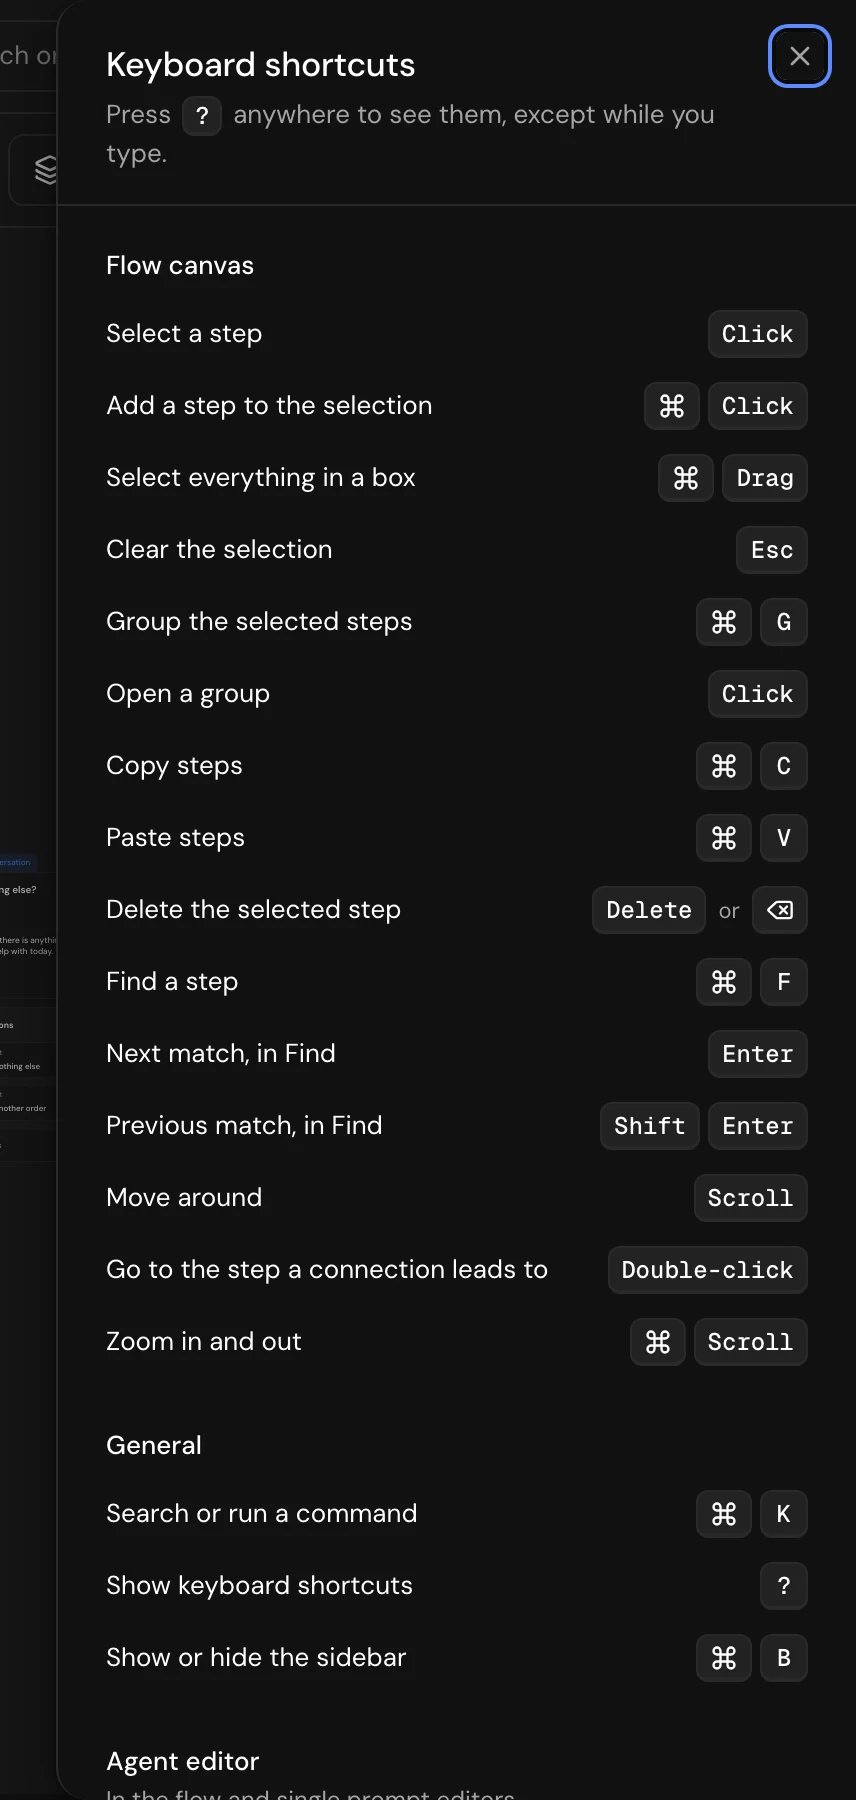
Keyboard shortcuts
Press ? to see every shortcut. On the canvas:
In the whole editor:
Save and fix issues
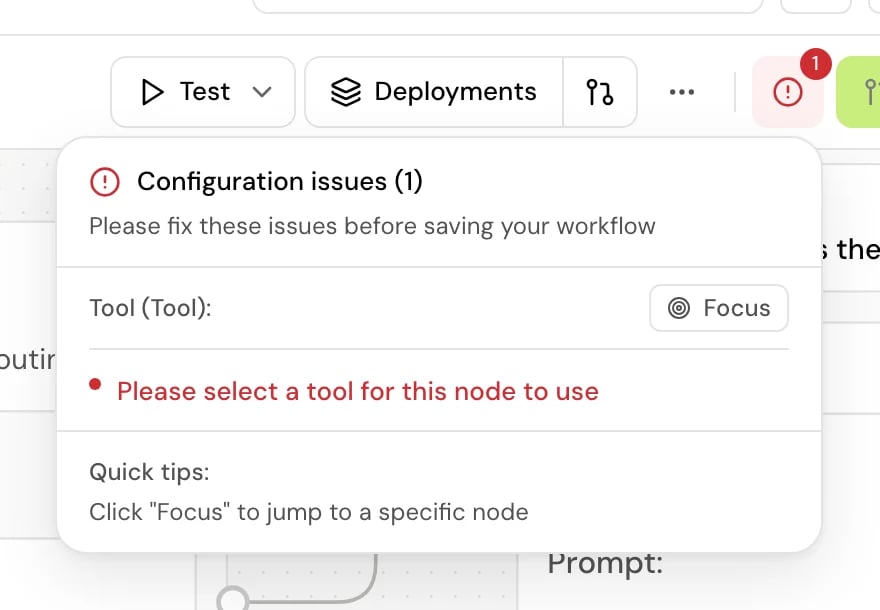
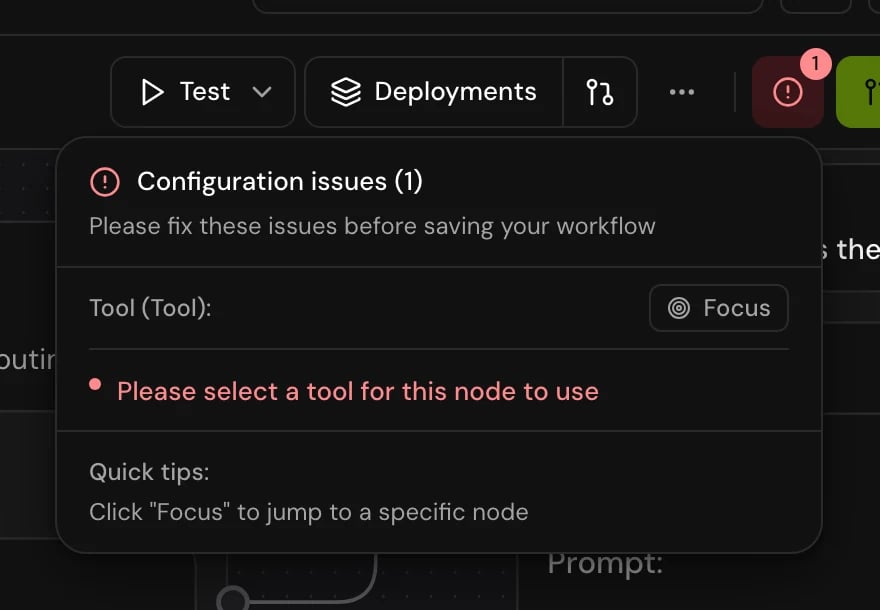
Your changes save to your draft automatically as you work, even while the flow has issues. Cmd+S (Ctrl+S on Windows) saves right away. Testing waits until changes are saved: “Please save changes before testing”. See Drafts and versions. When something in the flow is incomplete, a red issue button with a count appears in the header. Click it to open Configuration issues: it lists each problem by step, and Focus takes you to that step. Common ones:- “System instructions are required”: the System prompt in Global settings is empty.
- “All transitions must have descriptions”: a transition hasn’t been filled in, for example a Prompt transition with no condition.
- “Please select a tool for this node to use”: a Tool step has no tool.
- “Trigger condition is required for global nodes”: a global step has no trigger condition.
Good to know
- There is no undo on the canvas. To go back to an earlier state, use a saved version. See Drafts and versions.
- When you view an older version, every panel is read-only.
- While a test call runs, the step the call is in gets a moving ring, and Live call logs show what happens step by step. See Test your agent.
Related
Transitions
Each transition type and how the next step is chosen.
Step types
What every step does and which transitions it has.
Flow settings
The Global settings panel.
Test your agent
Browser call, phone call and chat.