

Before you start
What you can do depends on your role in the project. These are the default permissions; an owner can change them per member (see Roles and permissions).Pick an agent type
You can’t change an agent’s type after you create it. To move from one type to the other, create a new agent.
Create an agent
1
Open the create menu
In the sidebar, open Agents list and click Create agent.
2
Choose the type
Choose Create prompt agent or Create flow agent.
3
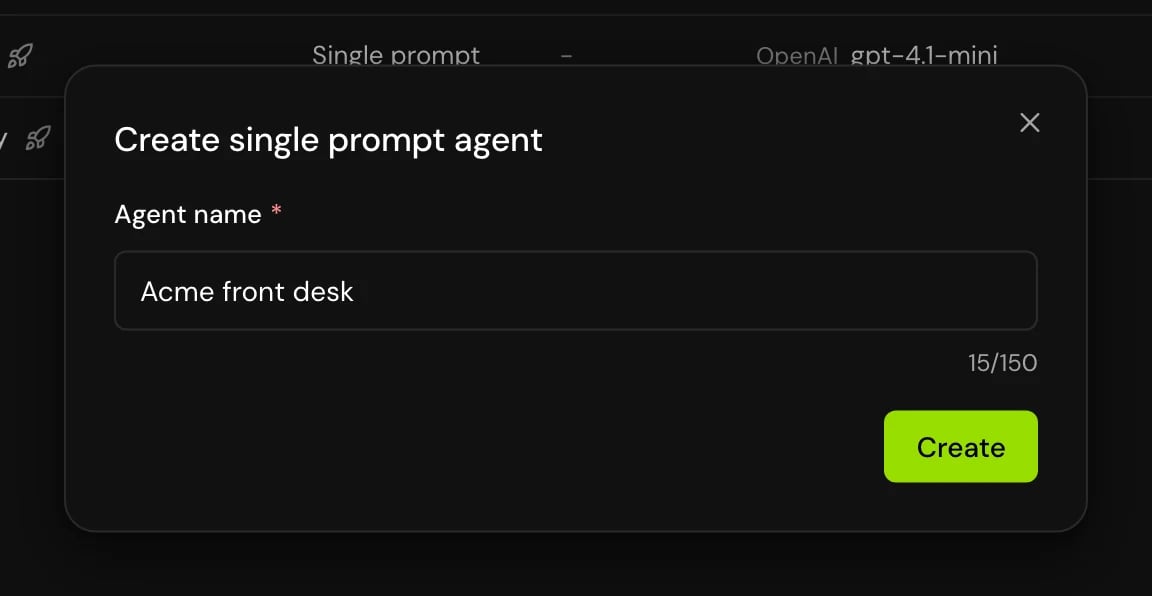
Name the agent
Enter the Agent name (up to 150 characters) and click Create.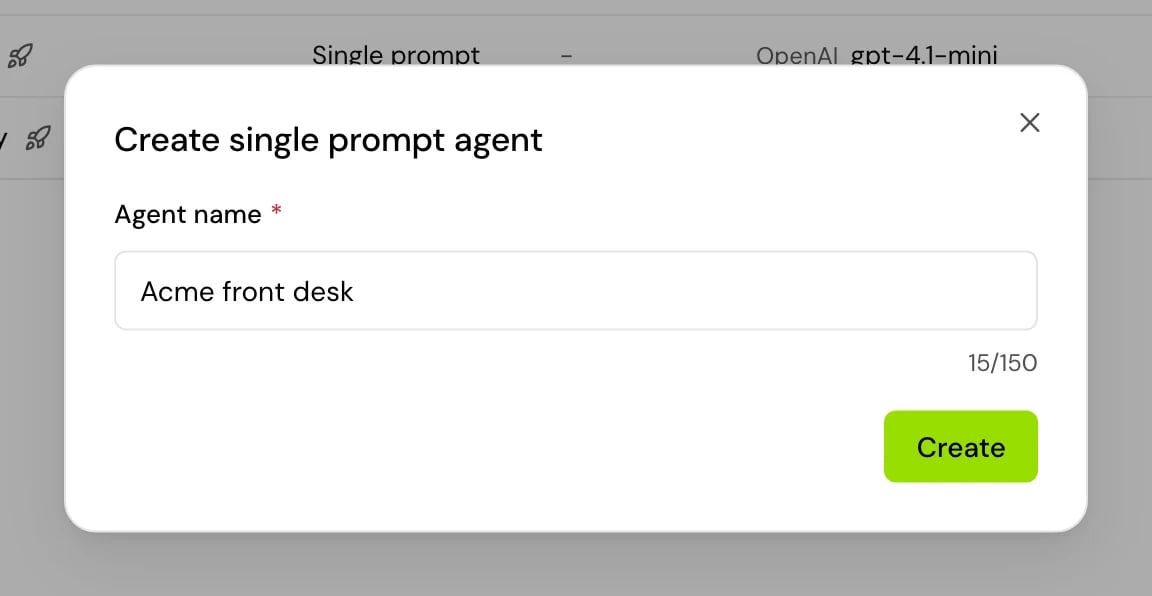


What a new agent starts with
Creation only asks for a name. Everything else starts from these values, which you then change in the editor.
Your edits save to your own draft. Callers only hear what is published. See Drafts and versions.
Find and open agents
The Agents list shows every agent in the project with its Agent type, Dialect, Voice, Model and Created date. Depending on your permissions it also shows Phone number and Calls.

- Search by name or agent ID. Click Filter to filter by Agent type, Language or Dialect; you can pick several values in each, for example Saudi and Emirati.
- In projects with the Outcome dashboard (in beta), an Outcome column opens each agent’s dashboard (“View the outcome dashboard”).
- Click a row to open the agent. Hover the name to copy its agent ID (Copy agent ID).
- Open a row’s menu for Edit, View calls, Duplicate agent and Delete.


Duplicate an agent
Duplicate an agent to try a different approach without touching the original, or to start a new agent from one that works.1
Open the row menu
In Agents list, open the agent’s row menu and choose Duplicate agent.
2
Name the copy
The name starts as the original’s name followed by “(Copy)”. Change it if you like.
3
Choose what to copy
Under What to copy, pick one option, then click Duplicate agent.

Calls, phone numbers and share links are never copied.
Move an agent to another project
Export an agent to a.hamsa file, then import that file into another project, in the same account or a different one.
1
Export the agent
Open the agent, open More actions in the editor header and choose Export. Save your changes first: Export is off while there are unsaved changes (“Save your changes before exporting”). The browser downloads a 

.hamsa file.The file holds the agent’s published version, the one that answers calls, not your draft. To export recent edits, publish them first. An agent that was never published exports with the settings it was created with.2
Switch to the other project
Open the project you want to import into.
3
Import the file
In Agents list, click Import agent and choose the
.hamsa file. Hamsa creates the agent and opens it.
On import, a tool with the same name and version as one already in the project is reused; any other tool is created in the project. On-hold music and ambient sound tracks that the new project can’t use fall back to the default track.
Delete an agent
1
Open the row menu
In Agents list, open the agent’s row menu and choose Delete.
2
Confirm
In Delete agent, click Delete.

3
Undo if you need to
The agent leaves the list at once, and a toast says “Deleted” with the agent’s name. Click Undo within about six seconds to bring it back. After that the agent is deleted for good.

Good to know
- Agent names are required and can be up to 150 characters. You can rename an agent from the editor header.
- There is no limit on the number of agents in a project.
- Export and import are for moving an agent between projects. To copy an agent inside the same project, use Duplicate agent.
- A
.hamsafile can only be imported through Import agent. It is not meant to be read or edited by hand.
Related
Single prompt agents
Write the greeting and instructions, and set up the agent.
Flow agents
Build a call out of steps and transitions.
Drafts and versions
How edits become what callers hear.
Test your agent
Call the agent from the browser or your phone.