

Before you start
- You need to be an owner or admin. Adding voices needs the voices create permission, which members don’t have by default. See Roles and permissions.
- Only clone a voice you have the right to use.
- Have a recording of one person speaking, at least 3 seconds long.
Add the voice
1
Open Add voice
Go to Voices and click Add voice.
2
Fill in the voice details
In Voice details, set: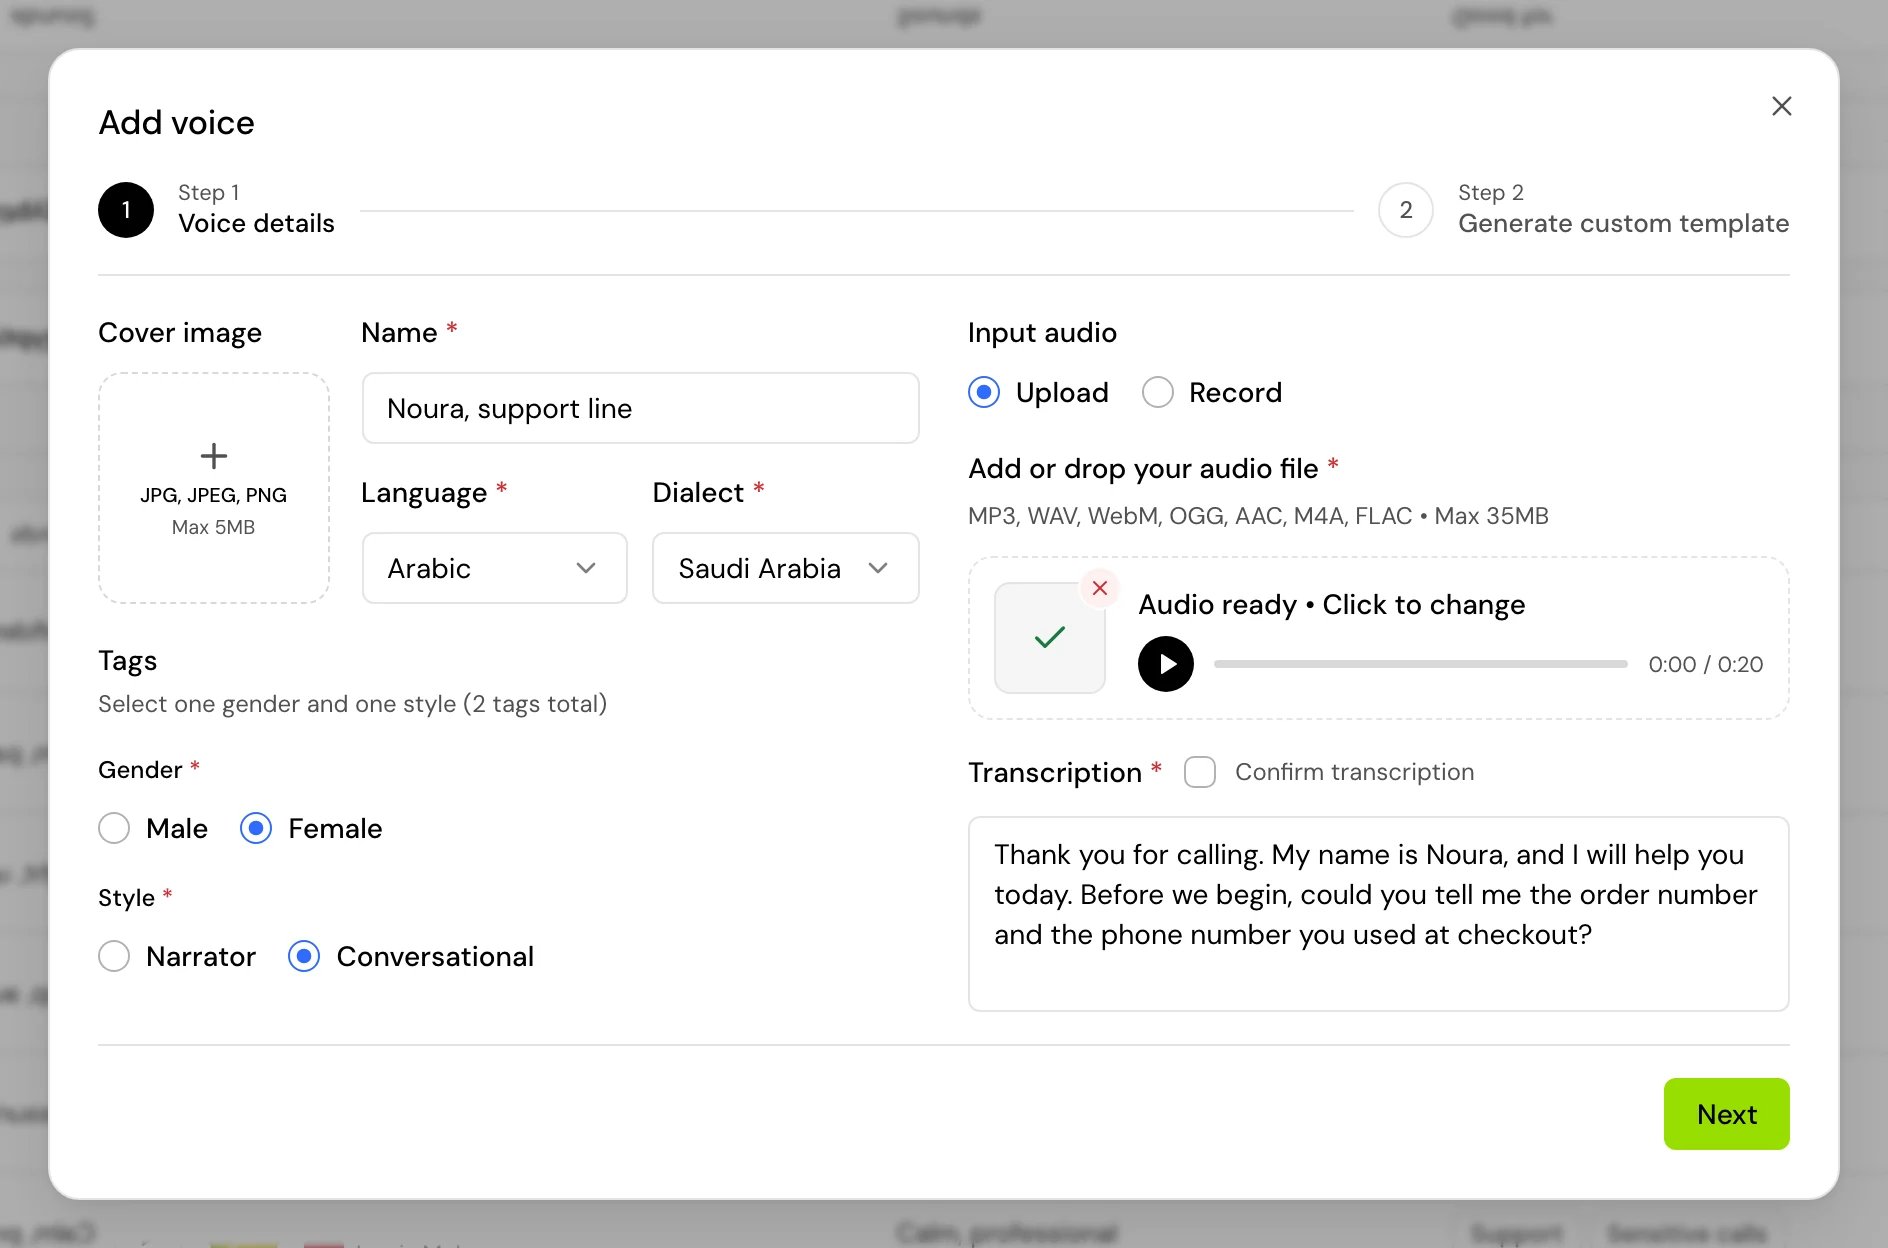
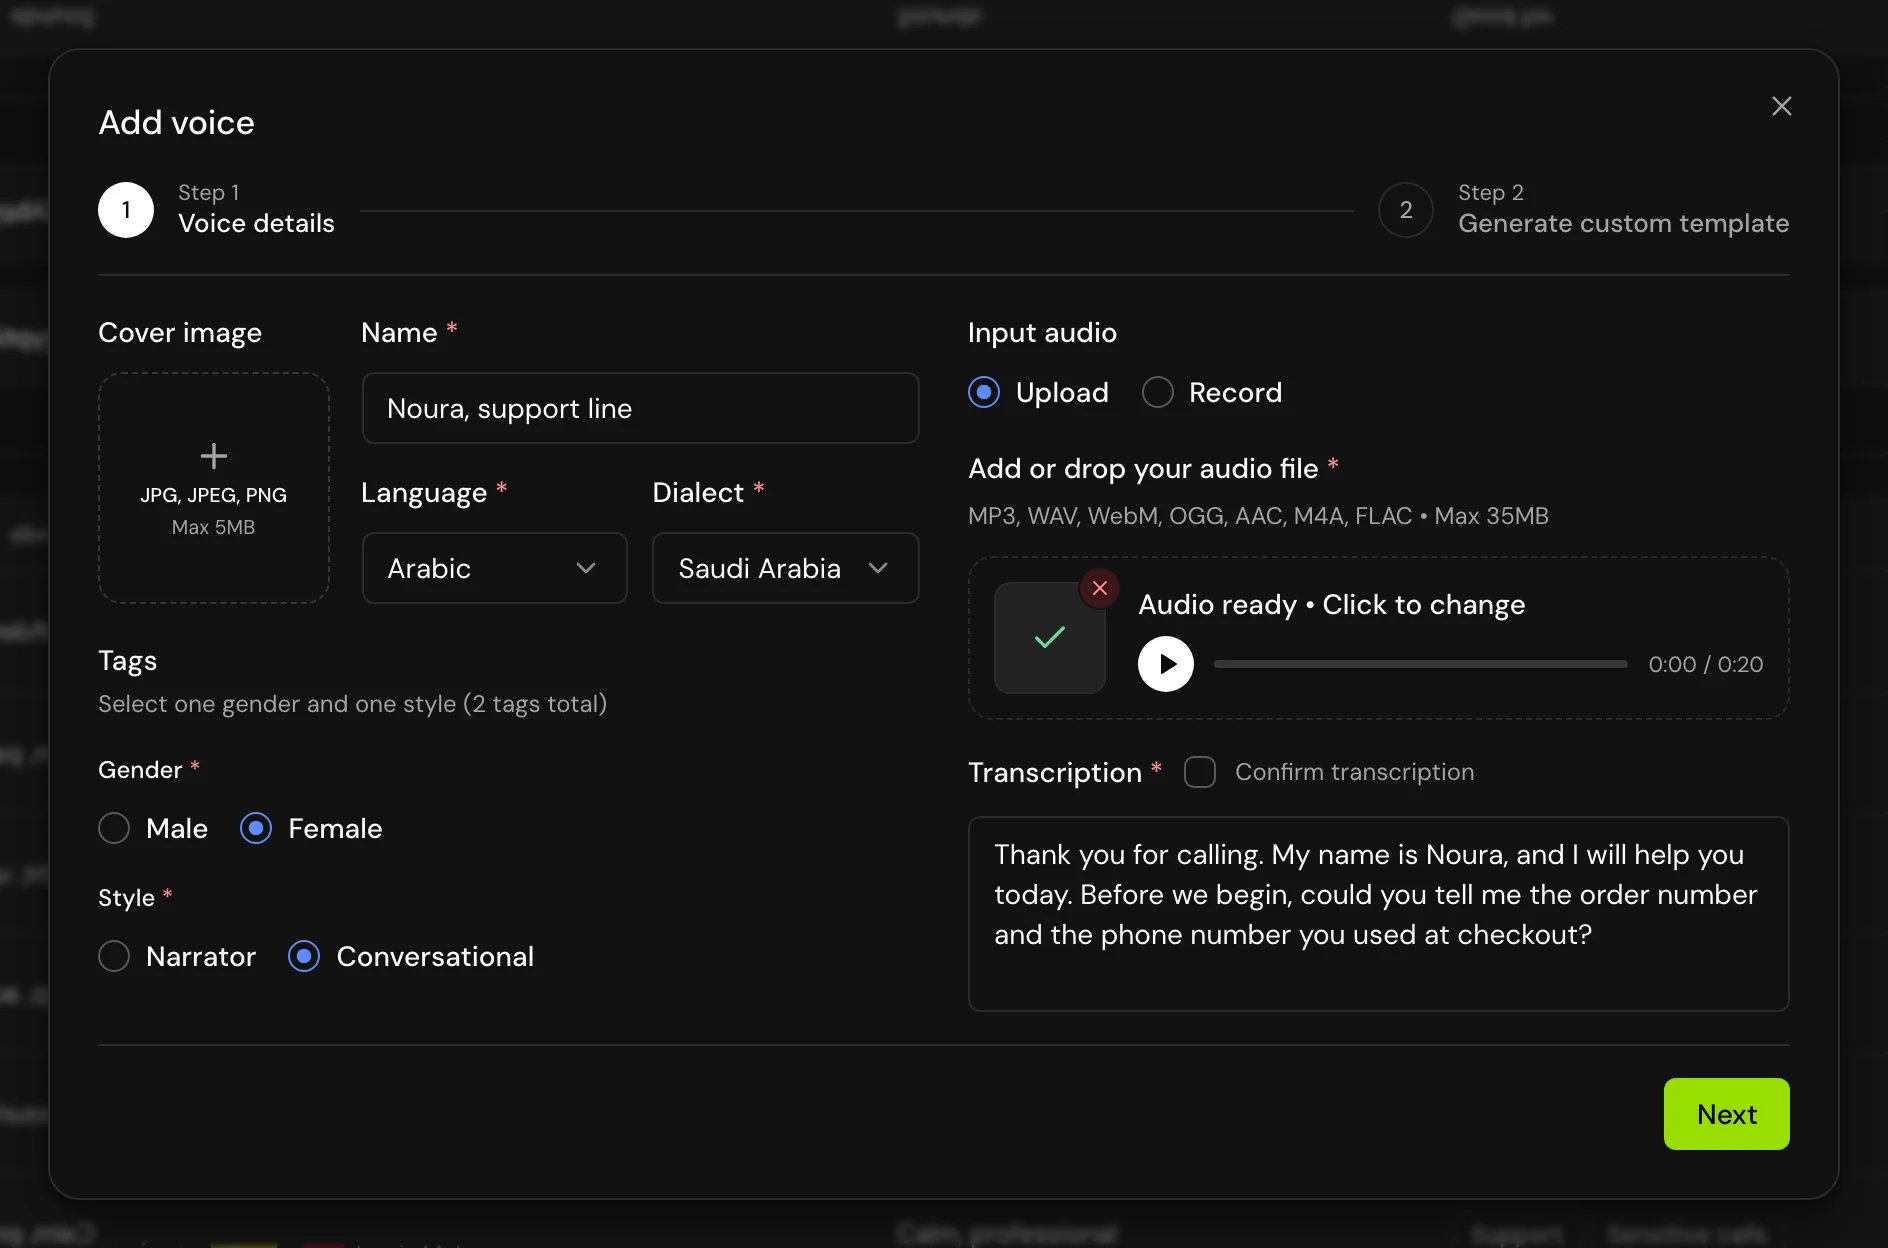
- Name: required.
- Language: Arabic or English.
- Dialect: required for Arabic. For English it is “Not required for English”.
- Tags: “Select one gender and one style (2 tags total)”: Male or Female, and Narrator or Conversational.
- Cover image: optional. JPG, JPEG or PNG, at most 5 MB.
3
Add the audio
Under Input audio, choose Upload or Record.
- Upload: MP3, WAV, WebM, OGG, AAC, M4A or FLAC, at most 35 MB.
- Record: click Start recording, speak, then Stop recording. “Record 3 seconds or more; over 20, you pick the part.”
4
Pick the part to clone from, if asked
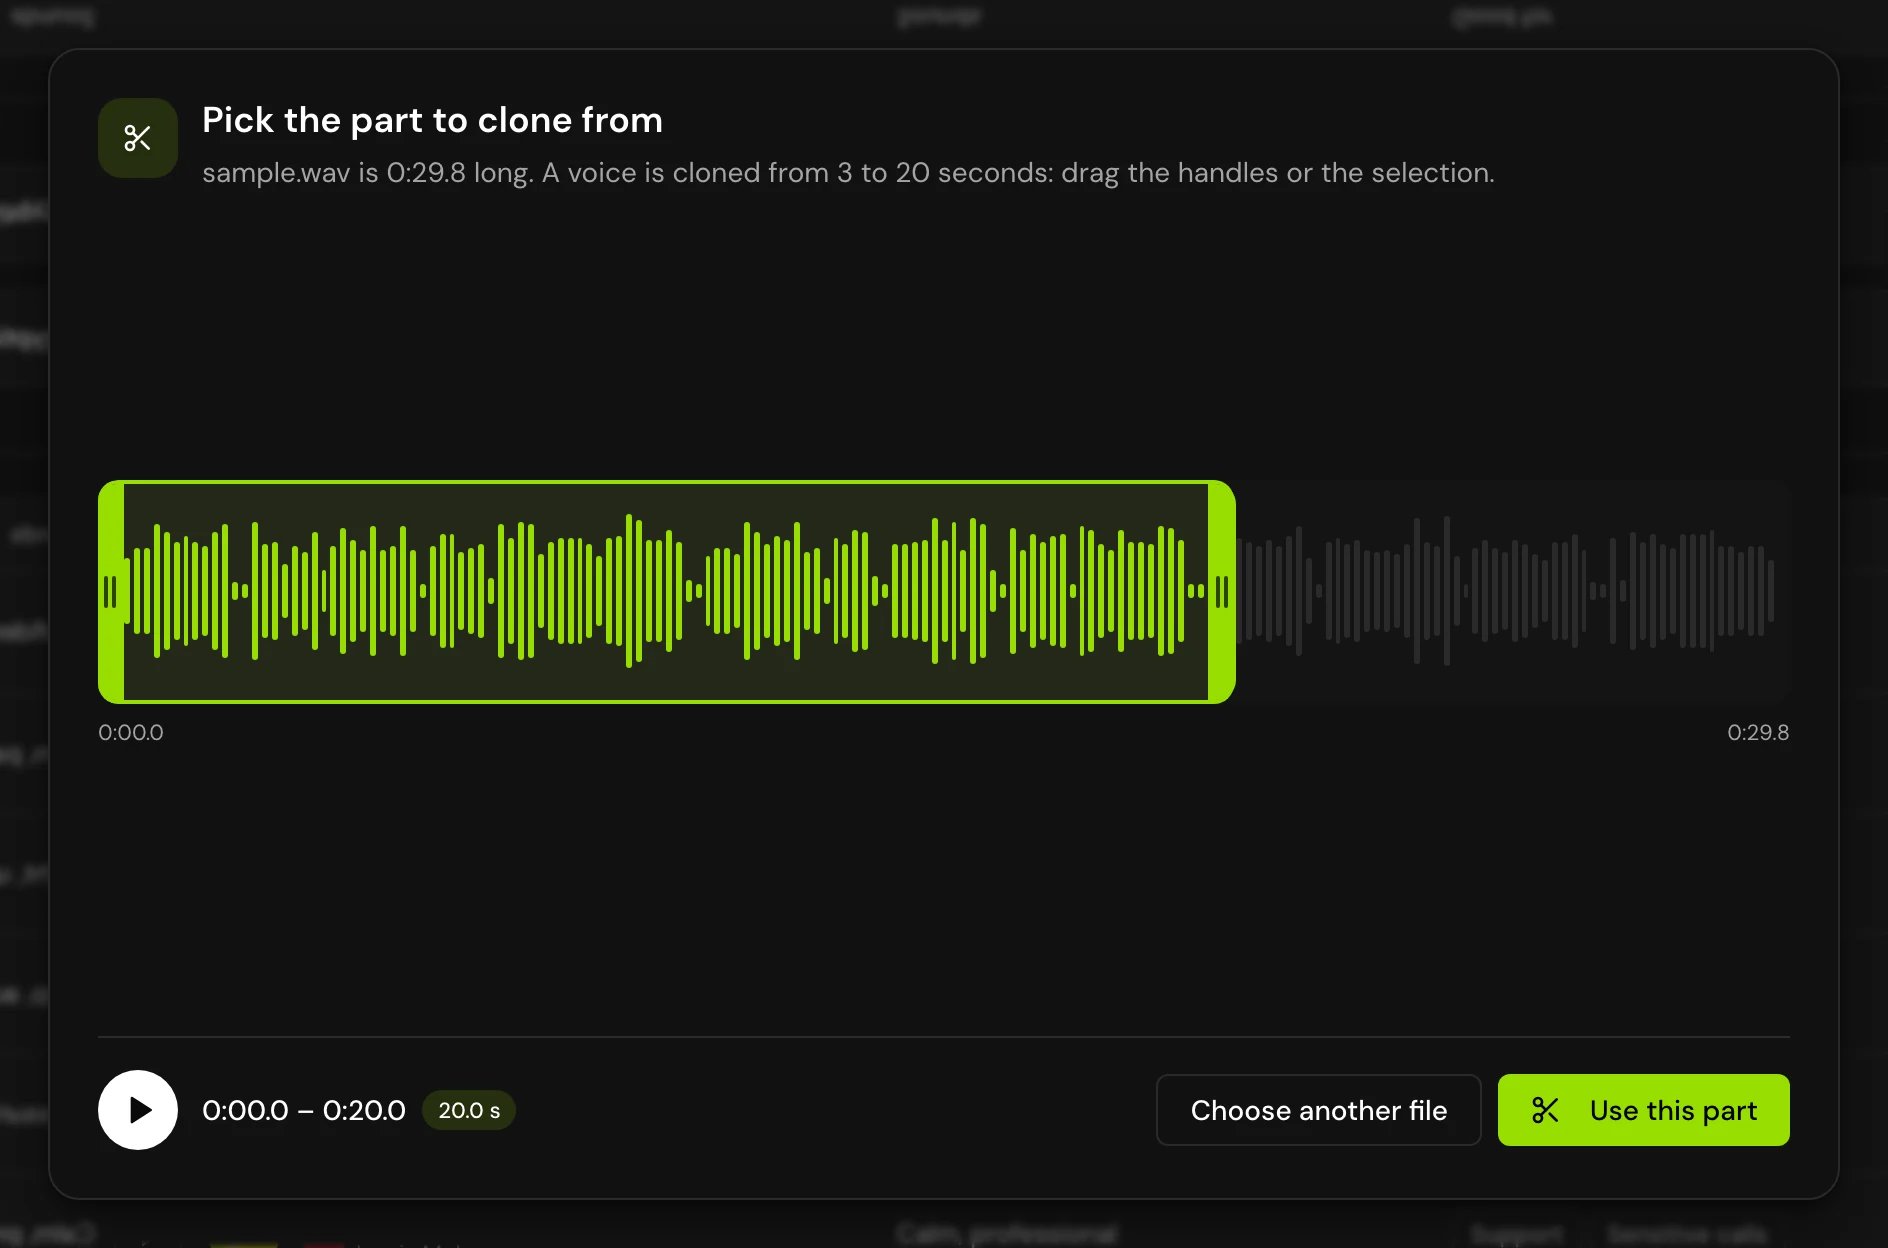
If the audio is longer than 20 seconds, Pick the part to clone from opens. “A voice is cloned from 3 to 20 seconds: drag the handles or the selection.” Click Play the part to hear it, then Use this part.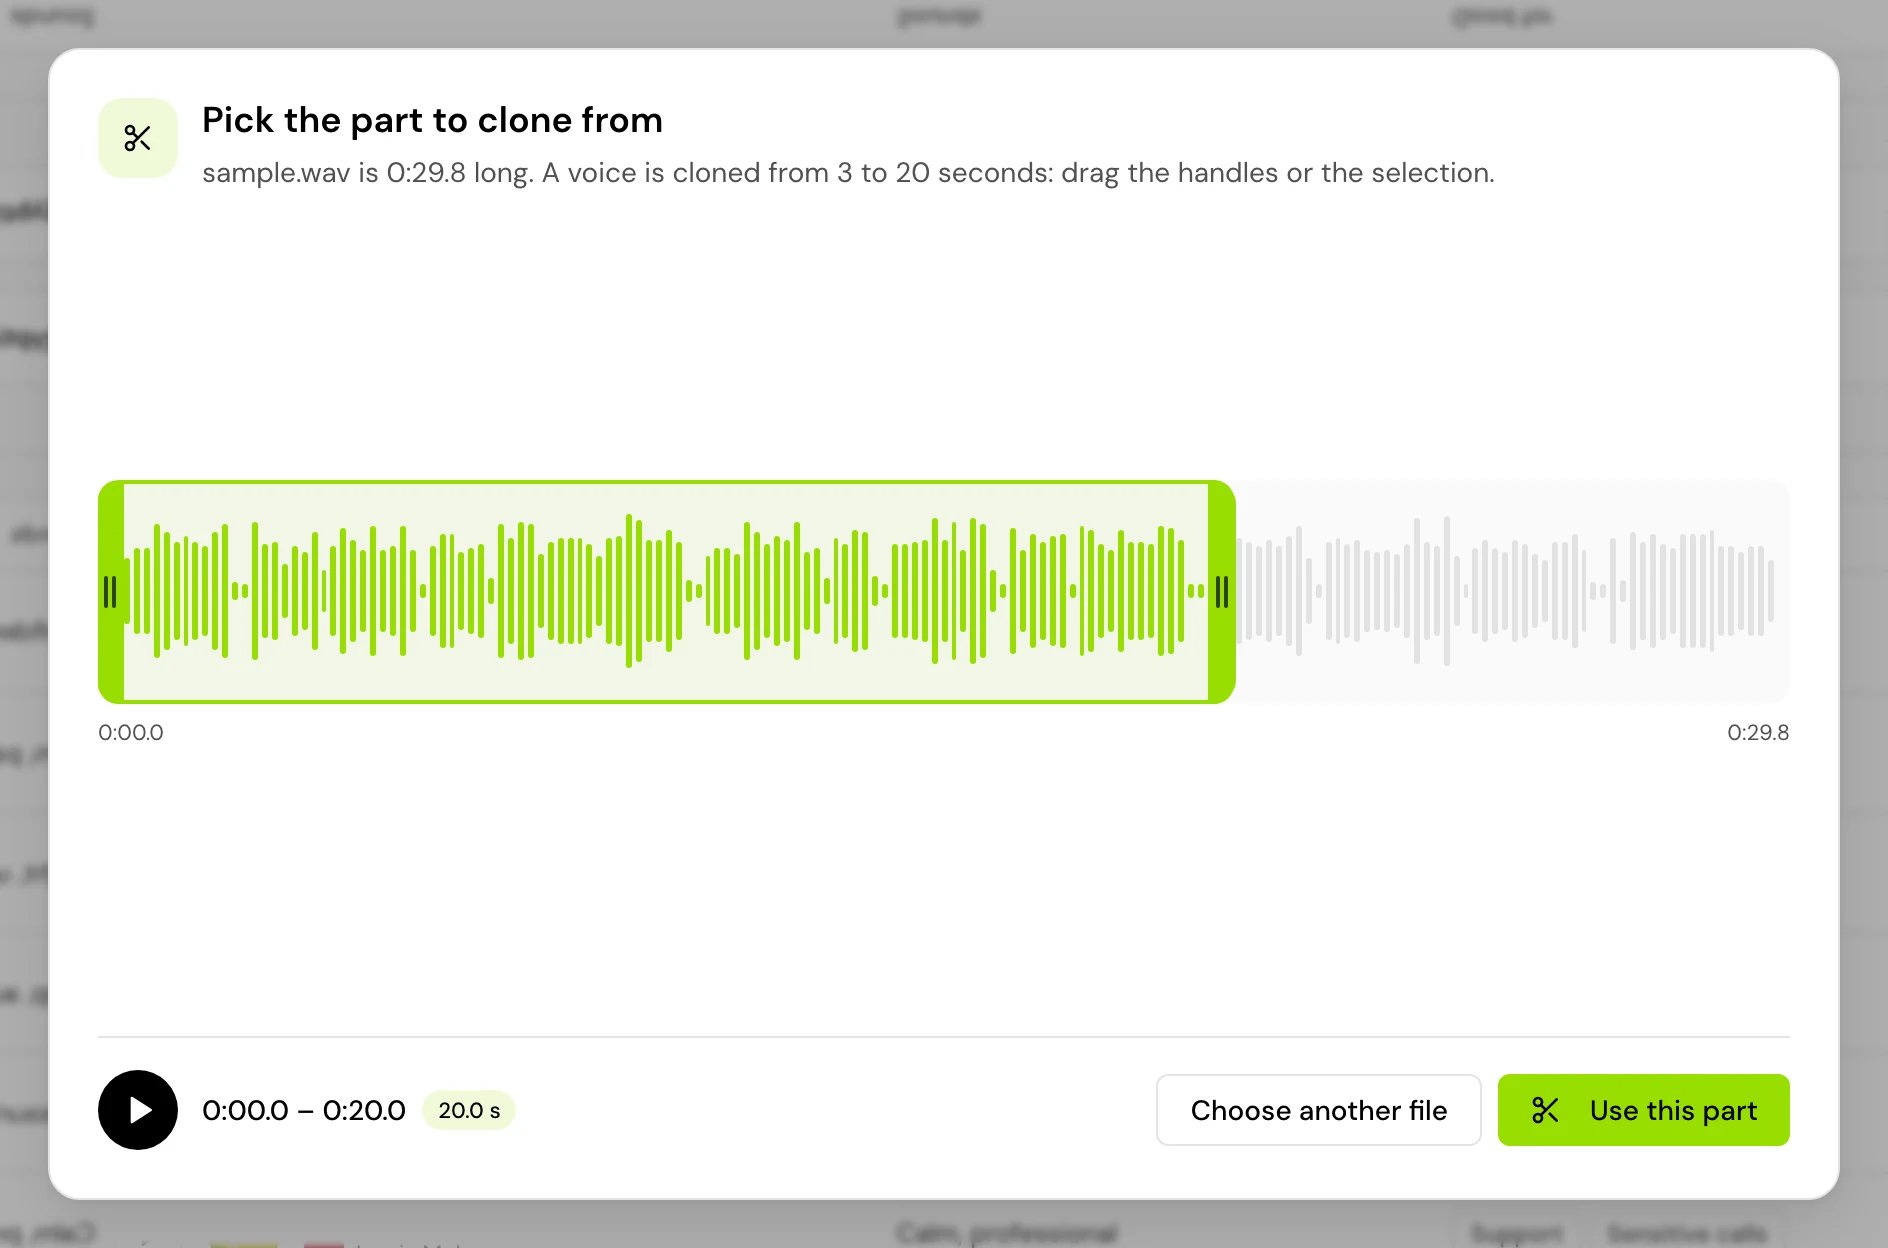
5
Confirm the transcription
The Transcription fills in on its own from the audio. Read it, correct it if needed, and click Confirm transcription. You can’t continue until it is confirmed.
6
Preview the voice (optional)
Click Next. In Generate custom template, type at least 5 words under Text and click Generate to hear how the new voice sounds.
7
Create it
Click Create. “Voice created successfully”. The voice appears under Project voices.
Audio limits
Choose the style
- Pick Conversational for a natural sound “with natural pauses, breathing, and expressions”, or Narrator for “fast-paced, continuous delivery that’s clear, direct”.
- Preview the voice with a sentence your agent will really say.
After you add it
- Use it in an agent like any other voice. See Choose a voice.
- A voice can’t be edited after it is created. To change it, add it again and delete the old one (row menu > Delete {name}).
- Deleting a voice can’t be undone.
Related
Choose a voice
Browse voices and pick one for an agent.
Pronunciation dictionaries
Fix how the voice says specific words.