Overview
Get up and running with Knowledge Base quickly. Follow these steps to create your first knowledge base item and add it to your agents.Prerequisites
Before getting started, ensure you have:- An active project selected
- Appropriate permissions to manage knowledge base items
- Available storage quota (check your plan limits)
Quick Start Steps
- Navigate to Knowledge Base
- Go to the Knowledge Base section in your dashboard
- Click the appropriate button based on your content type:
- “Add Free Text” for text content
- “Add Document” for file uploads
- “Add URL” for web content


-
Follow the Creation Wizard
- Complete the form for your chosen content type
-
Monitor Processing
- Watch the status indicator as your item processes
- Wait for “PROCESSED” status (shown as “completed” in dashboard) before using in agents
-
Add to Agents
- Open your agent configuration
- Navigate to Knowledge Base section
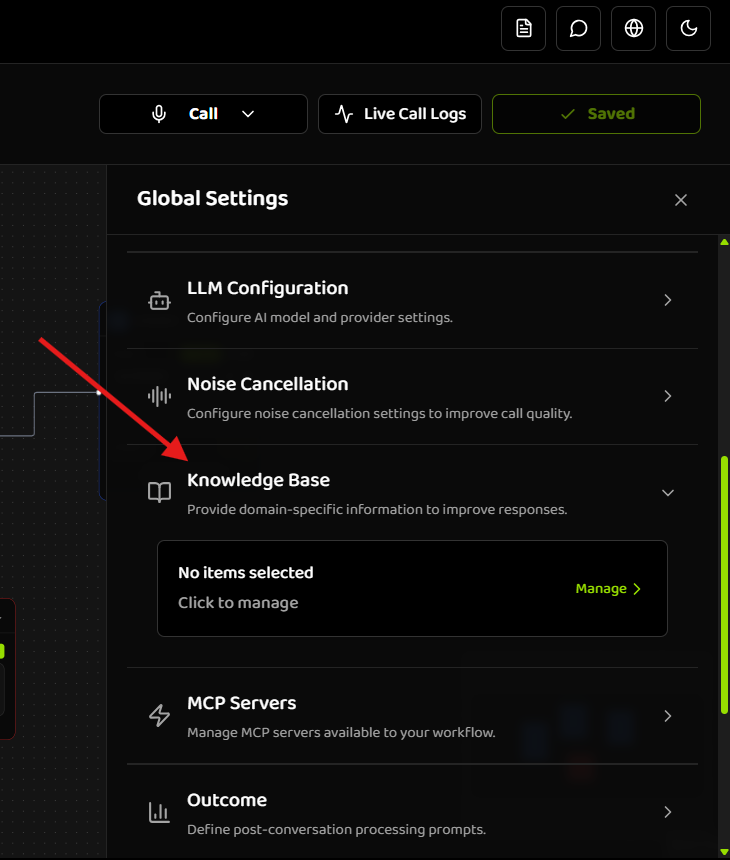
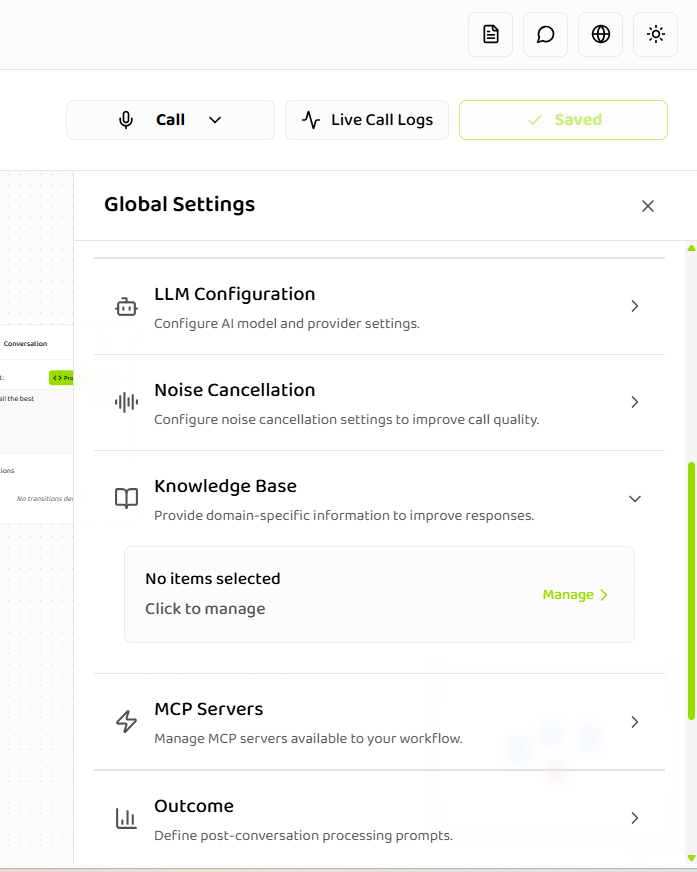
- Click “Manage” to open the item selection modal
- Select the items you want to use
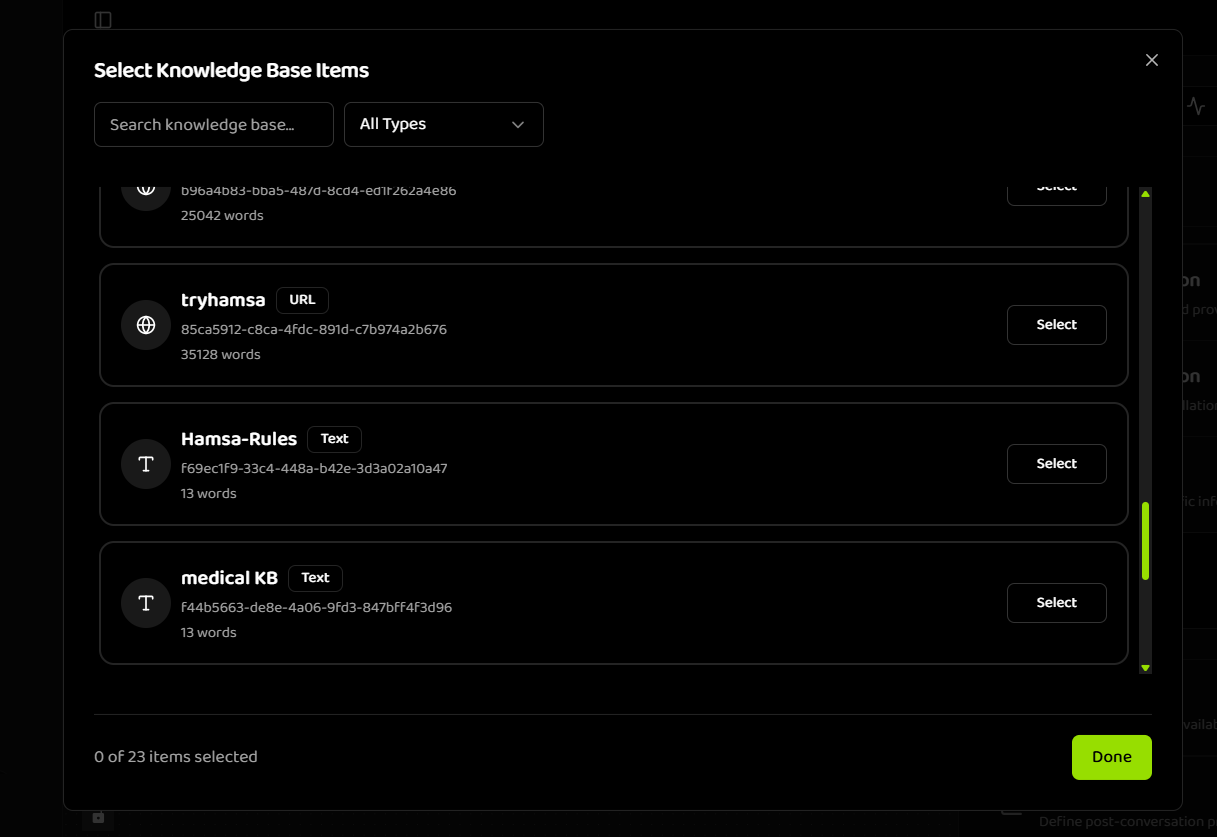
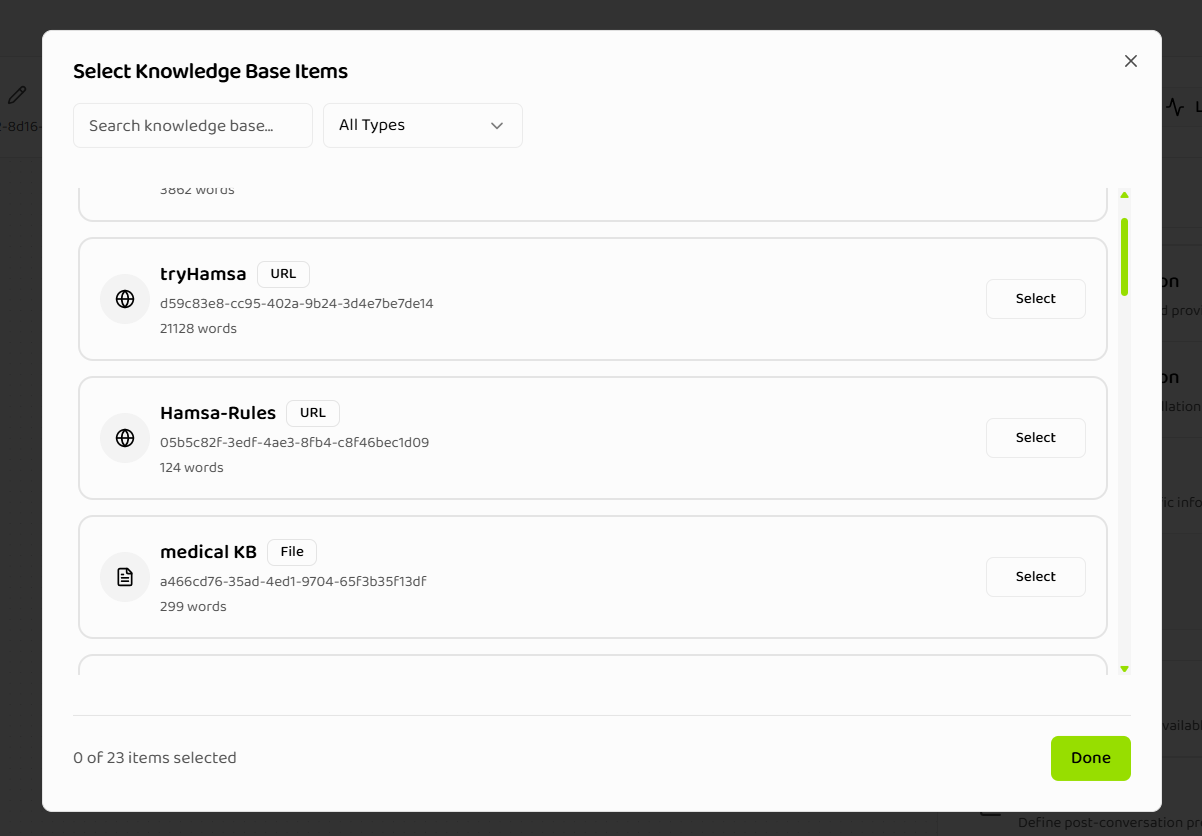
- Click “Done” to save your selection
Next Steps
Now that you’ve created your first knowledge base item:- Creating Items - Learn detailed steps for creating different item types
- Managing Items - Organize, search, and filter your items
- Status Lifecycle - Understand processing states and troubleshooting
- Best Practices - Optimize your knowledge base for best results
Related Documentation
Introduction
Learn more about Knowledge Base features and capabilities
Creating Items
Detailed guide on creating text, file, and URL items
Managing Items
How to organize and manage your knowledge base