Overview
Get up and running with Batch Calls quickly. Follow these steps to create your first batch call and start making outbound calls.Prerequisites
Before getting started, ensure you have:- An active project selected
- At least one Voice Agent created and configured
- At least one outbound phone number configured
- A CSV file with recipient data (at least one valid recipient)
Quick Start Steps
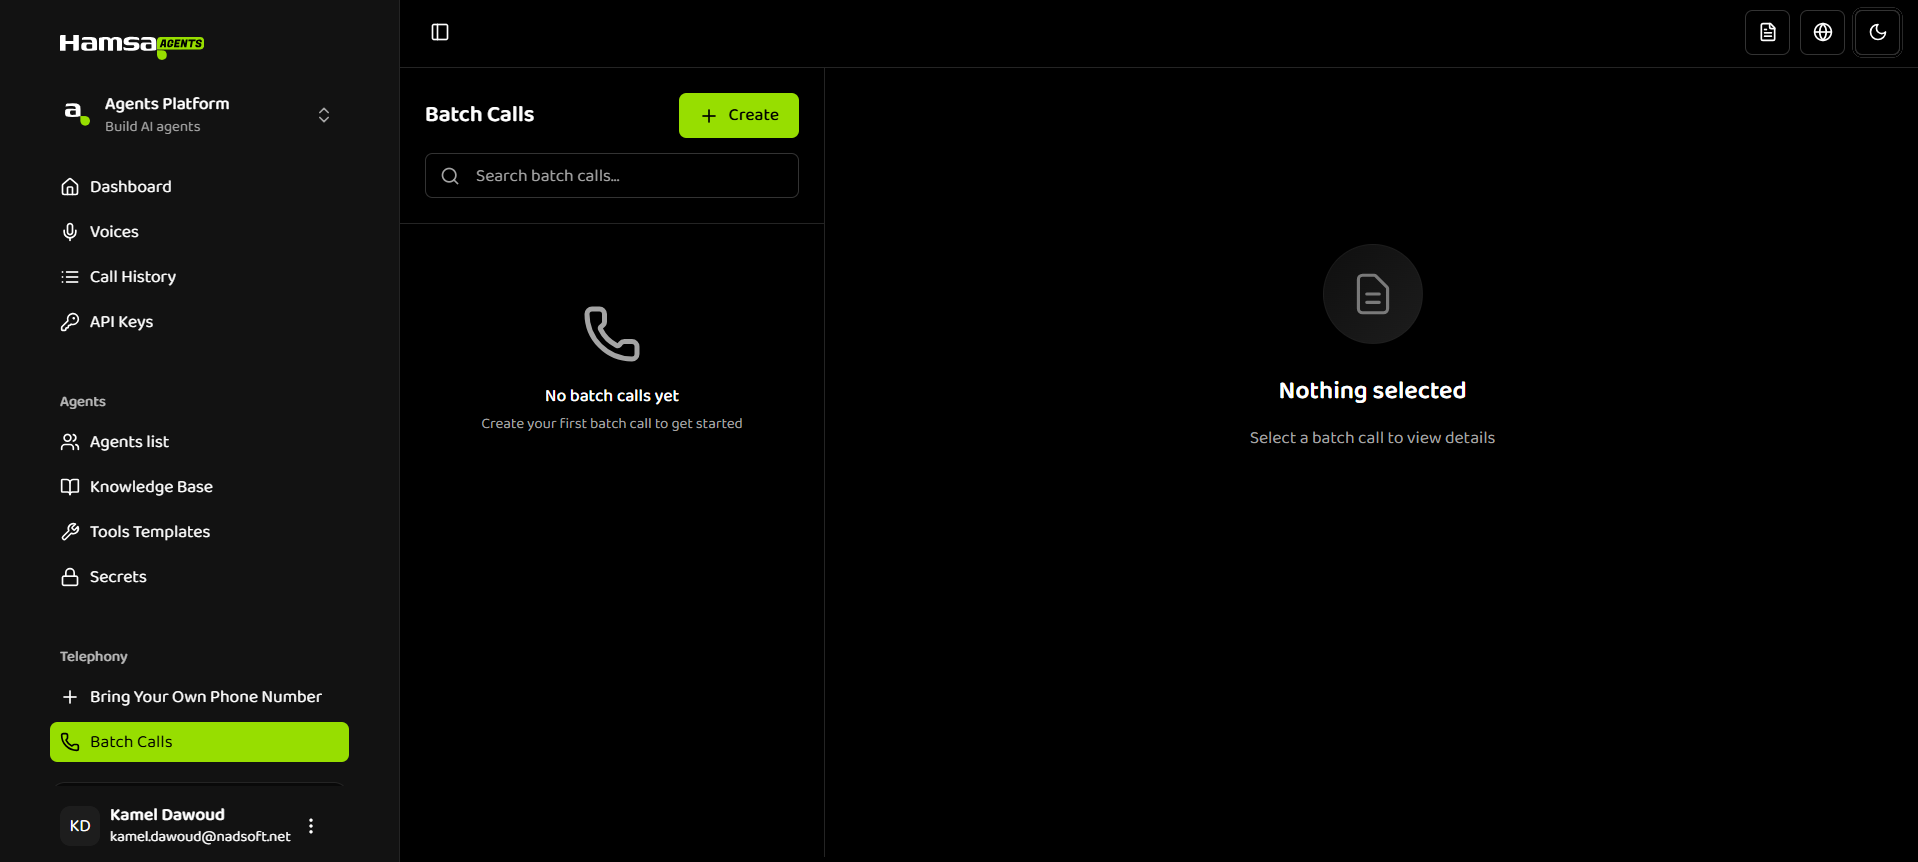
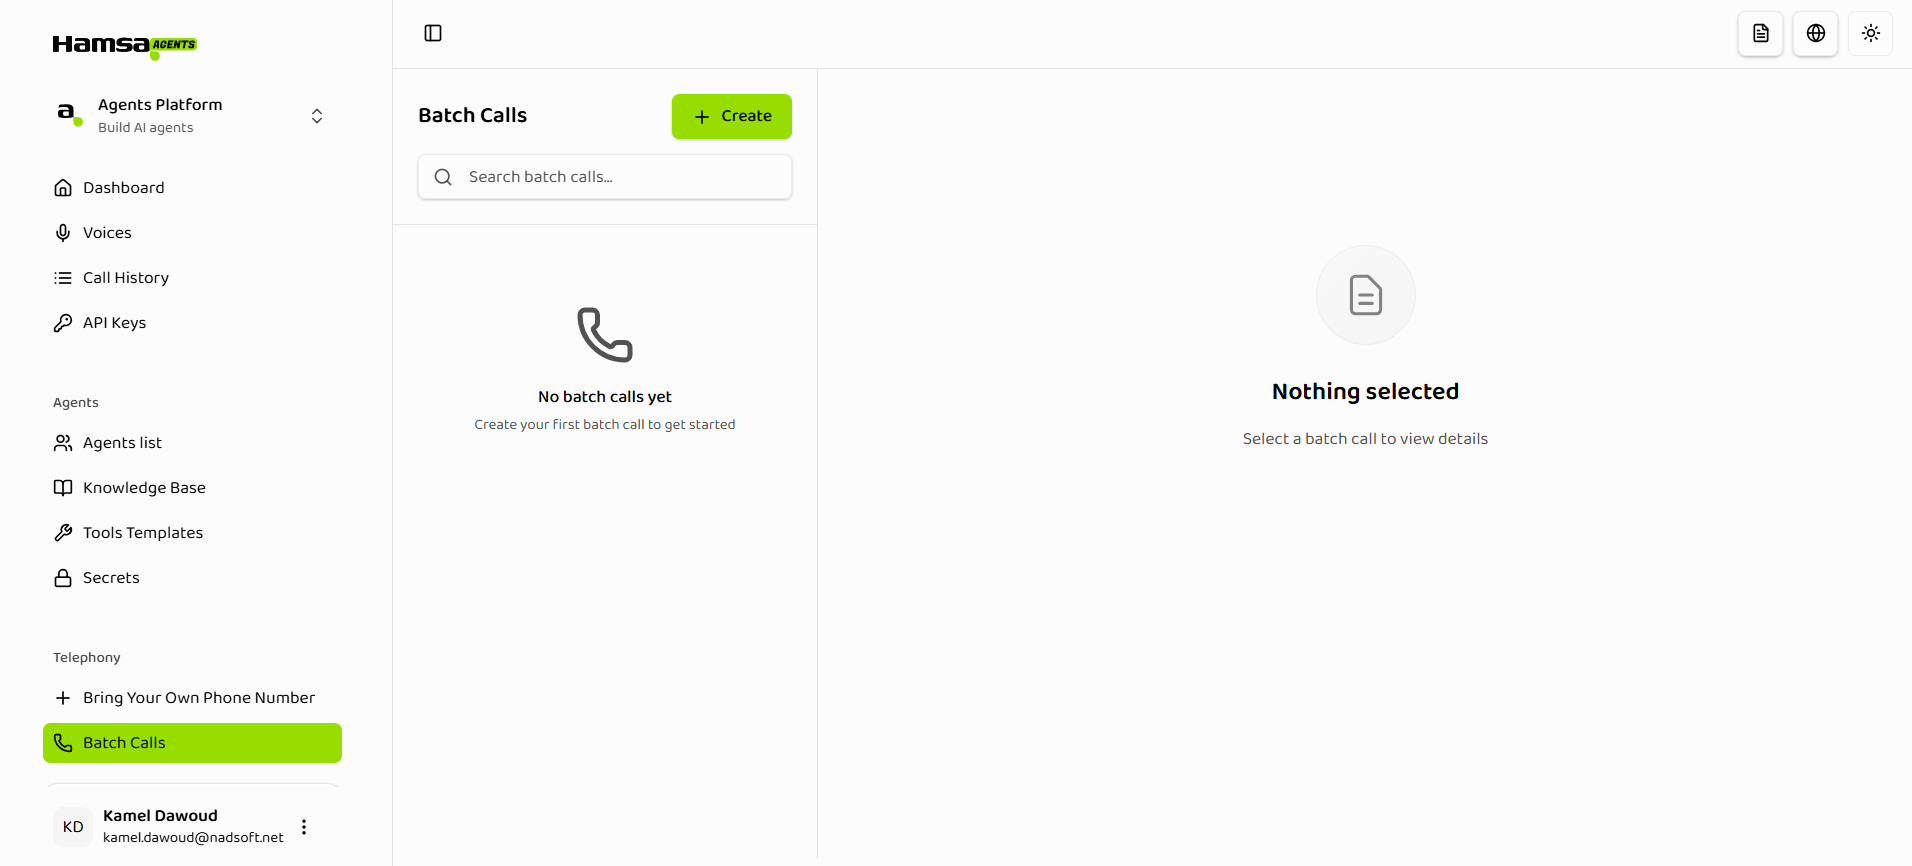
- Navigate to Batch Calls
- Go to the Batch Calls section in your dashboard
- Or navigate via Dashboard → Batch Calls
-
Create a New Batch Call
- Click “Create” button
- Enter a descriptive batch call name (1-100 characters)
- Select a From Number (outbound phone number)
- Select a Voice Agent to use for the calls
-
Upload Recipients
- Upload a CSV file with recipient data
- Ensure the CSV includes a
phoneNumberorphone_numbercolumn - Review validation results and fix any rejected rows
- Confirm to add recipients to the batch call
-
Configure Schedule
- Choose “Send Now” to start immediately, or “Schedule” for a future date/time
- Set daily start and end times
- Select allowed days of the week
- Review and confirm batch call settings
-
Monitor Batch Call
- Watch the batch call status change from PENDING → RUNNING
- Track individual recipient call statuses
- Use pause, resume, or cancel as needed
- View detailed progress in the batch call dashboard
Next Steps
Now that you’ve created your first batch call:- Creating Batch Calls - Learn detailed steps for creating batch calls and uploading recipients
- Managing Batch Calls - Schedule, control, and monitor batch calls
- Recipients & Status - Understand recipient management and call statuses
- Best Practices - Optimize your batch calls for best results
Related Documentation
Introduction
Learn more about Batch Call features and capabilities
Creating Batch Calls
Detailed guide on creating batch calls and uploading recipients
Managing Batch Calls
How to schedule, control, and monitor batch calls
Voice Agents
Learn about creating and configuring Voice Agents