> ## Documentation Index
> Fetch the complete documentation index at: https://docs.tryhamsa.com/llms.txt
> Use this file to discover all available pages before exploring further.
# Quick Start
> Get started with Phone Numbers in 4 simple steps
## Overview
Get up and running with Phone Numbers quickly. Follow these steps to add a phone number, assign it to a Voice Agent, and start making calls.
## Prerequisites
Before getting started, ensure you have:
* An active project selected
* Appropriate permissions to manage phone numbers
* Provider credentials (Twilio Account SID and Auth Token, or SIP trunk details)
* A phone number from your provider (Twilio) or SIP trunk configured
**Voice Agent Optional**: You don't need a Voice Agent to add phone numbers. Voice Agents are only required when assigning numbers for inbound calls or making outbound calls.
## Quick Start Steps
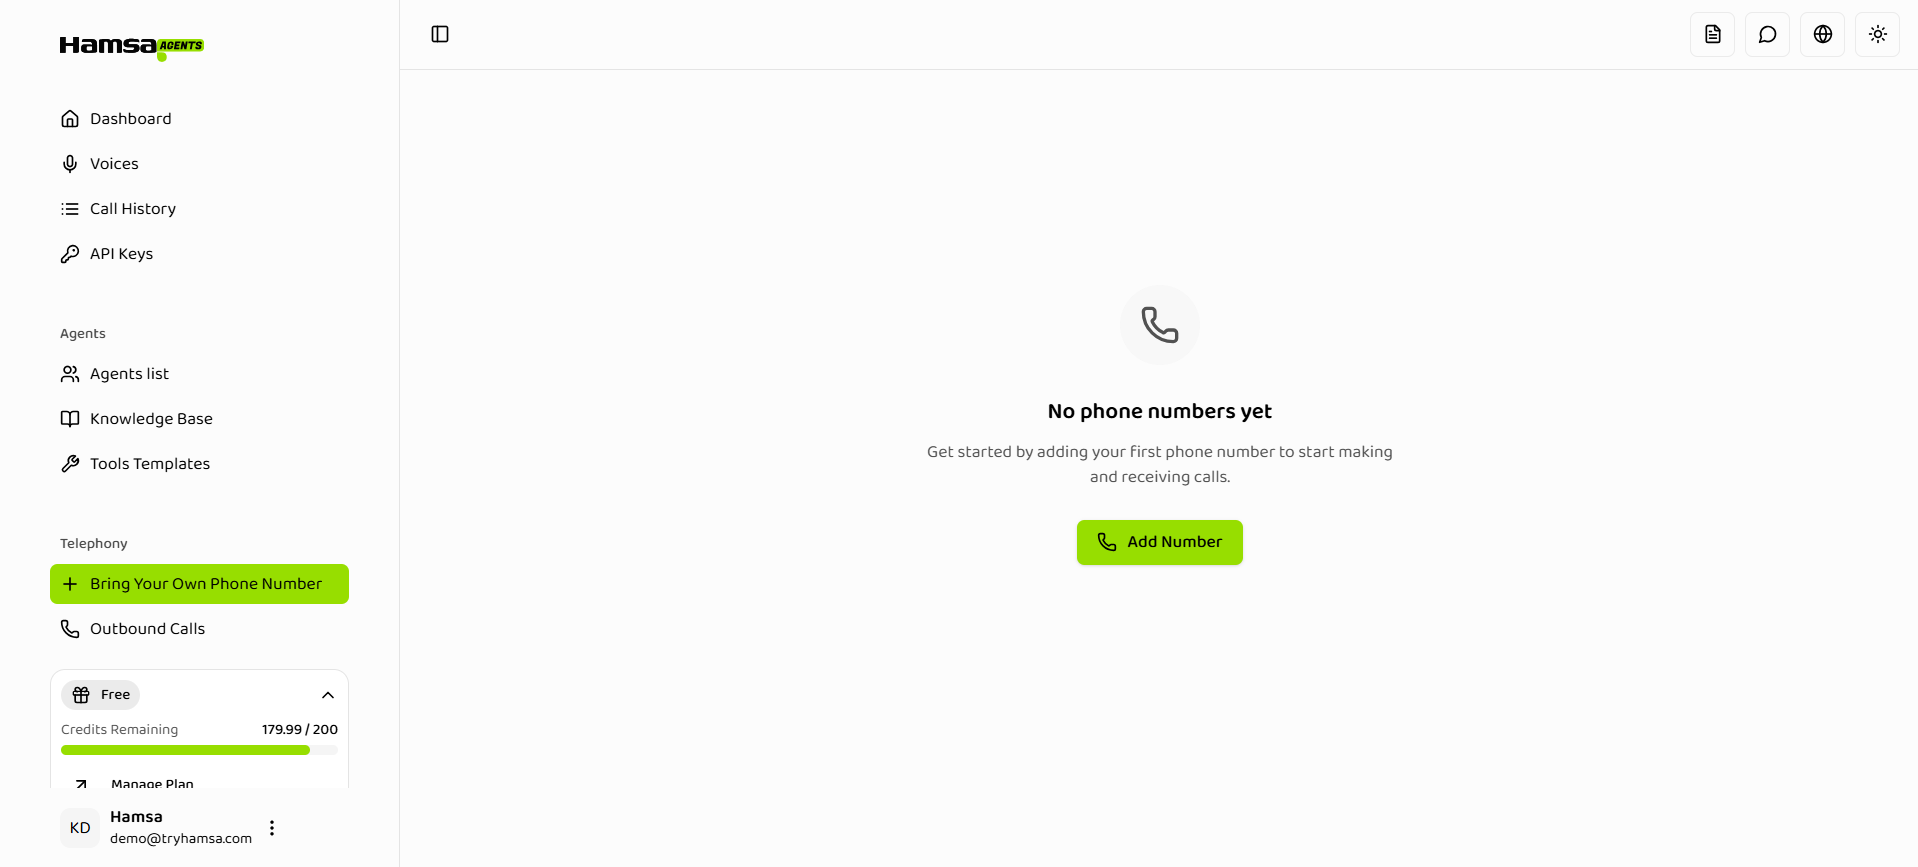
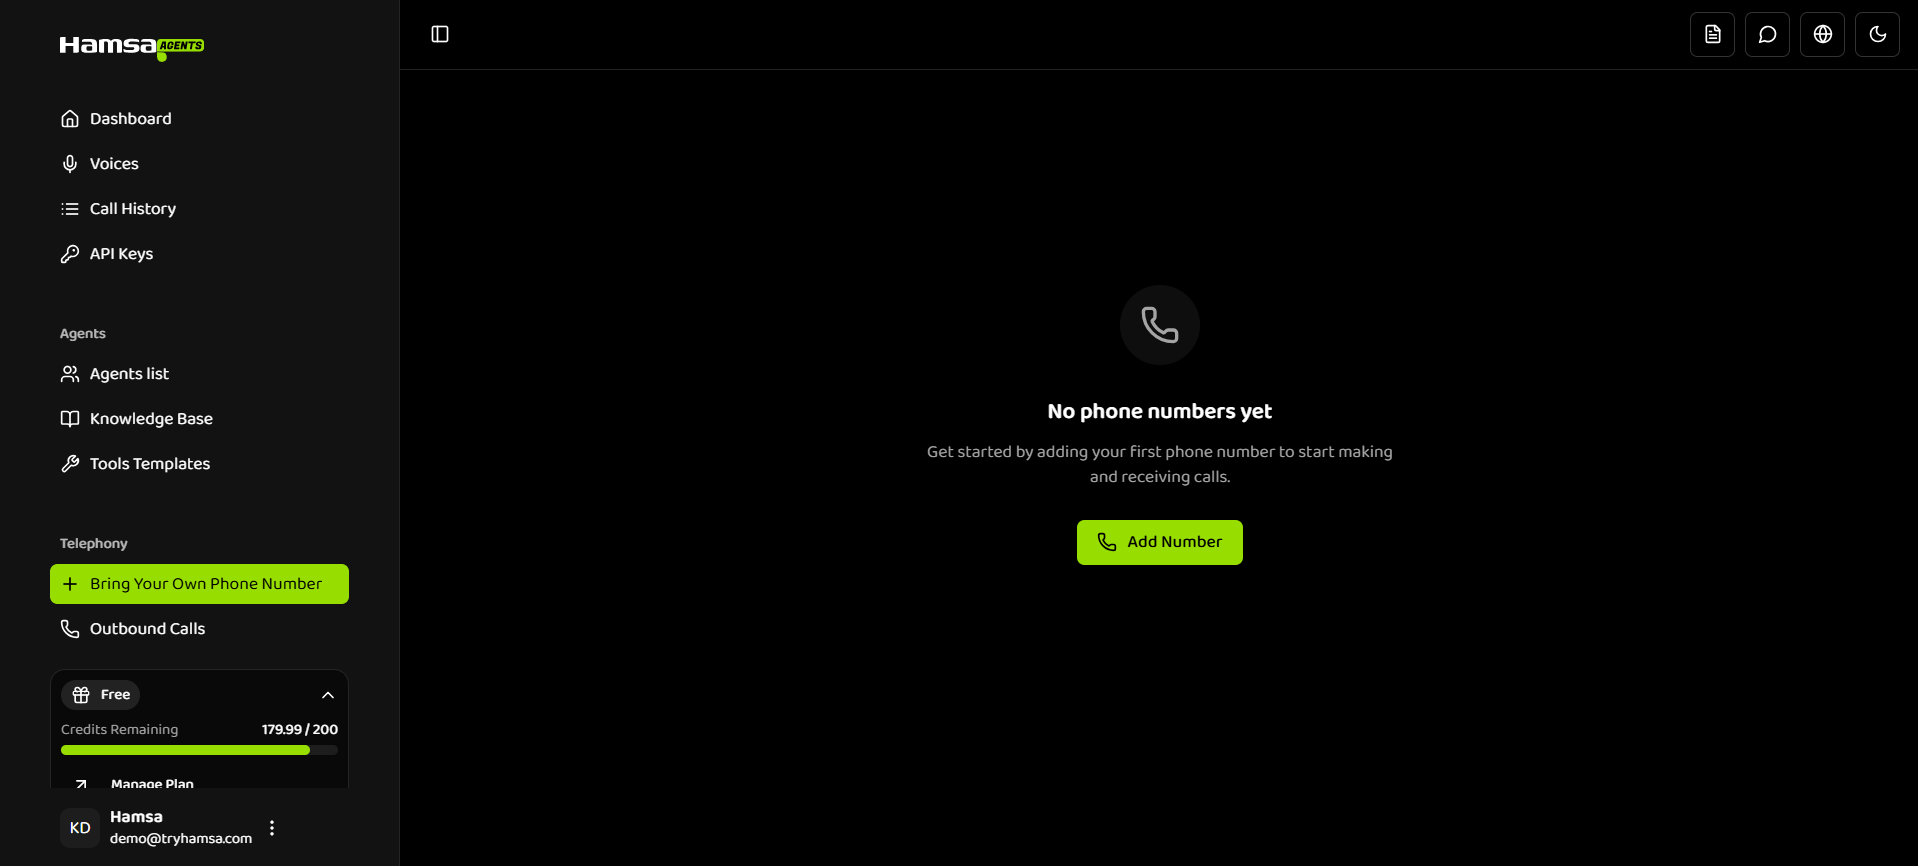
### 1. Navigate to Phone Numbers
* Go to the [Phone Numbers section](https://agents.tryhamsa.com/app/provider-numbers) in your dashboard
* Or navigate via Dashboard → Bring Your Own Phone Number
 ### 2. Add a Phone Number
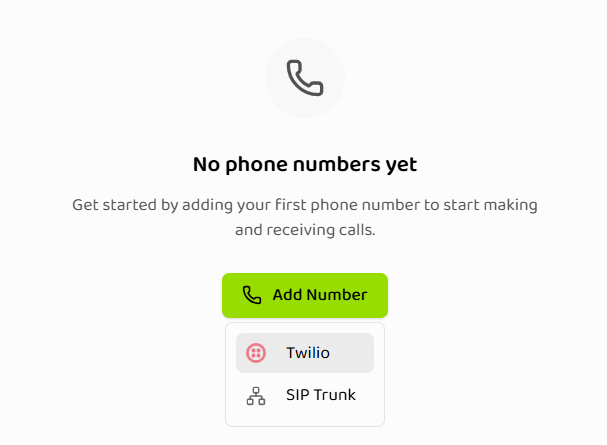
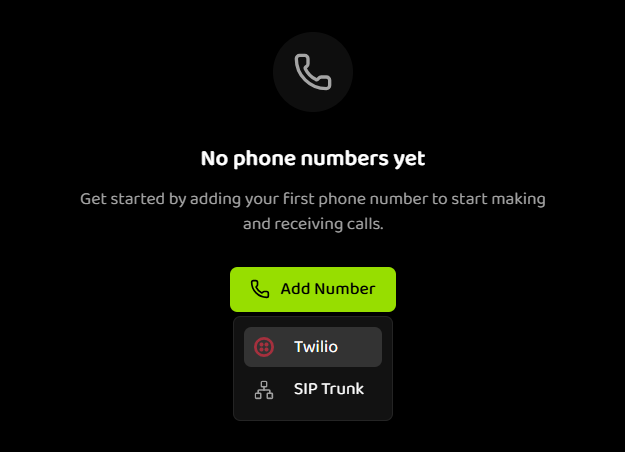
#### For Twilio:
* Click the "Add Number" button
* Select "Twilio" from the dropdown
### 2. Add a Phone Number
#### For Twilio:
* Click the "Add Number" button
* Select "Twilio" from the dropdown
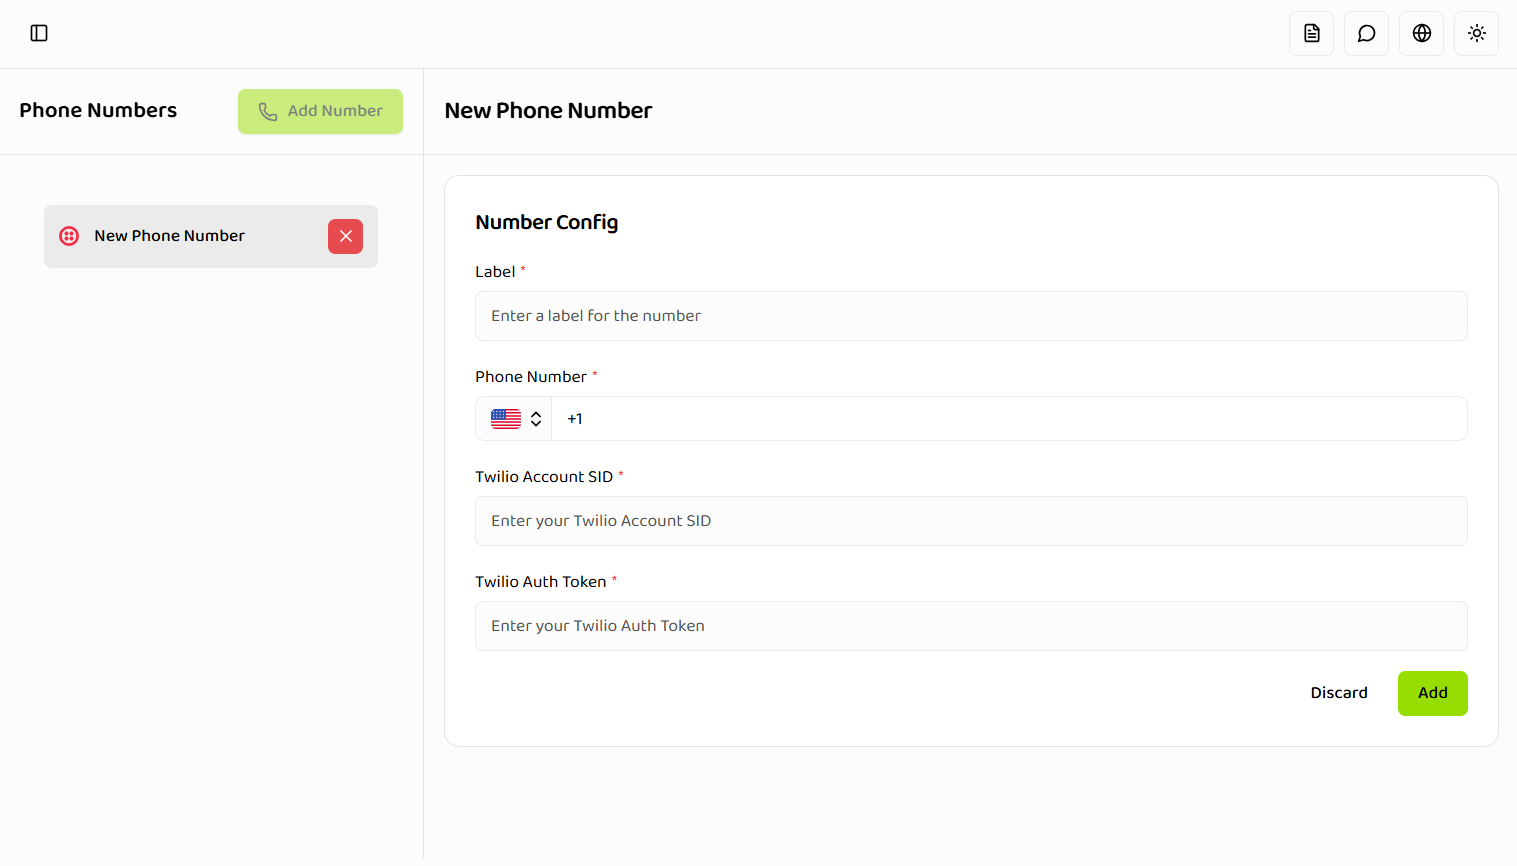
 * Fill in the required information:
* **Phone Number**: Enter your Twilio phone number in E.164 format (e.g., +12025551234)
* **Label**: Provide a descriptive name (e.g., 'Support Line', 'Sales Hotline')
* **Twilio Account SID**: Enter your Twilio Account SID
* **Twilio Auth Token**: Enter your Twilio Auth Token
* Click "Save" to add the phone number
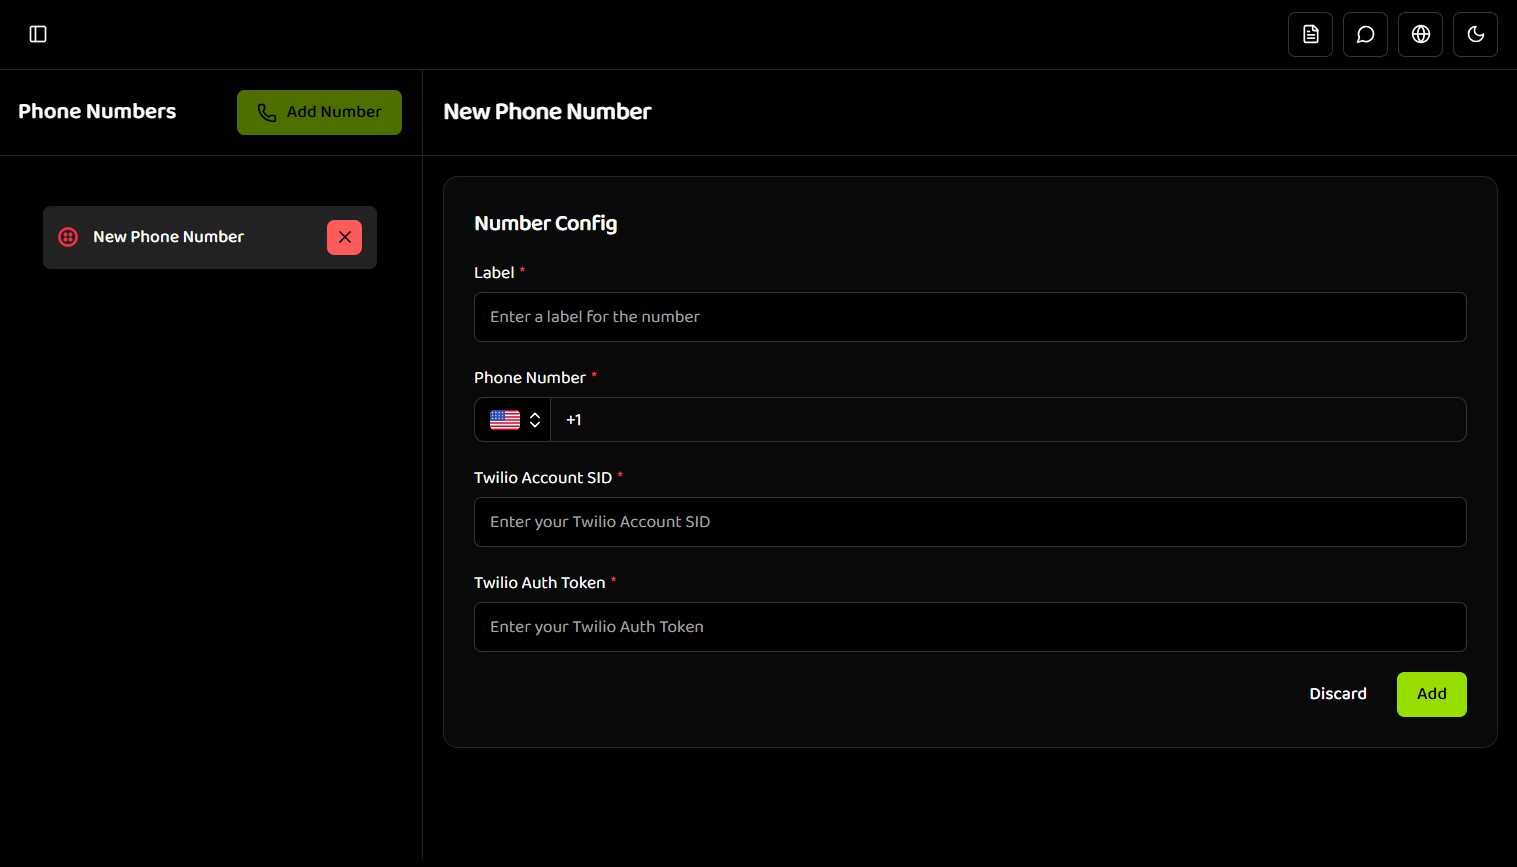
* Fill in the required information:
* **Phone Number**: Enter your Twilio phone number in E.164 format (e.g., +12025551234)
* **Label**: Provide a descriptive name (e.g., 'Support Line', 'Sales Hotline')
* **Twilio Account SID**: Enter your Twilio Account SID
* **Twilio Auth Token**: Enter your Twilio Auth Token
* Click "Save" to add the phone number
 #### For SIP Trunk:
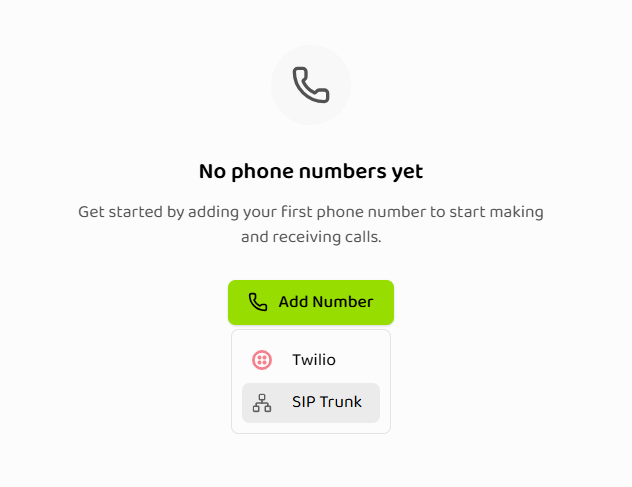
* Click the "Add Number" button
* Select "SIP Trunk" from the dropdown
#### For SIP Trunk:
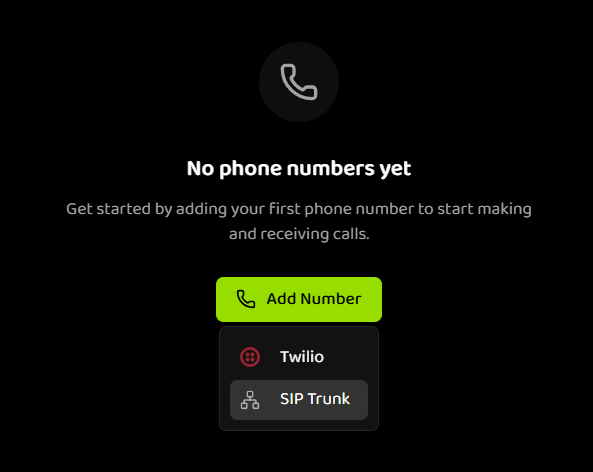
* Click the "Add Number" button
* Select "SIP Trunk" from the dropdown
 * Fill in the required information:
* **Label**: Provide a descriptive name
* **Phone Number**: Choose one of two options:
* **Phone Number** (radio button): Select country code from dropdown and enter phone number in standard format
* **Other** (radio button): Enter phone number or identifier in custom format (text input field)
* Fill in the required information:
* **Label**: Provide a descriptive name
* **Phone Number**: Choose one of two options:
* **Phone Number** (radio button): Select country code from dropdown and enter phone number in standard format
* **Other** (radio button): Enter phone number or identifier in custom format (text input field)
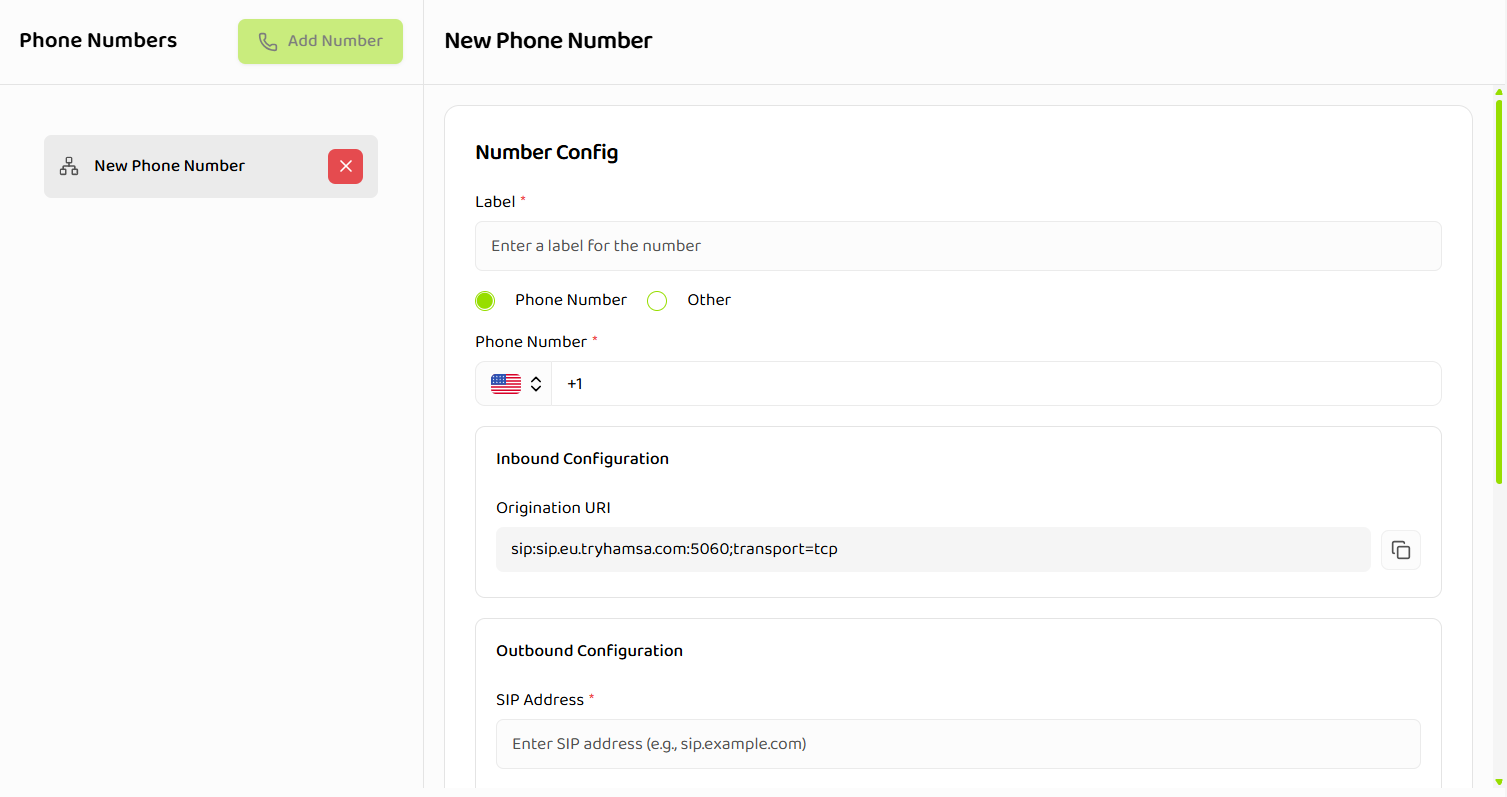
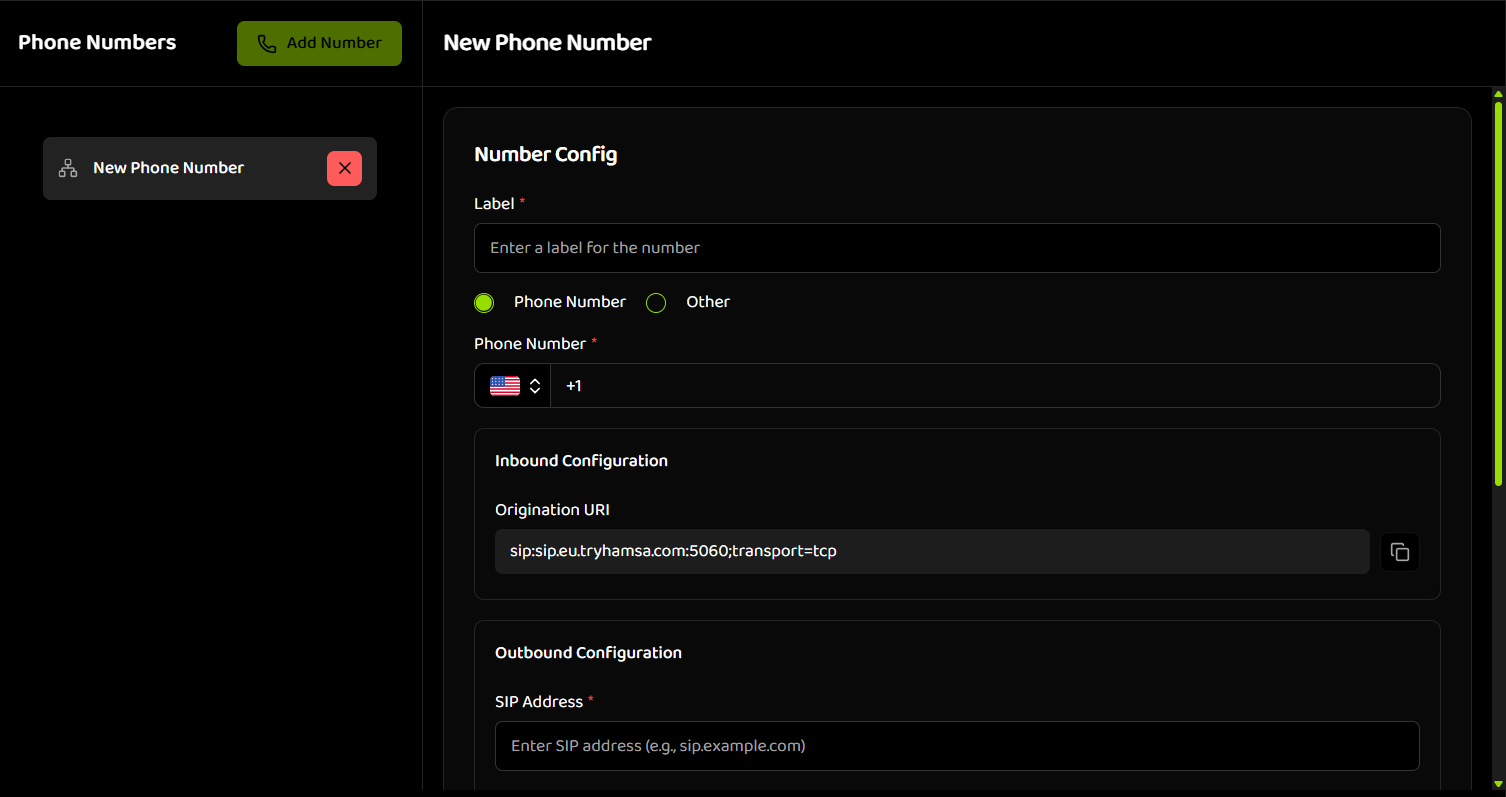 * Configure **Inbound Settings**:
* Select Origination URI type (SIP-TCP or SIP-UDP)
* Copy the provided webhook URL to configure in your SIP trunk
* Configure **Outbound Settings**:
* **Address**: Enter SIP destination (IP or domain)
* **Transport Type**: Select TCP or UDP
* **Authentication** (optional):
* SIP Trunk Username
* SIP Trunk Password
* **Custom Headers** (optional):
* Click the "+ Add Header" button to add a new header
* Enter a key (e.g., 'X-Carrier-ID', 'X-Trunk-Group')
* Enter a value (e.g., 'CARRIER123', 'PRIMARY')
* Add multiple headers as needed for routing, metadata, or carrier integration
* Remove headers by clicking the trash icon
* Custom headers are used for call routing and carrier-specific requirements
* Configure **Inbound Settings**:
* Select Origination URI type (SIP-TCP or SIP-UDP)
* Copy the provided webhook URL to configure in your SIP trunk
* Configure **Outbound Settings**:
* **Address**: Enter SIP destination (IP or domain)
* **Transport Type**: Select TCP or UDP
* **Authentication** (optional):
* SIP Trunk Username
* SIP Trunk Password
* **Custom Headers** (optional):
* Click the "+ Add Header" button to add a new header
* Enter a key (e.g., 'X-Carrier-ID', 'X-Trunk-Group')
* Enter a value (e.g., 'CARRIER123', 'PRIMARY')
* Add multiple headers as needed for routing, metadata, or carrier integration
* Remove headers by clicking the trash icon
* Custom headers are used for call routing and carrier-specific requirements

 * Click "Test Connection" to verify your SIP configuration

 * Click "Save" when the connection test passes
**Finding Twilio Credentials:**
* Log in to your [Twilio Console](https://console.twilio.com/)
* Find your Account SID and Auth Token on the dashboard
* Ensure you have purchased a phone number in Twilio
**SIP Trunk Setup:**
* Obtain SIP trunk details from your telephony provider
* Configure your SIP trunk to accept connections from Hamsa
* Add the provided webhook URL to your trunk configuration
* Whitelist Hamsa's IP addresses in your firewall if needed
### 3. Assign to Voice Agent
* After saving, your phone number appears in the list
* Click the phone number to view details
* In the "Voice Agent Assignment" section:
* Click the dropdown showing "None"
* Select a Voice Agent from the list
* Confirm the assignment
If reassigning an already assigned number, you'll be asked to confirm the change to prevent accidental reassignment.
### 4. Test Your Setup
#### For Inbound Calls:
* Call your phone number from any phone
* Your assigned Voice Agent should answer
* Have a conversation to test the agent's responses
* Check Call History to review the call details
#### For Outbound Calls:
* Click "Make Outbound Call" in the phone number details
* Enter the destination phone number
* Add any custom parameters (optional)
* Configure webhook URL and authentication (optional)
* Click "Make Call"
* Answer the call on the destination phone
* Check Call History for call details
**Outbound Call Requirements:**
* Phone number must be assigned to a Voice Agent
* API key must be configured in your project settings
* The assigned Voice Agent must exist and be properly configured
## Next Steps
Now that you've added and configured your first phone number:
* **[Managing Phone Numbers](./managing-numbers)** - Learn detailed steps for managing your phone numbers
* **[Making Outbound Calls](./making-calls)** - Understand all outbound calling options
* **[Batch Calls](/agents/batch-calls/introduction)** - Use your phone number for batch calls
* **[Best Practices](./best-practices)** - Optimize your phone number usage
## Common Issues
### Phone Number Not Receiving Calls
**Twilio:**
* Verify your Twilio credentials are correct
* Check that the phone number is active in Twilio
* Ensure Twilio webhook is properly configured
* Verify your Twilio account has sufficient balance
**SIP Trunk:**
* Verify SIP destination address is reachable
* Check firewall rules allow SIP traffic
* Ensure custom headers are correct for your carrier
* Test SIP connection during initial setup (before saving)
* Verify authentication credentials if used
### Cannot Make Outbound Calls
**Troubleshooting:**
* Ensure phone number is assigned to a Voice Agent
* Verify the assigned agent exists and is configured
* Check that your API key is configured in project settings
* Verify you have available concurrency in your plan
* For SIP: ensure outbound configuration is correct
### Assignment Fails
**Possible causes:**
* Voice Agent may have been deleted
* Insufficient permissions to assign numbers
* Network connectivity issues
**Solutions:**
* Refresh the page and try again
* Verify the agent exists in the Voice Agents section
* Check your permissions with your administrator
* Contact support if issue persists
## Related Documentation
Learn more about Phone Numbers features and capabilities
Detailed guide on phone number management
How to make outbound calls using your phone numbers
Create and configure Voice Agents
Use phone numbers for batch calls
* Click "Save" when the connection test passes
**Finding Twilio Credentials:**
* Log in to your [Twilio Console](https://console.twilio.com/)
* Find your Account SID and Auth Token on the dashboard
* Ensure you have purchased a phone number in Twilio
**SIP Trunk Setup:**
* Obtain SIP trunk details from your telephony provider
* Configure your SIP trunk to accept connections from Hamsa
* Add the provided webhook URL to your trunk configuration
* Whitelist Hamsa's IP addresses in your firewall if needed
### 3. Assign to Voice Agent
* After saving, your phone number appears in the list
* Click the phone number to view details
* In the "Voice Agent Assignment" section:
* Click the dropdown showing "None"
* Select a Voice Agent from the list
* Confirm the assignment
If reassigning an already assigned number, you'll be asked to confirm the change to prevent accidental reassignment.
### 4. Test Your Setup
#### For Inbound Calls:
* Call your phone number from any phone
* Your assigned Voice Agent should answer
* Have a conversation to test the agent's responses
* Check Call History to review the call details
#### For Outbound Calls:
* Click "Make Outbound Call" in the phone number details
* Enter the destination phone number
* Add any custom parameters (optional)
* Configure webhook URL and authentication (optional)
* Click "Make Call"
* Answer the call on the destination phone
* Check Call History for call details
**Outbound Call Requirements:**
* Phone number must be assigned to a Voice Agent
* API key must be configured in your project settings
* The assigned Voice Agent must exist and be properly configured
## Next Steps
Now that you've added and configured your first phone number:
* **[Managing Phone Numbers](./managing-numbers)** - Learn detailed steps for managing your phone numbers
* **[Making Outbound Calls](./making-calls)** - Understand all outbound calling options
* **[Batch Calls](/agents/batch-calls/introduction)** - Use your phone number for batch calls
* **[Best Practices](./best-practices)** - Optimize your phone number usage
## Common Issues
### Phone Number Not Receiving Calls
**Twilio:**
* Verify your Twilio credentials are correct
* Check that the phone number is active in Twilio
* Ensure Twilio webhook is properly configured
* Verify your Twilio account has sufficient balance
**SIP Trunk:**
* Verify SIP destination address is reachable
* Check firewall rules allow SIP traffic
* Ensure custom headers are correct for your carrier
* Test SIP connection during initial setup (before saving)
* Verify authentication credentials if used
### Cannot Make Outbound Calls
**Troubleshooting:**
* Ensure phone number is assigned to a Voice Agent
* Verify the assigned agent exists and is configured
* Check that your API key is configured in project settings
* Verify you have available concurrency in your plan
* For SIP: ensure outbound configuration is correct
### Assignment Fails
**Possible causes:**
* Voice Agent may have been deleted
* Insufficient permissions to assign numbers
* Network connectivity issues
**Solutions:**
* Refresh the page and try again
* Verify the agent exists in the Voice Agents section
* Check your permissions with your administrator
* Contact support if issue persists
## Related Documentation
Learn more about Phone Numbers features and capabilities
Detailed guide on phone number management
How to make outbound calls using your phone numbers
Create and configure Voice Agents
Use phone numbers for batch calls